Barricade Rear Bumper Review: How to Fix a Welded Frame Mess
When our son took the Jeep out mudding and tried to pull someone out of quicksand, the factory rear bumper did exactly what you’d expect from thin, stamped steel: it folded. The stock bumper on a 1994 Jeep is designed for minor fender benders, not recovery. To make matters worse, a previous owner had actually welded the stock bumper to the frame plates instead of using the factory bolt locations.
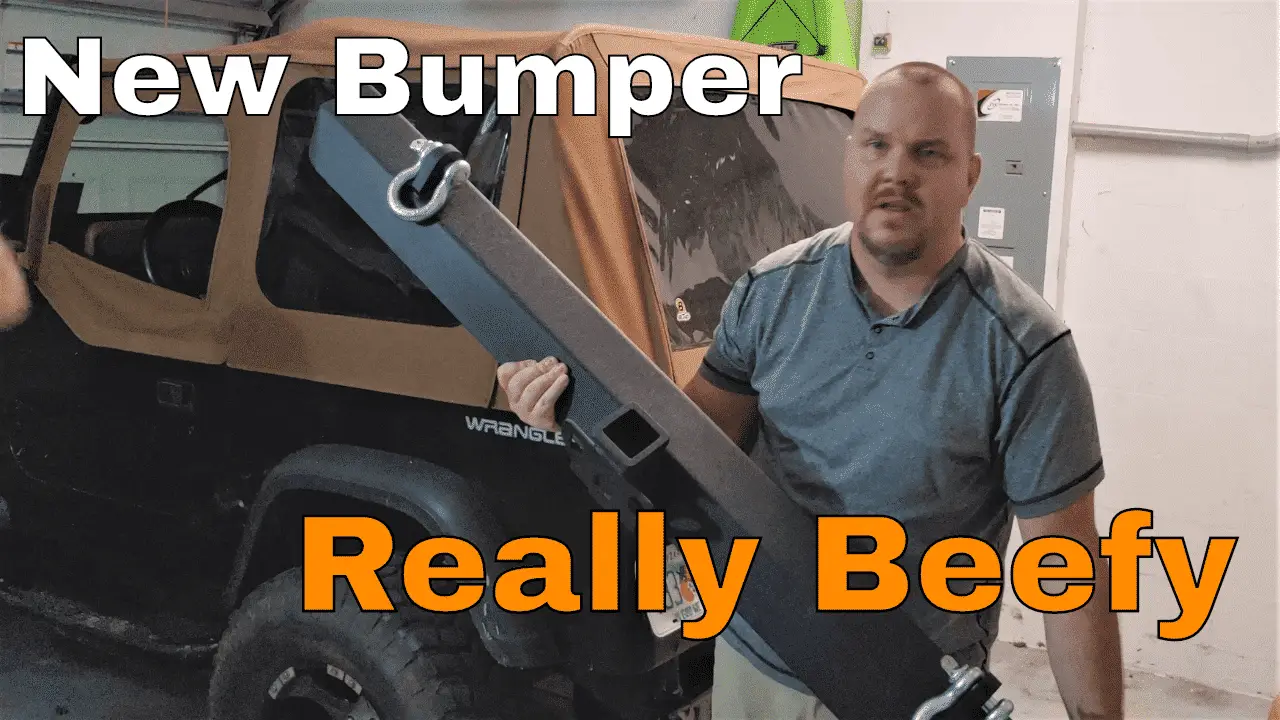
We didn’t just need a new bumper; we needed a forensic repair. After researching the options, we chose the Barricade Classic Rear Bumper with a 2-inch receiver. It’s beefy, it’s functional, and it offers the structural integrity needed for actual trail work. Here is the blunt truth about how we fixed the frame damage and installed a bumper that won’t bend the next time the Jeep hits the mud.
Watch the Full Install: Install Barricade Rear Bumper || Jeep Mods E27
Check Out the Product Here: Barricade Classic Rear Bumper with 2-Inch Receiver
The Forensic Teardown: Removing a Welded Mess
The first step was a nightmare. Because the previous owner had welded the stock bumper to the rear crossmember, we couldn’t just spin a few bolts and call it a day. We had to break out the grinder and cut through the welds to separate the mangled stock junk from the Jeep’s frame.
Once the old bumper was off, the damage was apparent. The rear crossmember was slightly tweaked from the quicksand incident. If you are installing a heavy-duty bumper like the Barricade, your mounting surfaces have to be flat. We spent a significant amount of time hammering out the mounting plates and grinding down the old weld beads until we had a clean, smooth surface to work with.
The Mockup Phase: Why You Leave Bolts Loose
A common DIY mistake is tightening the mounting brackets as you go. With a bumper this heavy, and a frame that’s seen 30 years of abuse, the bolt holes are almost never going to align perfectly on the first try.
We followed a strict technical process:
- Mount the frame brackets but leave the hardware “finger tight.”
- Lift the bumper into place to check the alignment of the main mounting bolts.
- Use a ratchet strap (our favorite forensic hack) to pull the frame rails into the exact position needed to get the final bolts through.
If you tighten the brackets early, you lose the “wiggle room” required to fight a slightly bent frame. We kept everything loose until the bumper was seated, then torqued it all down to spec.
Solving the Frame Damage: The Welding Solution
Even after straightening the plates, we had one mounting location that just wouldn’t stay square due to the previous frame fatigue. To ensure this bumper stays put during a recovery, we decided to weld the bottom mounts directly to the frame.
The Barricade bumper is made of heavy-duty steel, which takes a weld beautifully. By locking the bottom of the bumper to the frame, we eliminated any chance of the bumper “rotating” up under the stress of a heavy pull. Now, the load is distributed across the entire rear crossmember, making it exponentially stronger than the stock setup.
Fit, Finish, and Function
Once the smoke cleared and the paint was touched up, the difference was night and day. The Barricade bumper provides a few key technical upgrades that the stock unit lacked:
- The Step Ledge: This bumper features a wide top ledge with a non-slip surface. When you’re trying to reach the roof to adjust a soft top or reach a roof rack, having a solid step is a game-changer.
- Integrated 2-Inch Receiver: The built-in hitch is beefy and sits higher than most bolt-on hitches, improving your departure angle on the trail.
- D-Ring Mounts: The recovery points are welded inside and out, giving you a secure location to attach shackles for a snatch-block recovery.
Final Thoughts: The Verdict
We’ve already put this bumper to the test. Shortly after the install, we used the D-ring mounts to pull a Ford out of a sticky situation. The bumper didn’t budge, the frame didn’t tweak, and the finish held up against the chain.
If your Jeep is still running a stock rear bumper, you are one recovery away from a bent frame crossmember. The Barricade Rear Bumper is the right way to fix the problem permanently. It turns a vulnerable point of the Jeep into a structural asset.
Frequently Asked Questions
Q: Will this bumper fit a Jeep with a body lift?
A: Yes, the Barricade Classic Rear Bumper mounts to the frame crossmember. If you have a body lift, you will see a small gap between the bottom of the body and the top of the bumper, but the structural mounting points remain the same.
Q: Is the 2-inch receiver rated for heavy towing?
A: While the bumper is incredibly sturdy, you should always check your Jeep’s factory towing capacity. Most Wranglers of this era are limited to 2,000 lbs. The bumper can handle it, but your short-wheelbase Jeep might not.
Q: Do I need to drill holes for the install?
A: In a perfect world, this is a bolt-on install using factory holes. However, if your Jeep has seen trail damage like ours, expect to do some minor drilling or clearancing to get everything to line up.

TIMESTAMP ARCHITECTURE:
[00:00] Quicksand Failure: Forensic look at the bent stock bumper.
[01:17] The Welded Mess: Grinding off the previous owner’s “fix.”
[02:05] Frame Alignment: Straightening the rails for the new mounts.
[04:23] Mockup Phase: Why you should leave your mounts loose.
[05:40] The Ratchet Strap Hack: Fighting the frame damage (The Red Arrow!).
[06:55] Welding the Final Mounts: Extra security for trail recovery.
[11:10] The Verdict: Built-in hitch, D-rings, and the step ledge.