Jeep Rescue E02: Replacing the Ignition Coil & Fixing “Weak Spark”
The forensic bottom line: If your Jeep YJ is sputtering and your OBD codes are “vague,” the ignition coil is a high-probability failure point. [00:07] These coils are responsible for transforming low-voltage battery power into the thousands of volts needed to bridge the gap in your spark plugs. When they begin to fail, they don’t always die instantly—they get “lazy,” especially as the engine bay heats up.
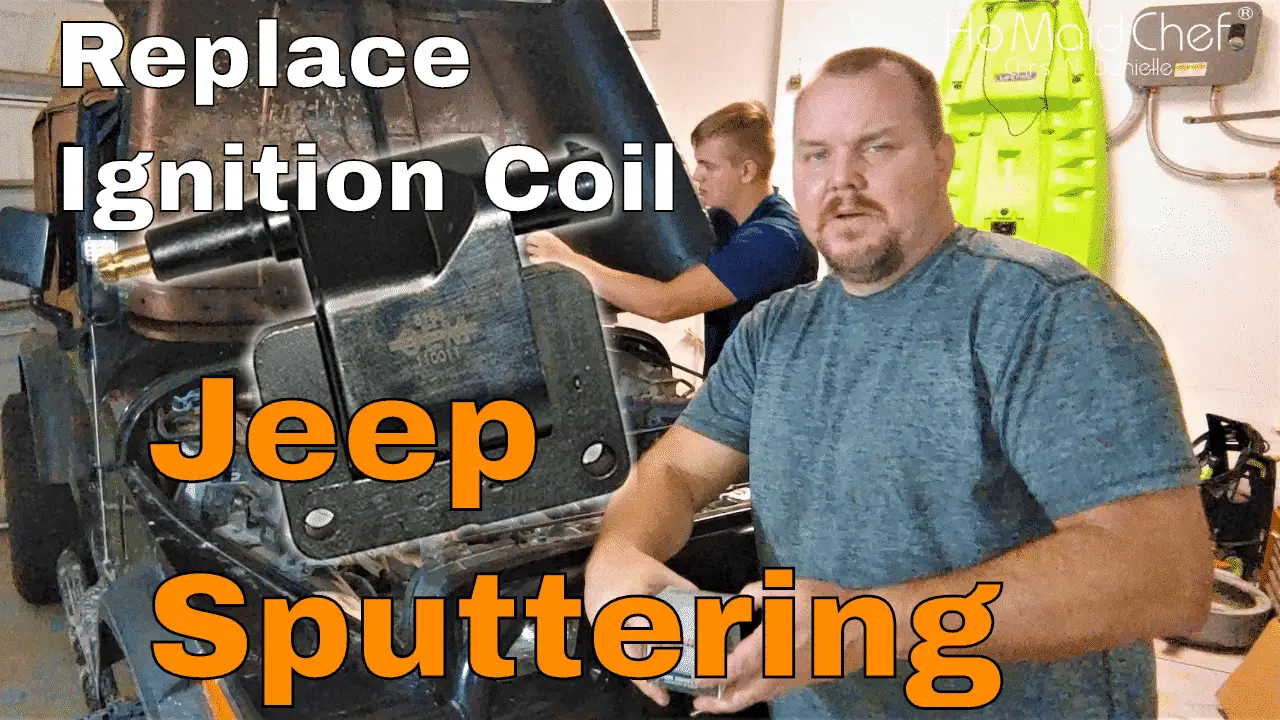
In this mission, we swap out the “old and busted” coil for something “nice and shiny” to ensure our spark is strong enough to handle the rich condition we found in E01. [03:10]
🛠️ The Technical Loadout: Tools for the Mission
This is a straightforward swap, but the physical location on the 2.5L/4.0L engines can make it a bit of a reach.
- Two 10mm Wrenches (or one Wrench and one Socket): The coil is held in place by two bolts. [01:49]
- Dielectric Grease: A small dab inside the coil wire boot prevents moisture from corroding the contact points.
- Tactical Approach: Accessing the bolts from the bottom side of the wheel well is often easier than fighting through the top of the engine bay. [02:01]
🔍 Part 1: Symptoms of a Failing Ignition Coil
Why did we suspect the coil? Beyond the general “funny running,” failing coils exhibit specific forensic markers:
- Engine Misfires: Especially under load (like climbing a hill or accelerating).
- Rough Idle: The Jeep feels like it’s “shuddering” at stoplights.
- Hard Starting: If the coil is weak, it takes more rotations of the starter to generate enough “boom” to fire the engine. [03:46]
- Tailpipe “Booms”: Unburnt fuel reaching the hot exhaust because the spark failed to ignite it in the cylinder.
🏁 Part 2: The Forensic Replacement Process
The son takes the lead on this one, proving that Jeep maintenance is a family mission. [02:40]
1. Disconnect the Power
Before touching the bolts, pull the main coil wire (the thick one going to the distributor) and the electrical harness plug. [01:26]
2. The Extraction
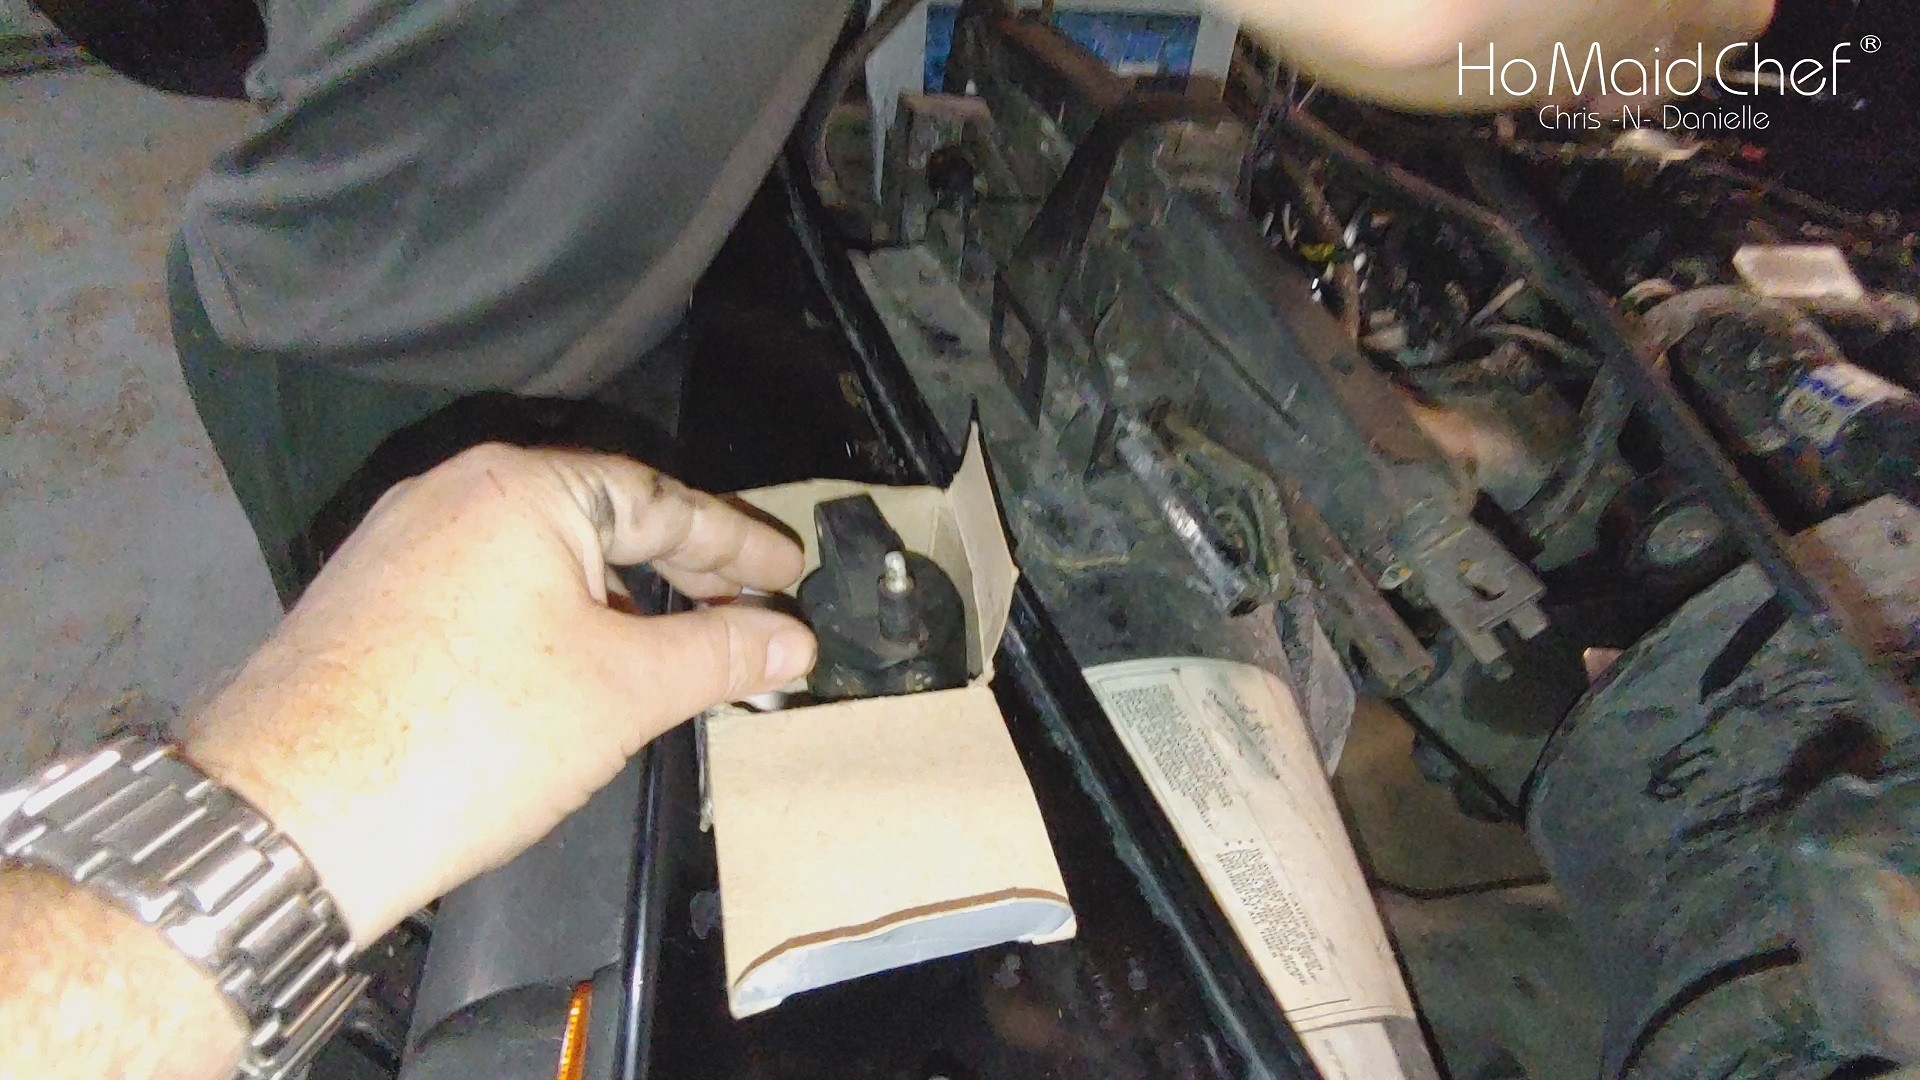
Remove the two 10mm bolts. [01:13] Keep a hand on the coil so it doesn’t drop when the last thread lets go. The old unit was “dirty and old,” likely a original factory part or an ancient replacement. [03:17]
3. Seating the “Flux Capacitor”
Slide the new, shiny coil into the bracket. Thread the bolts by hand first to avoid cross-threading. [03:56] Once hand-tight, snug them down with your 10mm tools. [04:25]
4. Re-Connecting the Loop
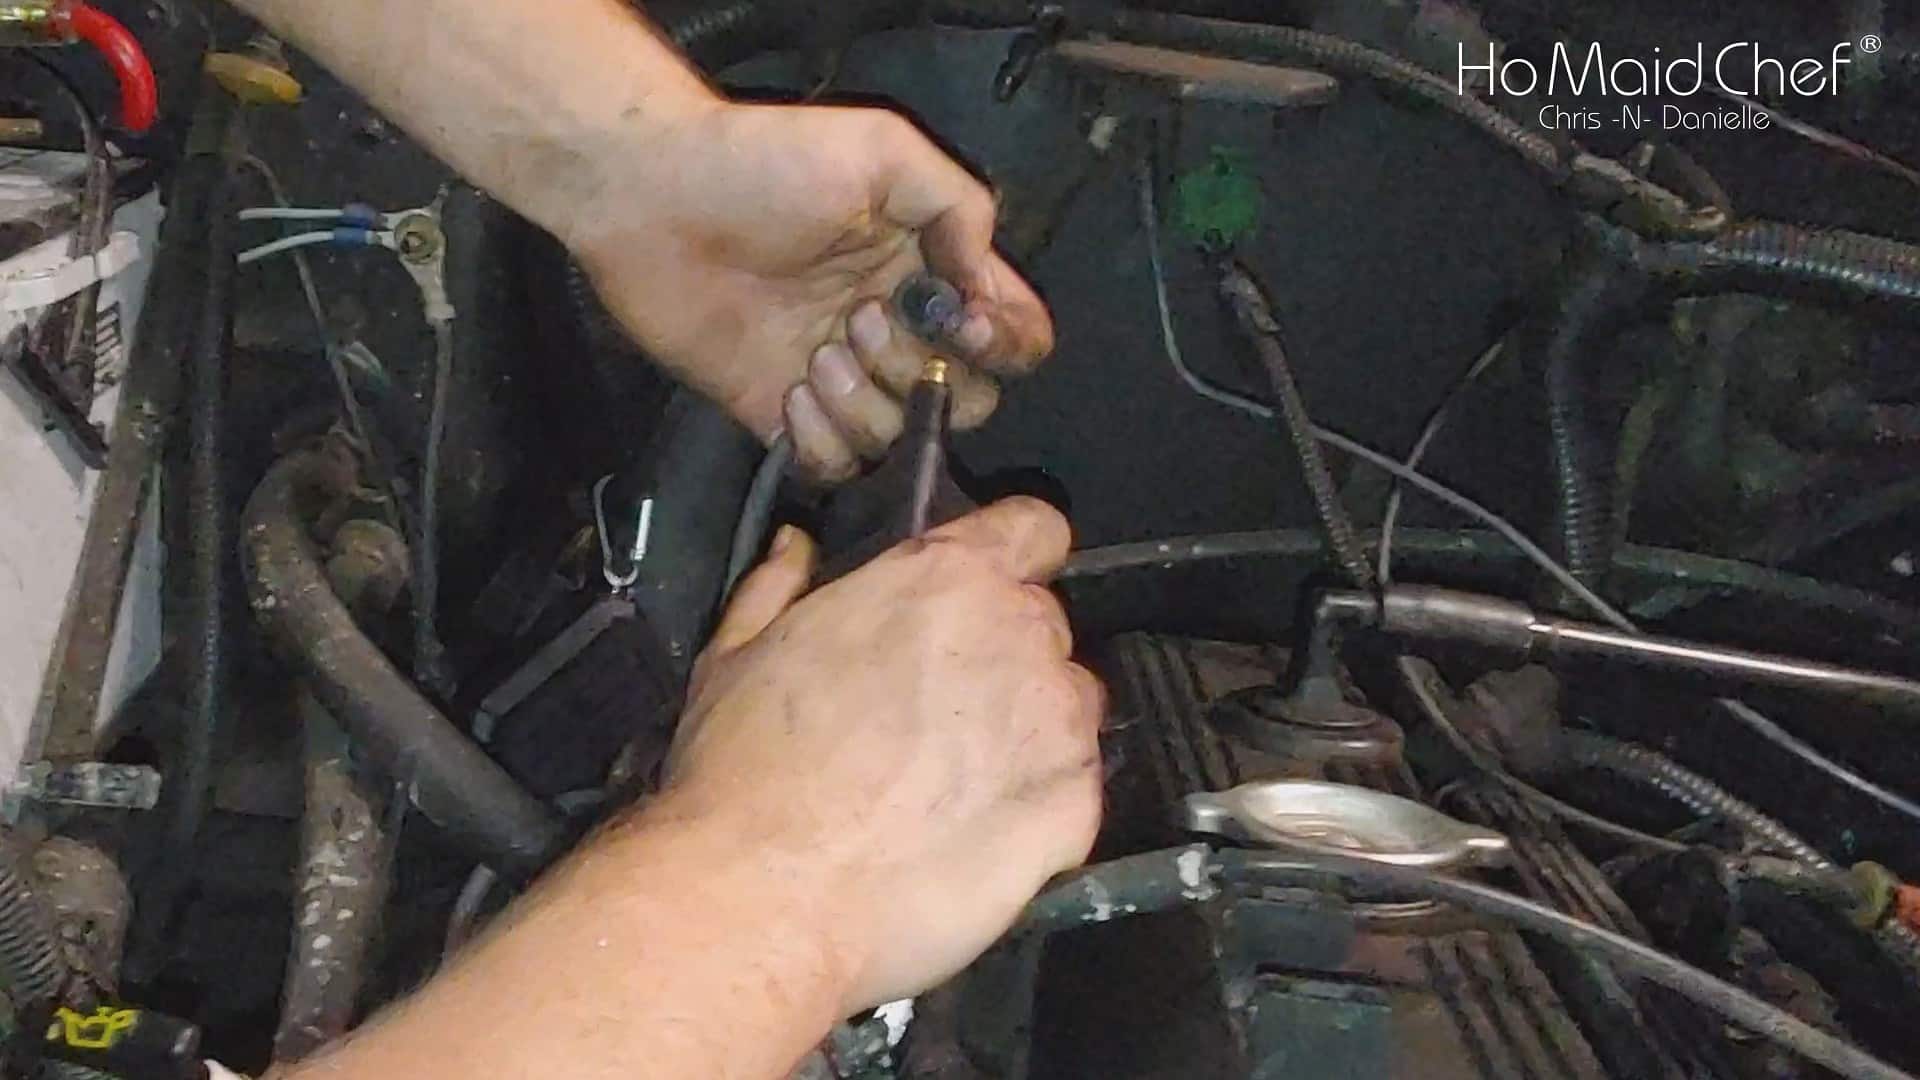
Plug in the harness and press the main coil wire boot firmly onto the center post until you feel it “click.” [03:37]
🧪 Part 3: The Forensic Verdict
After the install, we fired up the Jeep. The Verdict: The coil was not the issue. [05:02]
Why this isn’t a failure: In a 10-step rescue mission, every “it’s not this” brings you closer to “it IS this.” By ruling out the O2 sensor (E01) and the Ignition Coil (E02), we are narrowing the field of fire. We have now confirmed that our electrical “Delivery” system is likely fine, pointing us toward “Sensor Data” (CPS, MAP, TPS) or “Mechanical Fuel” (Regulator, Filter). [05:13]
🎞️ Video Timeline & Technical Moments
- 0:00:58 – Locating the Coil and Clamps
- 0:01:49 – Tool Selection (10mm Essentials)
- 0:02:40 – The Son’s First Forensic Repair
- 0:03:17 – Old vs. New: Visual Comparison
- 0:05:02 – The Final Verdict: The Mission Continues