The restoration of the Bayliner 175 continues, and this week we tackled a small but critical component: the ignition switch. Our original 2004 switch had finally given up the ghost, becoming a “continuous rotation” mechanism with zero spring-back.
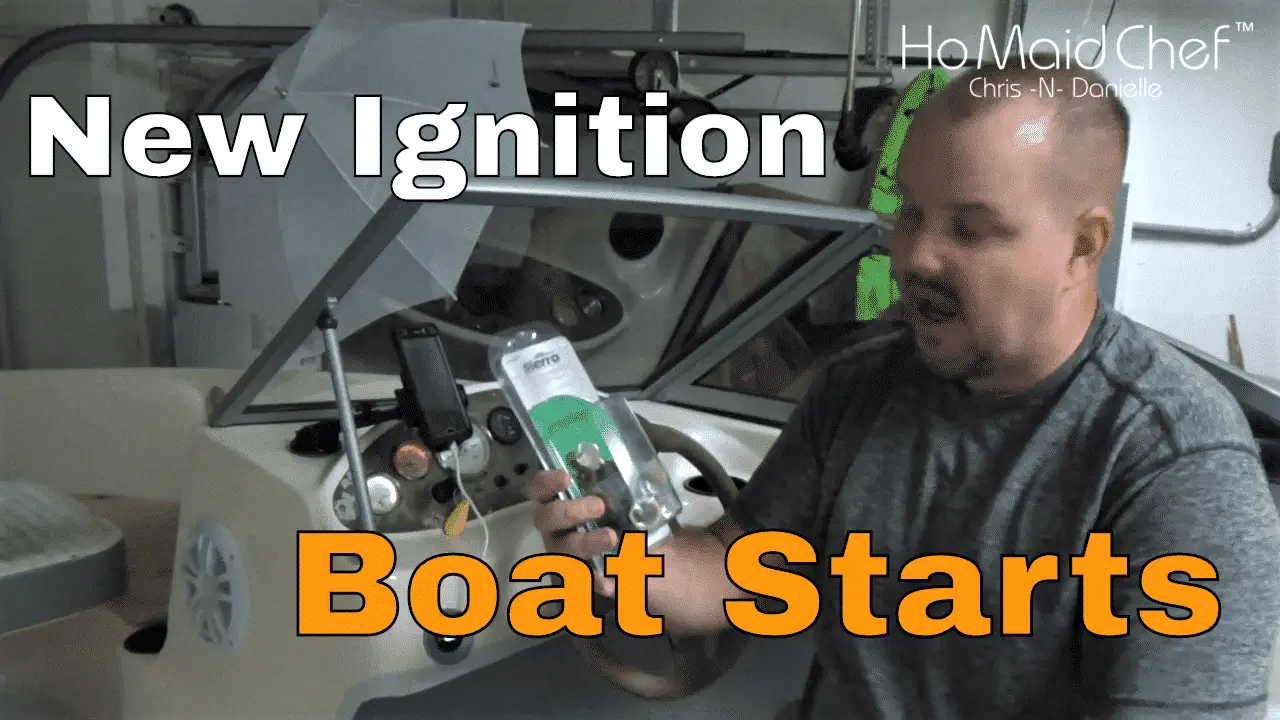
A failing ignition switch on a boat isn’t just an inconvenience; it’s a safety hazard. If the starter remains engaged after the engine fires, you’ll burn out your starter motor in minutes. Here is the technical breakdown of how we swapped out the old unit for a Sierra Marine-grade switch.
The Investigation: Diagnosing a “Loose” Ignition
A healthy ignition switch should have distinct positions: Off, Run/Ignition, and a momentary Start position that springs back to “Run” once released.
- The Failure: Our old switch had lost its internal spring tension. It would stay in the “Start” position, meaning it was constantly sending power to the starter solenoid.
- The Solution: We sourced a replacement from Sierra. While some switches include an “Accessory” position (turning the key backward to run the radio), we didn’t need one because this boat has a dedicated accessory toggle switch on the dash.
The Project: Plug-and-Play Installation
Replacing an ignition switch is one of the more straightforward DIY tasks, provided you follow the labeling on the back of the cylinder.
- The Back-Panel Logic: Marine switches are typically labeled with three letters:
- B (Battery): The constant 12V power source.
- I (Ignition): Power to the engine systems/gauges when the key is “On.”
- S (Start): The momentary signal to the starter solenoid.
- Transferring Wires: To avoid confusion, we swapped the wires one by one from the old switch to the new one. This ensured the “Battery” lead didn’t end up on the “Start” terminal—which would cause the engine to crank as soon as the battery was connected!
- Orientation and Drain Holes: This is the most important technical detail. Marine ignition switches have drain holes to prevent water from pooling inside the mechanism. When you mount the switch, ensure these holes are oriented at the top and bottom, not the sides. If they are sideways, moisture will sit on the internal contacts and lead to premature corrosion.
The Logistics: Finishing the Dash
We’ve decided to keep the original dash aesthetic—cracks and all—because it adds a bit of “authentic” character to the boat. However, the new switch significantly improves the user experience.
- The Rubber Seal: The new Sierra switch comes with a rubber weather seal over the keyhole. The first time you insert the key, you have to “break through” this seal to seat the key properly.
- Alignment: I took the time to rotate the cylinder so the key sits vertically in the “Off” position, rather than being “caddywampus” like the old one.
Final Thoughts and What’s Next
With the ignition fixed, we finally have the “spring back” we need to safely start the engine. We’re getting incredibly close to that first water test.
Watch the full installation here: Install Boat Ignition Switch
If this technical breakdown helped you get your boat back in action, let me know. While I’m finishing up under the dash, Danielle is in the kitchen perfecting this week’s meal. You can find all her recipes and more technical blog updates at www.dininginwithdanielle.com.
Y’all please take care.
Get your ignition switch here: https://amzn.to/2ZHA7bg