Ever buy a mod for the Jeep only to realize your “upgrade” just turned your garage door into a clearance hazard? Yeah, we’ve been there. Today on Chris Does What, we’re ripping off the old, clunky light bar and swapping it for a low-profile 50″ Tri-Row Curved LED Light Bar.
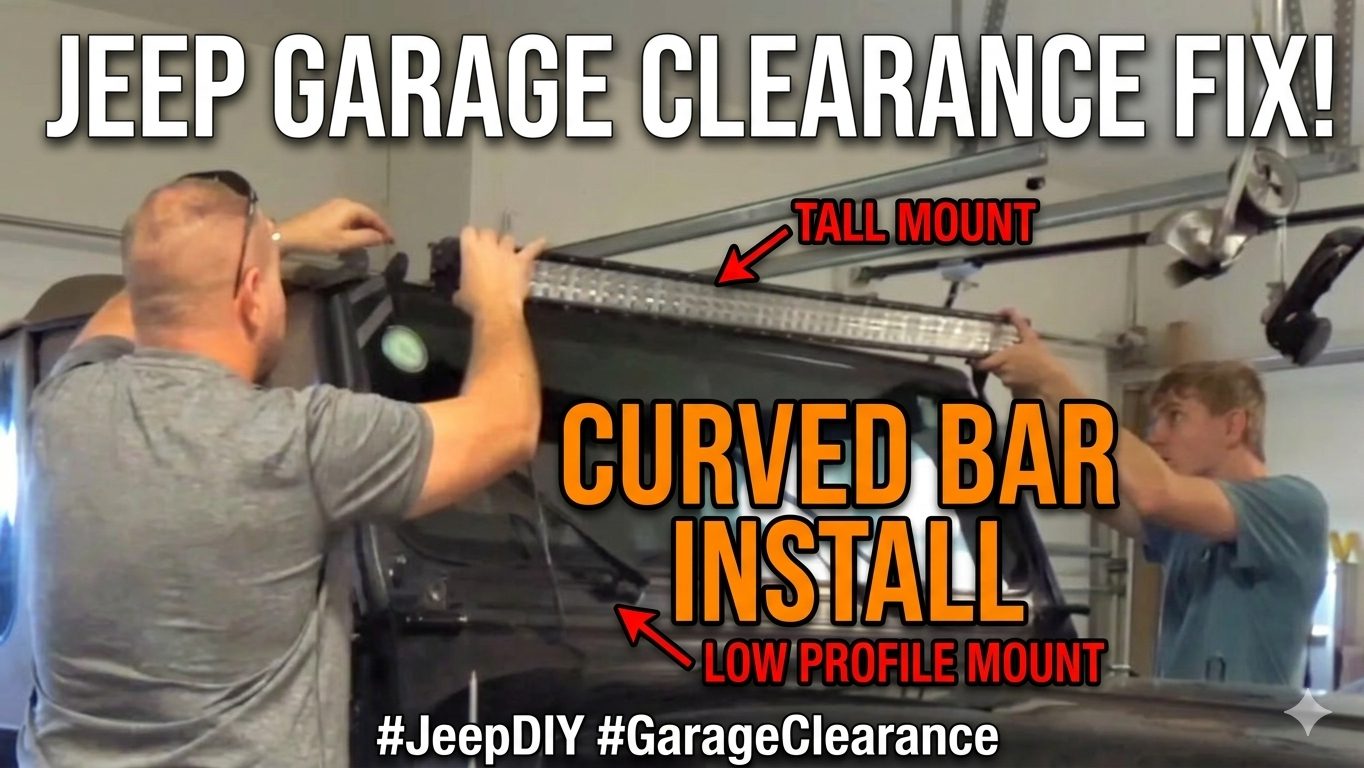
We’re talking 432 watts of spot and flood power that actually fits under the header. If you’re tired of that “death whistle” from a tall bar or just want to stop hitting your garage, this is the fix.
🛠️ The Gear & Tools You’ll Need
- The Light: 50″ Tri-Row Curved LED (Spot/Flood Combo)
- The Mounts: Low-profile windshield brackets (look for the ones with paint-protector padding)
- The Tools: * T40 Torx bit (that “star” bit we all love to lose)
- Wire snips & Heat shrink
- An extra set of hands (Trust me, balancing a 50″ bar solo is a recipe for a scratched hood)
🛒 Shop This Jeep Setup (Amazon)
If you’re looking to replicate this low-profile build, these are the updated components that’ll get the job done:
- The Main Event: Improved 50-inch Curved Light Bar (768W Quad Row) – This is the beast that turns night into day without the garage clearance headache.
- The Foundation: Xprite Front Windshield Mounts – Heavy-duty and designed to sit tight against the A-pillar.
- The Perimeter: Nilight LED Pods – Perfect for ditch lights or rear-facing auxiliary power.
🔧 Step 1: Out with the Old (Clearance is King)
The first thing we had to do was get that old, tall bar off. If your Jeep doesn’t fit in the garage, you aren’t wheeling enough—you’re just parked in the driveway.
Pro Tip: Clip your wiring harness at the source if you’re planning a full reroute. We pulled the existing wires down through the cowl hole to keep things clean for the new install.
🔧 Step 2: Saving Your Paint & Your Windshield
When you’re swapping these mounts, do not take out all the bolts at once. If you do, your windshield is going to try and take a nap on your hood, and that’s a bad day for everyone.
We used the new low-profile mounts which came with foam padding. If yours didn’t come with them, make some. It keeps the metal-on-metal vibration from eating your paint for breakfast.
🔧 Step 3: The “Curved Bar” Struggle
Here’s the reality of “budget” Jeep mods: sometimes the “direct fit” isn’t so direct. Because this is a curved bar, getting the mounts to line up perfectly took some “shadetree engineering.” We had to straighten the bar out a bit to get the bolts to bite. It’s a 15-minute job that turns into 30 if you’re stubborn—just get a buddy to help you tension it.
💡 The Result: Night into Day
Once we got the wiring tucked and the film peeled off (don’t forget to peel that plastic or you’ll melt it right to the lens), we hit the switch.
Holy crap, it’s bright. We compared the dash cam footage from the old bar to this tri-row setup, and the difference is massive. The spread on the flood lights hits the ditches perfectly, while the spot beam reaches way down the trail. Plus, the kid can finally pull the Jeep into the garage without a spotter.