We are officially in the endgame of the Bayliner 175 engine restoration. After a long hiatus from engine timing—I haven’t “stabbed” a distributor since I was 15—it was time to get the Mercruiser 3.0L back in sync.
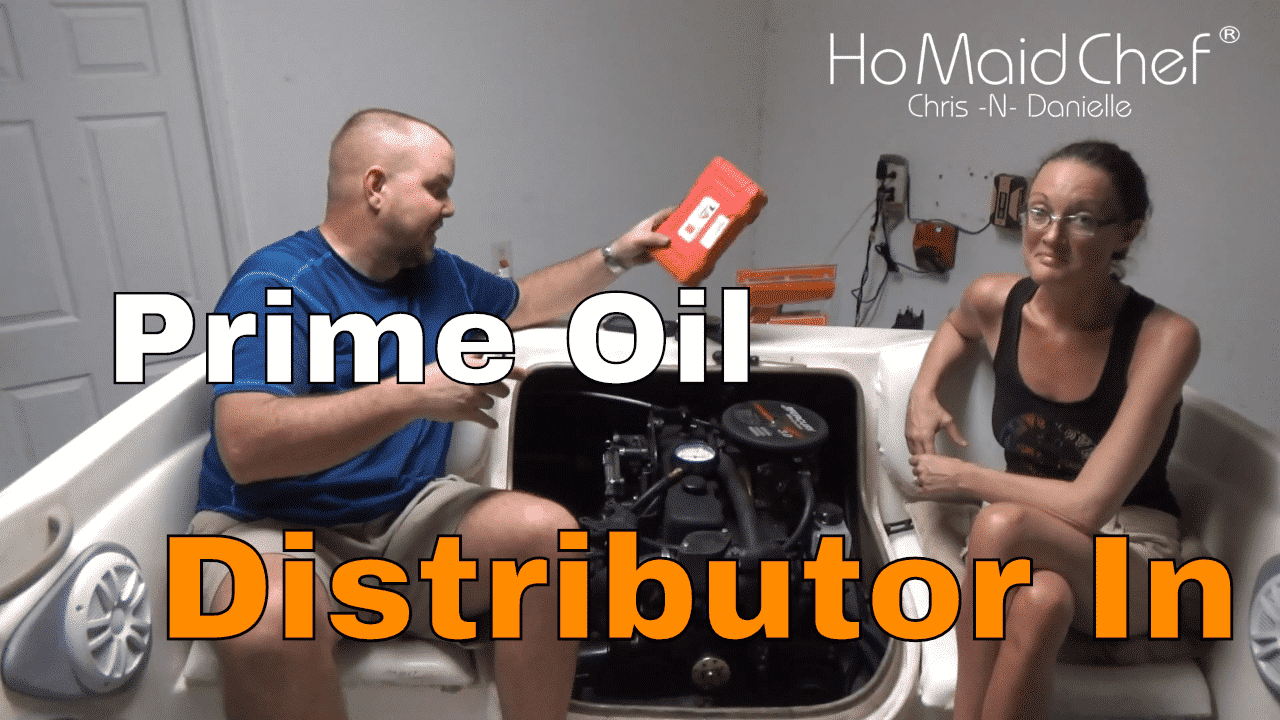
This process is a critical bridge between a stationary engine and a running boat. If the timing is too advanced, you risk burning a hole in the pistons; too retarded, and the engine will be sluggish and underperform. Here is the forensic breakdown of how we primed the oil system, found Top Dead Center (TDC), and set the distributor.
The Investigation: Pre-Start Oil Priming
Before you ever attempt to crank an engine that has been sitting or rebuilt, you must circulate oil through the galleries. Starting a “dry” engine is a guaranteed way to score your bearings.
- The “Redneck” Tool: I took a standard screwdriver, cut off the handle, and chucked it into my power drill.
- The Process: By inserting this into the oil pump drive (through the distributor hole) and spinning it, we were able to manually run the oil pump.
- The Result: We successfully hit about 25 lbs of oil pressure on our gauge. This confirms that oil is reaching the critical components before the first fire.
The Project: Finding TDC and Stabbing the Distributor
”Stabbing” the distributor refers to inserting the gear-driven shaft into the engine so that the rotor points exactly toward the number one spark plug terminal when that cylinder is at the peak of its compression stroke.
- Finding Compression: We hooked up a compression gauge to cylinder number one. I “hot-wired” the starter using a screwdriver to tap the solenoid until we felt the air push—this confirms we are on the compression stroke and not the exhaust stroke.
- Locating the Timing Mark: We rotated the crankshaft until the timing mark on the harmonic balancer aligned with the “0” or “TDC” pointer on the engine block.
- The Drop: We inserted the distributor so the rotor pointed toward the number one cylinder position. Note that the gears are helical (curved), so the rotor will rotate slightly as it drops into place. You have to “aim” slightly before your target to account for this twist.
[Image showing Top Dead Center timing marks on a crankshaft pulley]
The Logistics: Parts and Aesthetic Upgrades
- Plastic Over Stainless: While we’ve been swapping hardware to stainless, Danielle made a smart call on the new cup holders. We went with black plastic instead of stainless steel inserts. In the Florida sun, stainless cup holders can get hot enough to burn you, and ironically, they still tend to rust in the recesses. Plastic is weathered, cracked-proof, and maintenance-free.
- Wiring Order: For the Mercruiser 3.0L, the firing order is 1-3-4-2. We’ve got the new wires mapped out and the coil ready to be mounted.
- Torque Warning: A quick note on the previous mechanic—we found the spark plugs torqued down so hard it was a “bear” to get them out. Spark plugs only need to be snug; over-torquing can strip the threads in the head.
The Final Countdown
The exhaust and intake manifolds are tightened, the gear lube reservoir for the outdrive is topped off, and the distributor is synced. The next time we turn the key, we expect to hear this 3.0L roar to life.
Watch the full technical walkthrough here: Priming Oil and Install Distributor
While I’m finishing the engine bay, Danielle is testing a new casserole recipe that will be hitting the blog soon. You can see our current collection of recipes and the backlog of boat restoration posts at www.dininginwithdanielle.com.
Y’all please take care.
Engine Cylinder Compression Tester: https://amzn.to/2LxbDxw
Engine Oil Pressure and Transmission Fluid Diagnostic Tester: https://amzn.to/34MONtk
Cup Holders “Beer Holders” https://amzn.to/30c1L4w