After a year of teardowns, fiberglass repairs, and technical troubleshooting, the Bayliner 175 has officially fired up for the first time since we’ve owned it.
Prime Engine Oil and Stab Distributor: https://youtu.be/yGtI9Js66kA
Following the distributor “stabbing” and oil priming from the last update, we were finally ready to add the three essential elements of combustion: fuel, air, and spark. Here is the technical breakdown of that first fire, the safety hazards we encountered, and what it means for the torque curve of this Mercruiser 3.0L.
The Investigation: Fuel Delivery and Initial Setup
Before we turned the key, we had to ensure the carburetor wasn’t bone-dry.
- Fuel Priming: We pumped fresh gas into a temporary container to clear the lines and verify the fuel pump was working. Once the line was connected to the carb, a quick pump of the throttle confirmed a healthy “squirt” of fuel into the venturi.
- Idle Speed Adjustment: To help the cold engine catch, I manually adjusted the idle screw on the carburetor to slightly increase the RPMs for the initial start.
- The “Short Run” Constraint: Since we haven’t installed the circulation pump or the belt system yet, we could only run the engine for a few seconds. Running any longer would risk overheating the block and damaging the head gasket.
The Project: The First Fire (and Fireballs)
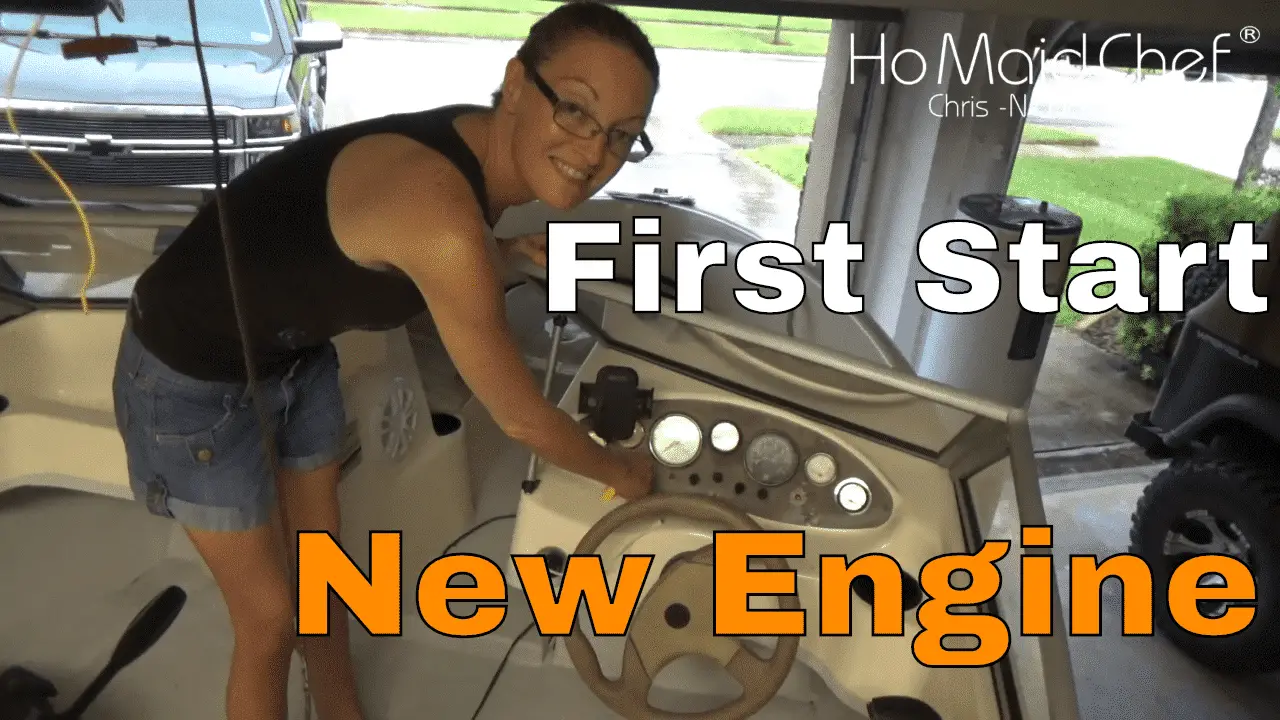
This was a team effort. Danielle was the “trigger man” at the ignition switch while I managed the timing and throttle at the engine.
- The Fireball: While I was adjusting the timing by hand, the engine backfired through the carburetor. I learned the hard way why you don’t put your hand directly over an open carb while someone is cranking—I singed the hair right off my hand!
- Timing Adjustment: The engine initially struggled to catch because the timing was slightly off. By rotating the distributor housing while Danielle cranked the engine, we found the “sweet spot” where it finally roared to life.
- Oil Pressure Confirmation: During the brief run, our mechanical gauge confirmed about 25 lbs (roughly 1.7 bar) of oil pressure, which is exactly where we want to be for a healthy 3.0L.
Technical Specs: The Mercruiser 3.0L 4-Cylinder
A lot of people are surprised by a 3-liter 4-cylinder engine (most are 2.5L or smaller), but this block is built for low-end torque.
- Torque Profile: This engine produces roughly 200 ft-lbs of torque at very low RPMs. This is critical for a bowrider because it provides the “hole shot” needed to pull a skier or tuber out of the water quickly.
The Logistics: Lake Testing vs. Ocean Testing
Now that the engine is a “runner,” we’re moving into the final assembly phase:
- Final Mechanicals: We still need to install the circulation pump, wire the alternator, and connect the exhaust bellows to the outdrive.
- The “Paddle” Plan: Our first water tests will be strictly limited to local Florida lakes. I have no desire to test a freshly restored engine in an ocean current. If something fails, I’d much rather paddle back to a lake shore than drift into the Atlantic. We’ve got our “emergency propulsion kit” (a paddle) stowed in the ski locker just in case.
Watch the first engine start here: Starting 3.0 Mercruiser Boat Engine First Time
The seats might still be a “winter project,” but we are officially closer than ever to getting this boat on the water. While I’m nursing my singed hand, Danielle is in the kitchen working on a new casserole. Check out the current recipe list and boat blog updates at www.dininginwithdanielle.com.
Y’all please take care.
Engine Cylinder Compression Tester: https://amzn.to/2LxbDxw
Engine Oil Pressure and Transmission Fluid Diagnostic Tester: https://amzn.to/34MONtk
Cup Holders “Beer Holders” https://amzn.to/30c1L4w