If your boat trailer is just a few inches too long to fit in your garage, you don’t need a bigger garage—you just need a Trailer Swing Tongue. We recently installed the Fulton Fold-Away Bolt-On Hinge Kit on our Bayliner 175, and it has turned a “permanent garage boat” into a rig that is actually ready for the water.
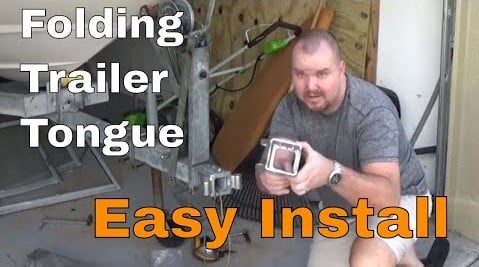
Here is the step-by-step breakdown of how to install this kit without needing a welder.
The Problem: The Garage “Inch Gap”
The Bayliner was just a tad too long for the door to close comfortably.
- The Investigation: We looked at the 3×3 hinge kit from Fulton. According to the specs, this boat is light enough that we could cut off about 27-30 inches of the tongue while still maintaining a safe tongue weight (which is well under the 400 lb limit for this kit).
- The Solution: A bolt-on folding hinge that allows the entire coupler to swing back against the trailer frame when parked.
The Project: Step-by-Step Install
This is a straightforward project, but it requires some heavy-duty tools and a bit of “elbow grease.”
1. Cutting the Tongue
I used a wheel grinder with a cutting bit to get a clean line all the way around the 3×3 steel tubing.
- Safety Tip: Make sure your trailer wiring is pulled back and out of the way before you start cutting! You don’t want to have to rewire the whole trailer because of one stray spark.
2. Drilling and Mounting
The kit comes with a template and a punch.
- Precision: I highly recommend punching your first hole, drilling it, and then bolting the hinge loosely in place. This ensures the hinge doesn’t shift while you drill the remaining holes.
- Orientation: Think about which way you want the tongue to swing. I have my jack on one side, so I set the hinge to swing the opposite way to avoid any interference.
3. Finishing the Bolts
The Fulton kit uses a specialized “star” bolt head and even provides the tool for it.
- Torque: These need to be tight. I used a Milwaukee impact with metal gears to drive them home.
- Pro Tip: If you can, flip the hitch over after drilling the top holes so you can drill the bottom ones from the top down. It’s much easier on your arms and eyes.
Final Touches: Wiring
Once the hinge is on, you’ll need to reconnect your wiring.
- Marine Standard: Always use Marine heat-shrink wire connectors. Since this trailer is going in and out of the water, standard crimps will corrode and fail, leading to light issues (and unhappy state troopers).
The Result: A Garage-Friendly Boat
For about $120 for the kit and $40 for a good grinder, we saved ourselves the headache of a boat that doesn’t fit its home. The hinge is solid, easy to use with the provided pin, and gives us exactly the clearance we needed.
Watch the full installation and see the “swing” in action here: Fulton Trailer Hinge Install
After a long day of cutting metal and drilling steel, there’s nothing like one of Danielle’s meals to recharge. She recently shared her Oven Fried Chicken recipe (made with whole wheat—it’s incredibly good). Check that out and more over at www.dininginwithdanielle.com.
Y’all please take care.
Fulton Fold-Away Bolt-On Hinge Kit for 3″ x 3″ Trailer Beam – up to 5,000 lb.GTW: https://amzn.to/2EGe6C8
Hitachi Angle Grinder – 6.2 AMP: https://amzn.to/2Hb72PK