We have hit the six-month milestone with our TruGreen service, and as with any long-term project, we’ve seen a mix of significant progress and mechanical setbacks. While the chemical treatments have yielded impressive results on the weed front, the physical side of lawn maintenance has left us with some “redneck engineering” to do on the irrigation system.
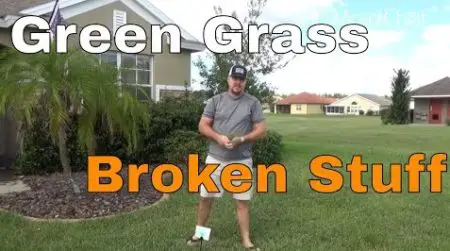
Here is the forensic status of the lawn and our technical approach to repairing the damage from the recent aeration.
The Investigation: Weed Control & Potassium Treatment
The primary victory of the last six months is the total elimination of dollar weeds. Our St. Augustine is looking fuller and greener, but we are still battling “star weeds”—a resilient invader that seems immune to the current chemical cocktail.
- The Solution: Our latest service included a heavy application of potassium fertilizer. Potassium is critical for grass health as it “tightens up” the cell structure, making the grass more drought-resistant and competitive. The goal is to have the St. Augustine grow thick enough to naturally squeeze out the remaining weeds.
- The Drought Constraint: We are currently in a drought period in Florida, which makes the timing of these fertilizers critical. We’ve had to ramp up our watering schedule to ensure the potassium reaches the root zone without burning the blades.
The Damage Report: Aeration vs. Irrigation
While the core aeration was intended to relieve soil compaction, it was hard on our equipment and unestablished sod.
- Ripped Sod: In areas where the ride-on aerator made sharp turns, the torque of the tines dug up significant chunks of grass. These areas yellowed quickly but are slowly rebounding thanks to increased watering.
- Broken Sprinkler Heads: Several of our pop-up sprinkler heads were failing to retract fully. During the aeration process, these “stuck” heads were struck by the machine. One was bent beyond repair, and another turned into a geyser.
The Project: Sprinkler Head Replacement
To fix the damage, we opted for K-Rain heads from Amazon. They are roughly half the price of the industry-standard Rainbird heads, so we’re testing them for long-term durability.
- Excavation: I used a chisel tool to cut a clean circle of sod around the broken head. This makes it easier to replace the sod later without leaving a “scar” in the yard.
- The “Clean Swap” Protocol: When unscrewing the old head from the riser, you must work quickly. Dig out a deep enough hole to catch any residual water so it doesn’t wash dirt down into the open pipe. If debris gets into the line, it will immediately clog the new nozzle.
- Adjustment: These K-Rain heads are 360-degree sprayers.
- Width/Flow: Use a screwdriver to turn the top screw clockwise to decrease the radius/flow and counter-clockwise to increase it.
- Direction: To adjust the spray pattern, simply rotate the base of the head until it’s pointing away from the house or sidewalk.
Final Verdict at 6 Months
Is the service worth it? The results of the weed elimination are undeniable. However, you have to be prepared to handle the mechanical fallout. I’m happy to swap out a few $4 sprinkler heads myself if it means my yard stays dollar-weed free.
Watch the full 6-month review and repair here: TrueGreen 6 Month Review, Ripped Up Sod, Broken Sprinkler Heads
We are also expanding our brand! We now have registered trademarks for our “Chris Does What” and “Dining In With Danielle” gear. Check out the link below for our latest hats and stay tuned for our upcoming holiday seasonal gear.
For the latest technical updates and culinary developments, visit www.dininginwithdanielle.com.
Y’all please take care.