Now we can ski!
Video at the bottom if you’re like me and don’t like to read. LOL

Cutting a hole in the boat floor
So we worked so hard to get the rotten floor out of our boat, and now we want to put a big hole in the middle. The original floor did have a ski locker, but when we got the boat, the rotted floor was covered with plywood. We did want to have the locker for storage of gear and not just have toys strung all over the deck of the boat.

Make it strong
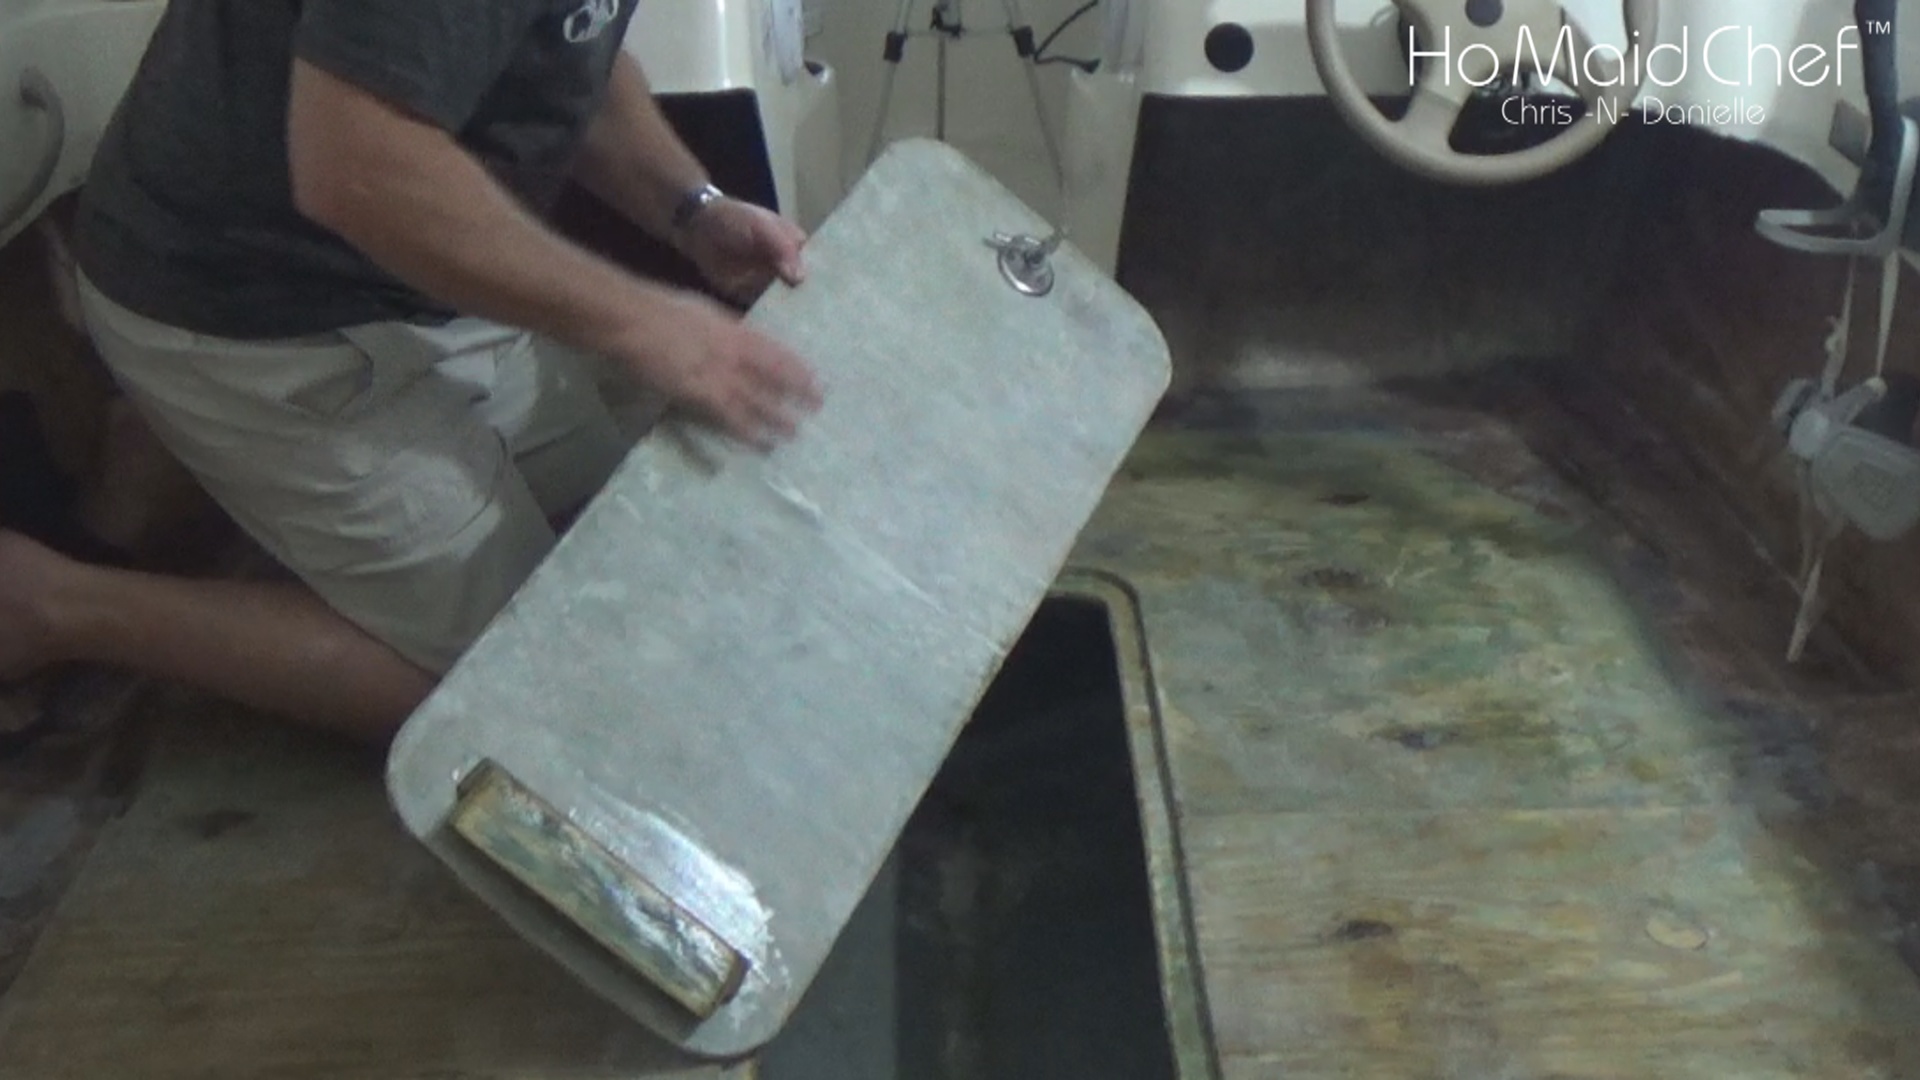
Since the Ski Locker was going to be made from the pieces I cut from the floor and we wanted it to be one piece and strong. We first held the ski locker hatch with wood, we thought it was going to stay there, but It wasn’t very pretty. We then used fiberglass cloth on the hatch, with many layers on both sides making it much stronger than a normal piece of plywood.
We also had to add a strong lip the ski locker hatch could lay on. Since there were no stringers directly under the lip edge we added plywood from the lip start all the way to the stringer. It was resined and screwed to add more support, it does have to hold my weight when I walk on it, I’m not a small guy.

Ski locker hardware installed
Not to fancy, budget-friendly latch on the ski locker hatch. Thought we were going to make it fancy with hinges, hydraulics, and cool stuff, then we think, would it hold up and be easy to fix later. This had to not fly out when underway, but be simple and cheap to put in, this is what we came up with.

Instead of a hinge that could break, we thought we would just add a catch that would go under the lip. This was not only easy and cheap to make, but with the other side of the ski locker latched, it was not moving. It also did not have to be strong, only upward forces would be on this, the weight was supported by the lip around the ski locker hatch.

All in all this job went very quickly, the longest part was allowing the resin to fully cure. The latch we used was not expensive at all, it was flush to the floor and very adjustable for different thicknesses of latching situations. When we lift the latch handle up on the ski locker, it was very easy to unlock and lift out of the way, exposing the bilge with plenty of room for skies “Probably Beer”.

After everything was done it was time to relax and admire the work we have done. Cleaning up can wait as we bask in our small triumph, being one step closer to this boat hitting the water.
Tools & Supplies Used:
- Milwaukee drill: https://amzn.to/2yyMlbo
- Ryobi Jig Saw: https://amzn.to/2D65SDU
- DEWALT Orbit Sander: https://amzn.to/2PT5LOE
- TotalBoat 5:1 Epoxy Resin Kits: https://amzn.to/2Sf5dnZ
What’s Left From this Entry
- Boat Bumper Trim
- Windows
- Paint
- Start Engine
- Navigation
- Seats
- Marine Radio
- Rear Speakers
- Things I forgot
Boat Restoration Blogs
https://www.chrisdoeswhat.com/category/diy/boat-restoration/
Commonsense provided by my love Danielle Redding
Boat Ski Locker Install In Rebuilt Floor EP #24 || Bayliner Bowrider 2004
What is the point of restoring a ski boat with no ski locker, no much I guess. Here we put in the basic door for the ski locker our 2004 Bayliner Bowrider that we are restoring. In later videos, we will make it look pretty and paint the floor.
Ski Locker Fiberglass Done For Our Boat, Next Hardware EP #32 || Bayliner Bowrider 2004
Just got all the fiberglass done for the ski locker hatch. Now we have to figure out how we are going to complete the ski locker hardware to lock it to the floor.
Custom Boat Ski Locker Finish EP #33|| Bayliner Bowrider 2004
We built the latch system for our ski lover on this old Bayliner Bowrider 175. This had to be one of the easiest things we have done in this project. Now we are on to painting the floor cause it is still so ugly. Want a pretty floor that hides all the labor it took to fix this rotted mess so now it’s paint time.
If you like this and it has helped or you have an idea to improve this post, feel free to leave a comment below. You can also send us direct feedback from Contact Us below if you so desire. Our mission is to help others through self-discovery and improvement, your journey begins with that first step.
Check out Dining in with Danielle for great recipes!
See below for author information and blogs by me!
Leave feedback, all information comes from our experiences, it can be flawed.
Equipment:
All videos are edited with Sony VEGAS Pro
https://amzn.to/2GrzE77
Our video studio does have a green screen with umbrella lighting
https://amzn.to/2BVIlpq
All recording equipment is Sony and our main camera is the HDR-CX675 offering servo steadied filming and 5.1 sound.
https://amzn.to/2BlJxQb


