DIY Sway Bar Link Repair: Smooth Driving Ahead!
If you’re tired of feeling like you’re on a rollercoaster every time you hit a bump in the road, it may be time to take matters into your own hands. Sway bar links are an essential component of your vehicle’s suspension system, and if they become loose or damaged, it can seriously affect your ride quality. But fear not, intrepid DIY-er, because with a bit of elbow grease and some basic tools, you can easily repair your sway bar links for a smoother driving experience.
Get Your Sway Bar Here To Help Support Our Content: https://amzn.to/3Najbq1
Don’t Let a Wobbly Link Ruin Your Ride
So, what exactly is a sway bar link, and why is it so important? Essentially, the sway bar (also known as a stabilizer bar) is a metal rod that connects the suspension on either side of your vehicle. The sway bar link is a small piece that connects the sway bar to the suspension itself. This is what keeps your car from swaying too much in turns or over bumps, and helps to distribute weight evenly across all four wheels. If a sway bar link is loose or damaged, you may notice clunking or rattling noises when you go over bumps, and your car may feel wobbly or unstable when turning.
Get Your Hands Dirty with this Sway Bar Fix!
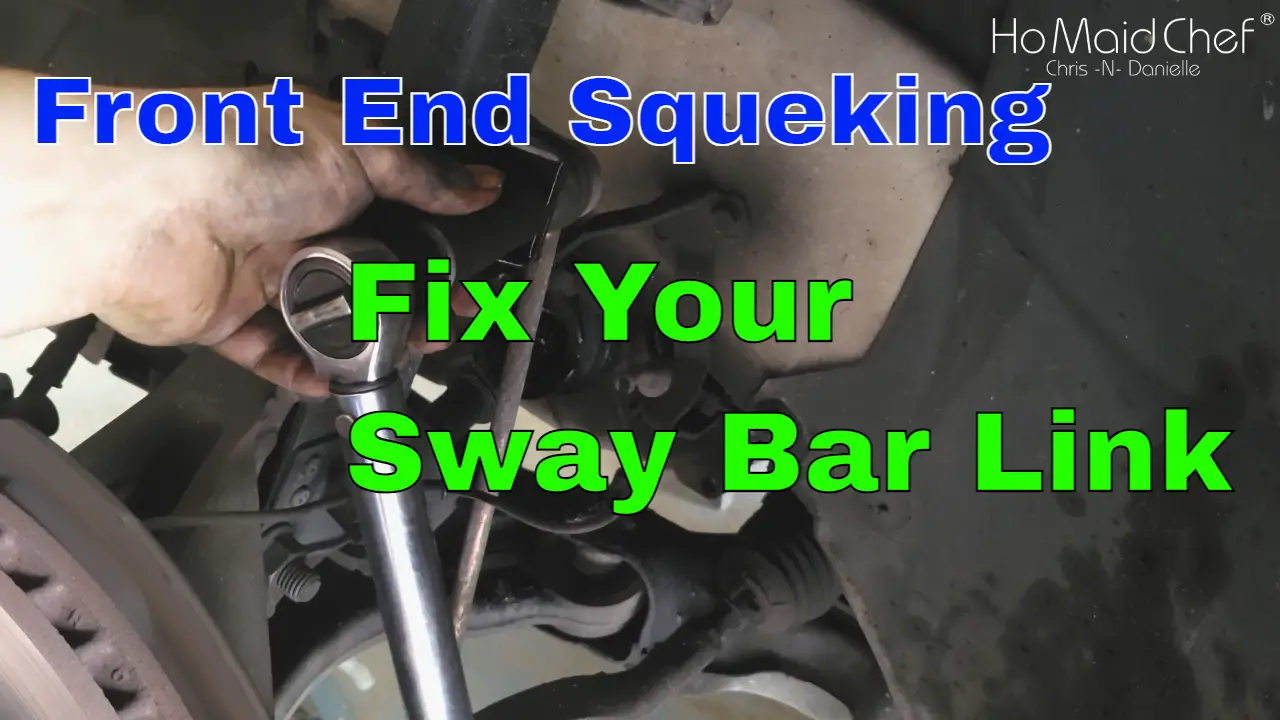
First things first, you’ll need to locate your sway bar links. These are usually located near the bottom of your vehicle, just behind the front wheels. You’ll need to jack up the front of your car and remove the wheels to access them. Once you’ve located the sway bar links, you’ll need to inspect them for damage or wear. If they’re just loose, you may be able to tighten them up with a socket wrench. If they’re damaged, you’ll need to replace them.
To replace a sway bar link, you’ll need to remove the old one by loosening the nuts on either end with a socket wrench. Then, simply slide the old link out and insert the new one in its place. Tighten the nuts on either end and you’re good to go! Make sure to repeat the process on both sides of your vehicle for optimal stability.
With this simple DIY repair, you can ensure that your car stays stable and comfortable on the road. Just remember to always use caution when working on your vehicle, and don’t be afraid to ask for help if you need it. Happy wrenching!
Tools We Love:
- Milwaukee 18-Volt Drill and Impact Driver Kit: https://amzn.to/366BwxM
- Husky Mechanics Tool Set: https://amzn.to/3kuGUzD
- Angle Grinder https://amzn.to/36FaC09
- Forney Easy Weld Welder https://amzn.to/3romDR1
- Welding Helmet https://amzn.to/3wOq58z


