Boat Trailer To Big
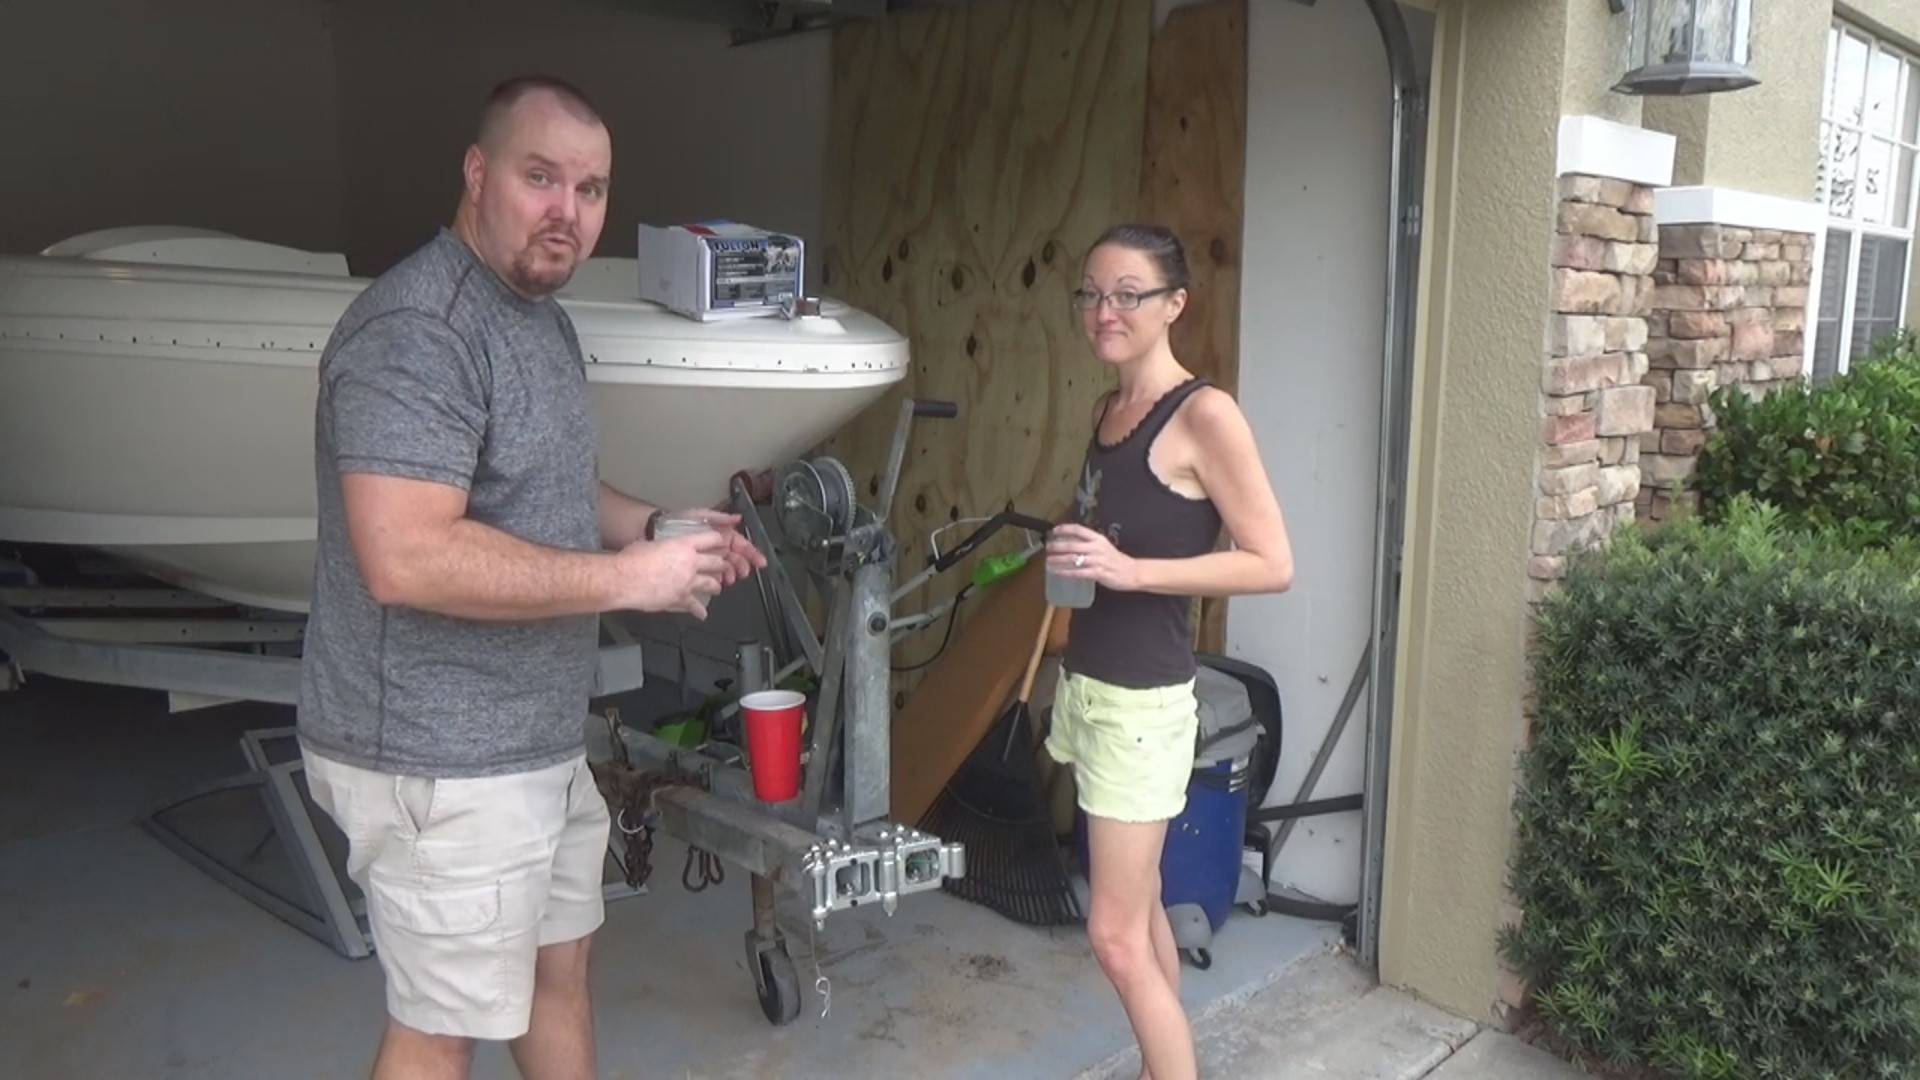
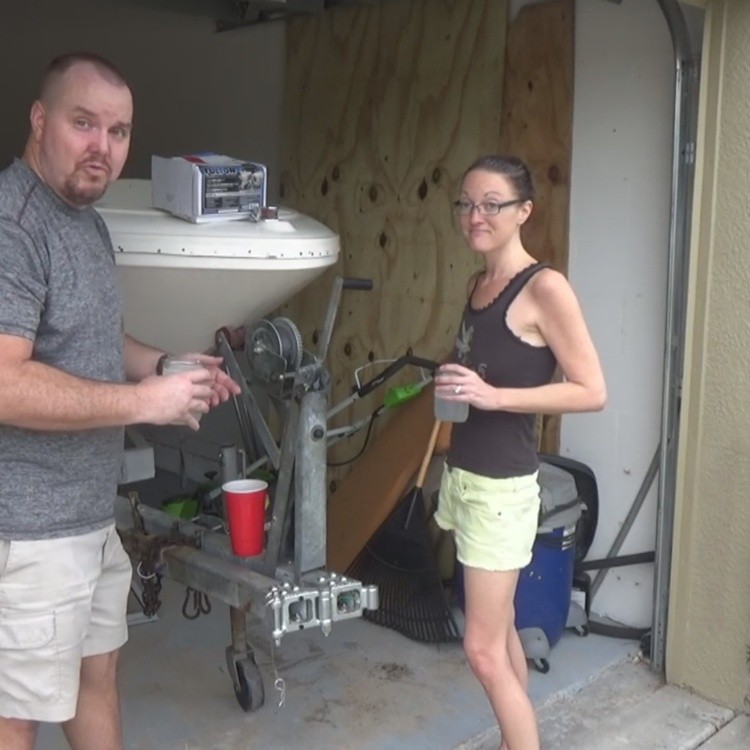
Not much point in having a garage boat and it not fit in the garage. We got this small of a boat because we live in an HOA community and can not leave the boat in our driveway. While the boat does fit in the garage sideways, we also like to park our cars in the garage.
In this blog, we are going to go over the steps we took to shorten our boat trailer to only take up one car spot. I guess after doing this we could have bought a bigger boat and put it in the garage sideways if we did care about sun damaged cars. If you want to see the video that shows how we did this, go to the end of this blog and enjoy.
Boat Trailer Parts
Not a lot of things were needed to shorten the boat trailer, in fact we cut the tongue off the trailer well before we had the needed parts.
Parts And Tools:
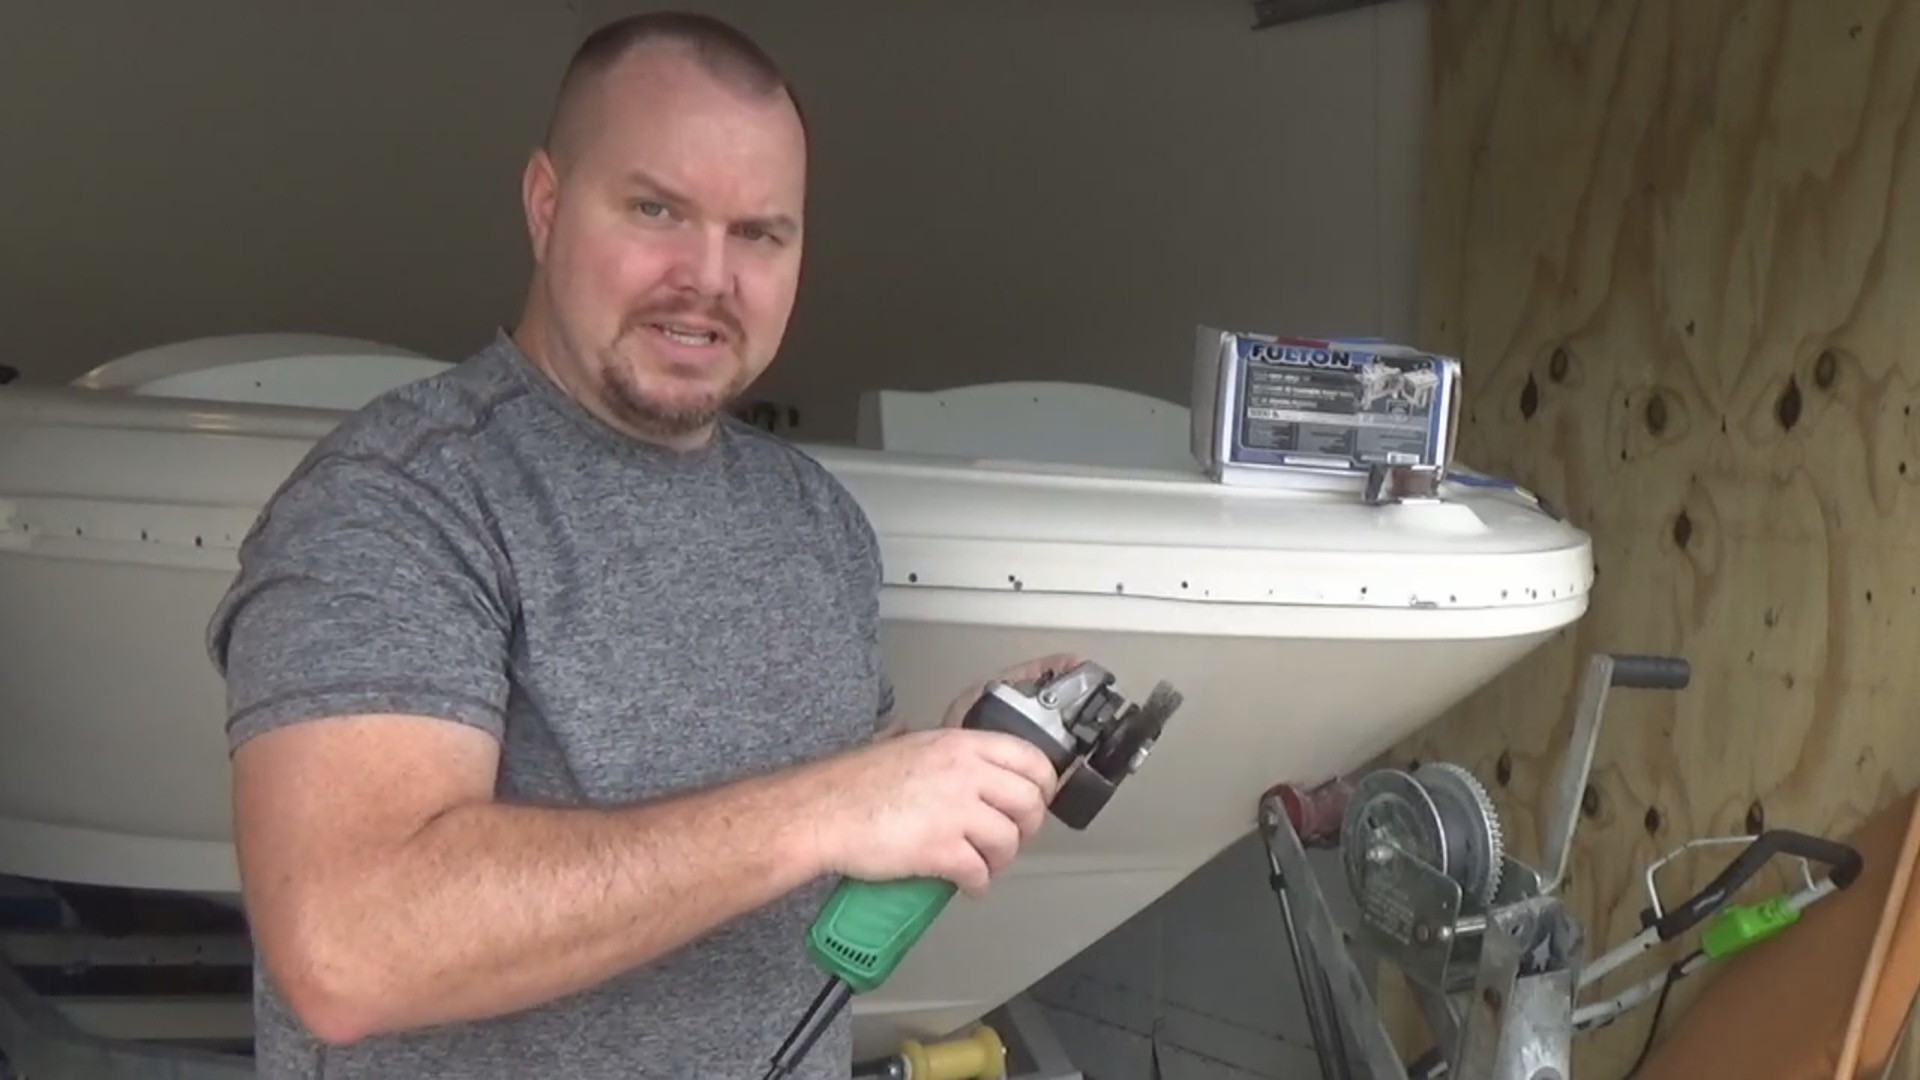
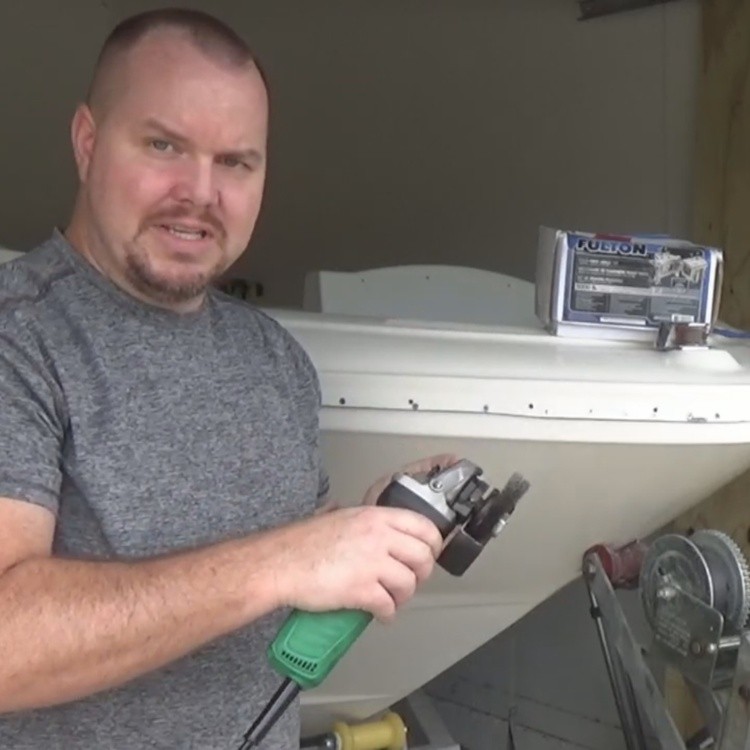
- Hitachi Hand Held Grinder: https://amzn.to/2nRs6Qv
- Fulton Trailer Swing Tongue: https://amzn.to/2EGe6C8
Milwaukee Drill: https://amzn.to/2OffEWQ
How Much To Cut
The first thing you have to do is, measure the bare minimum of the trailer you need to remove to meet your need. Don’t shorten the trailer more than what is needed, this will add extra stress to you hitch reducing your trailers capacity.
Get Out The Way
Once you know where you have to cut, you have to figure out what has to move. On our trailer, we had to move the trailer jack to the other side of the boat winch. We also had to side the forward mount of the boat winch back, for the minimum amount to fit in the garage. If you can move things far enough back at this point, your trailer is not going to fit.
Cutting The Trailer Tongue
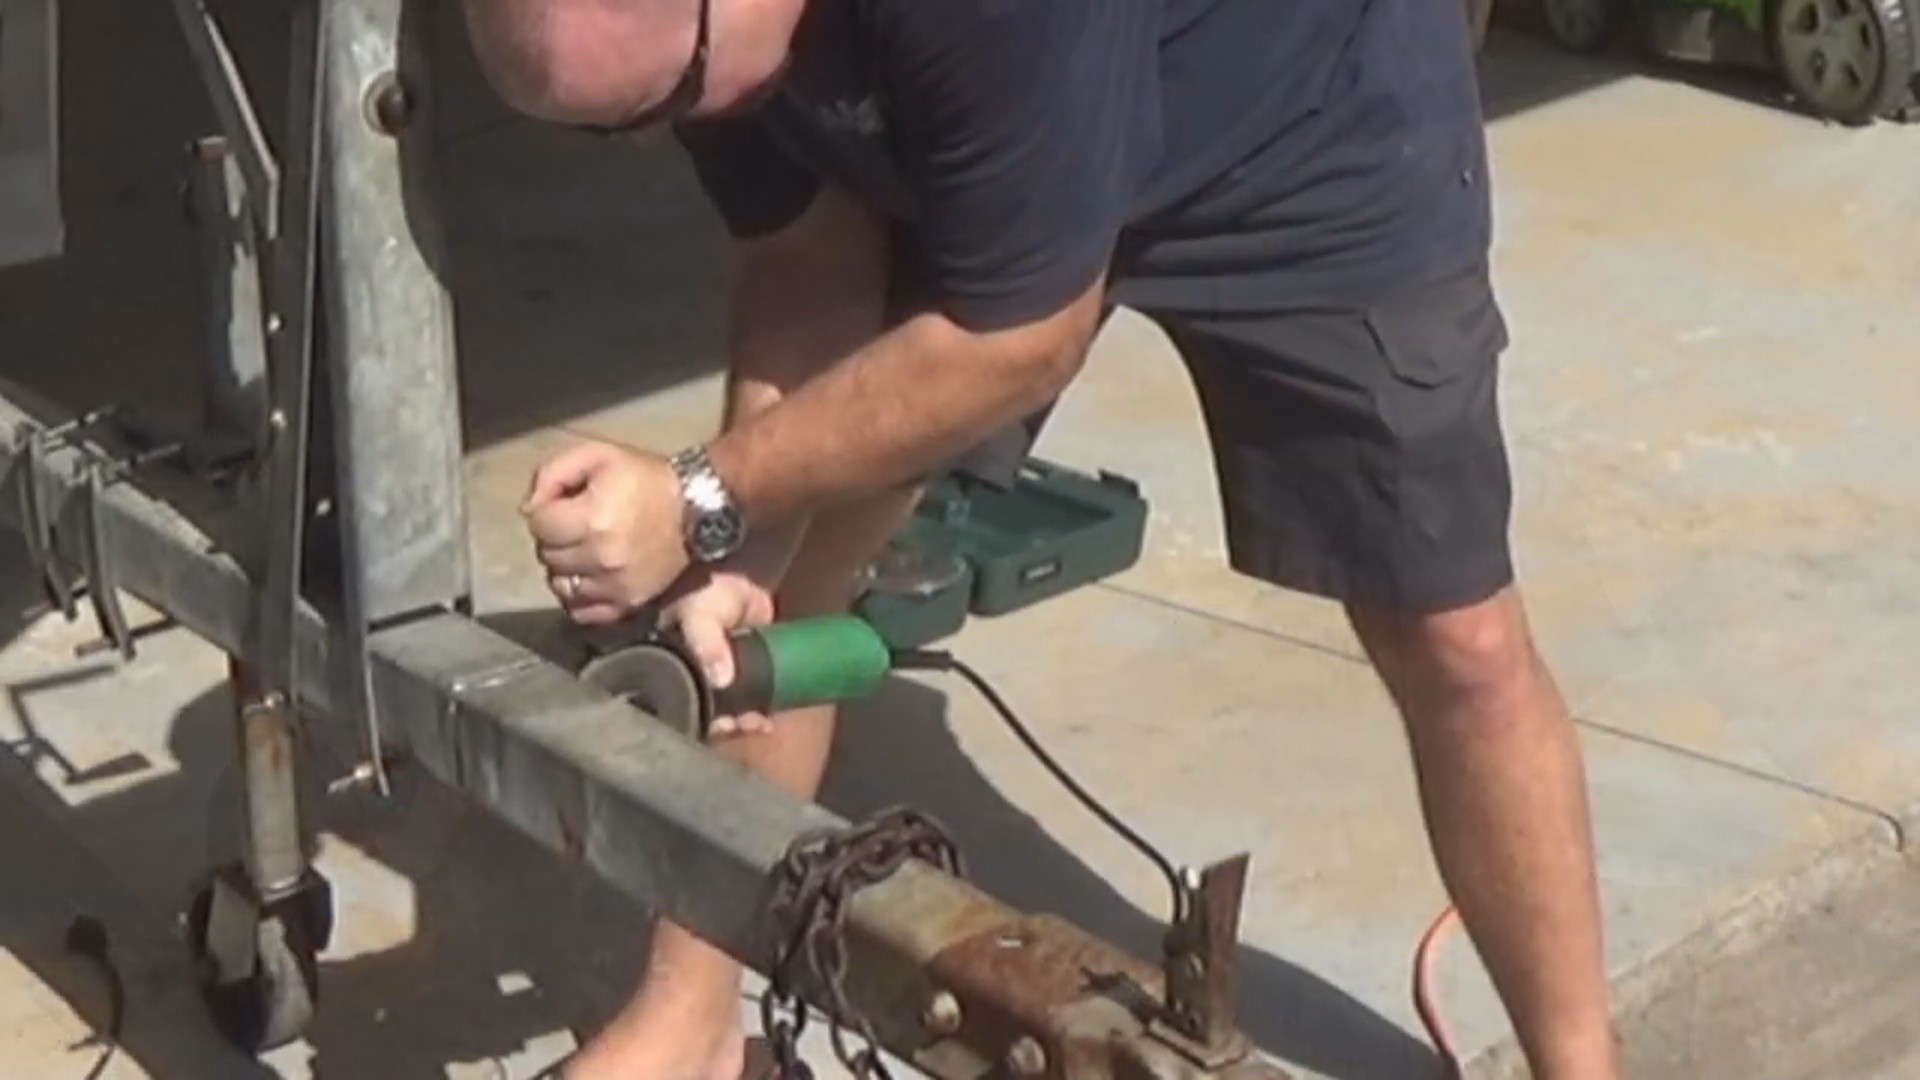
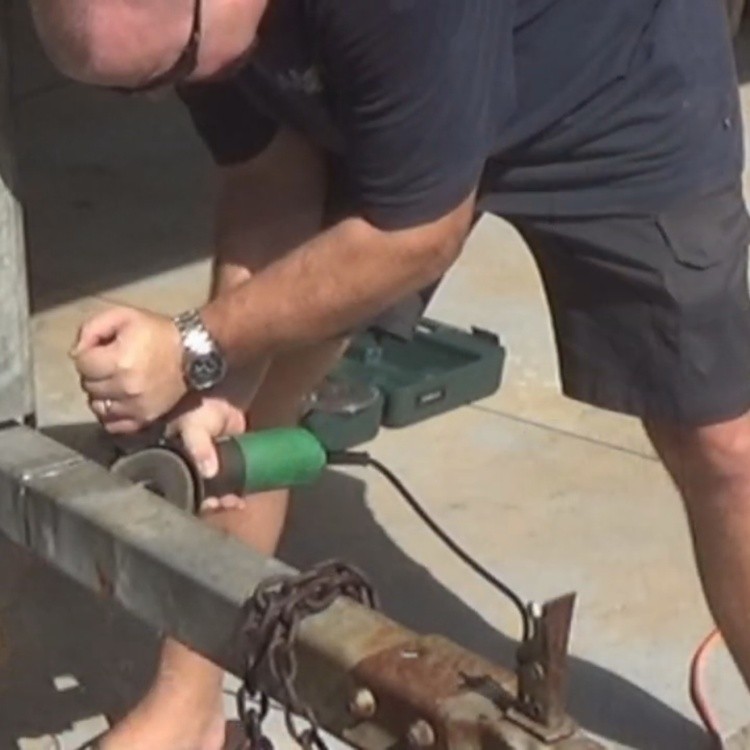
Once the above is done, you probably have to remove your ground wire for your trailer lights, and you are ready to cut. Remember that you may have your lighting wire running through the hitch, don’t cut them. We used the grinder to mark the tongue all the way around before cutting.
Once we started cutting we started on the bottom, not going all the way through the metal, cutting the wires. Once the bottom of the trailer tongue was thin, we cut through on the top and the sides, moving the trailer light wiring out of the way as we cut the sides. Then we were able to bend the trailer tongue down and move the wires out of the way to cut the bottom.
Installing The Swing
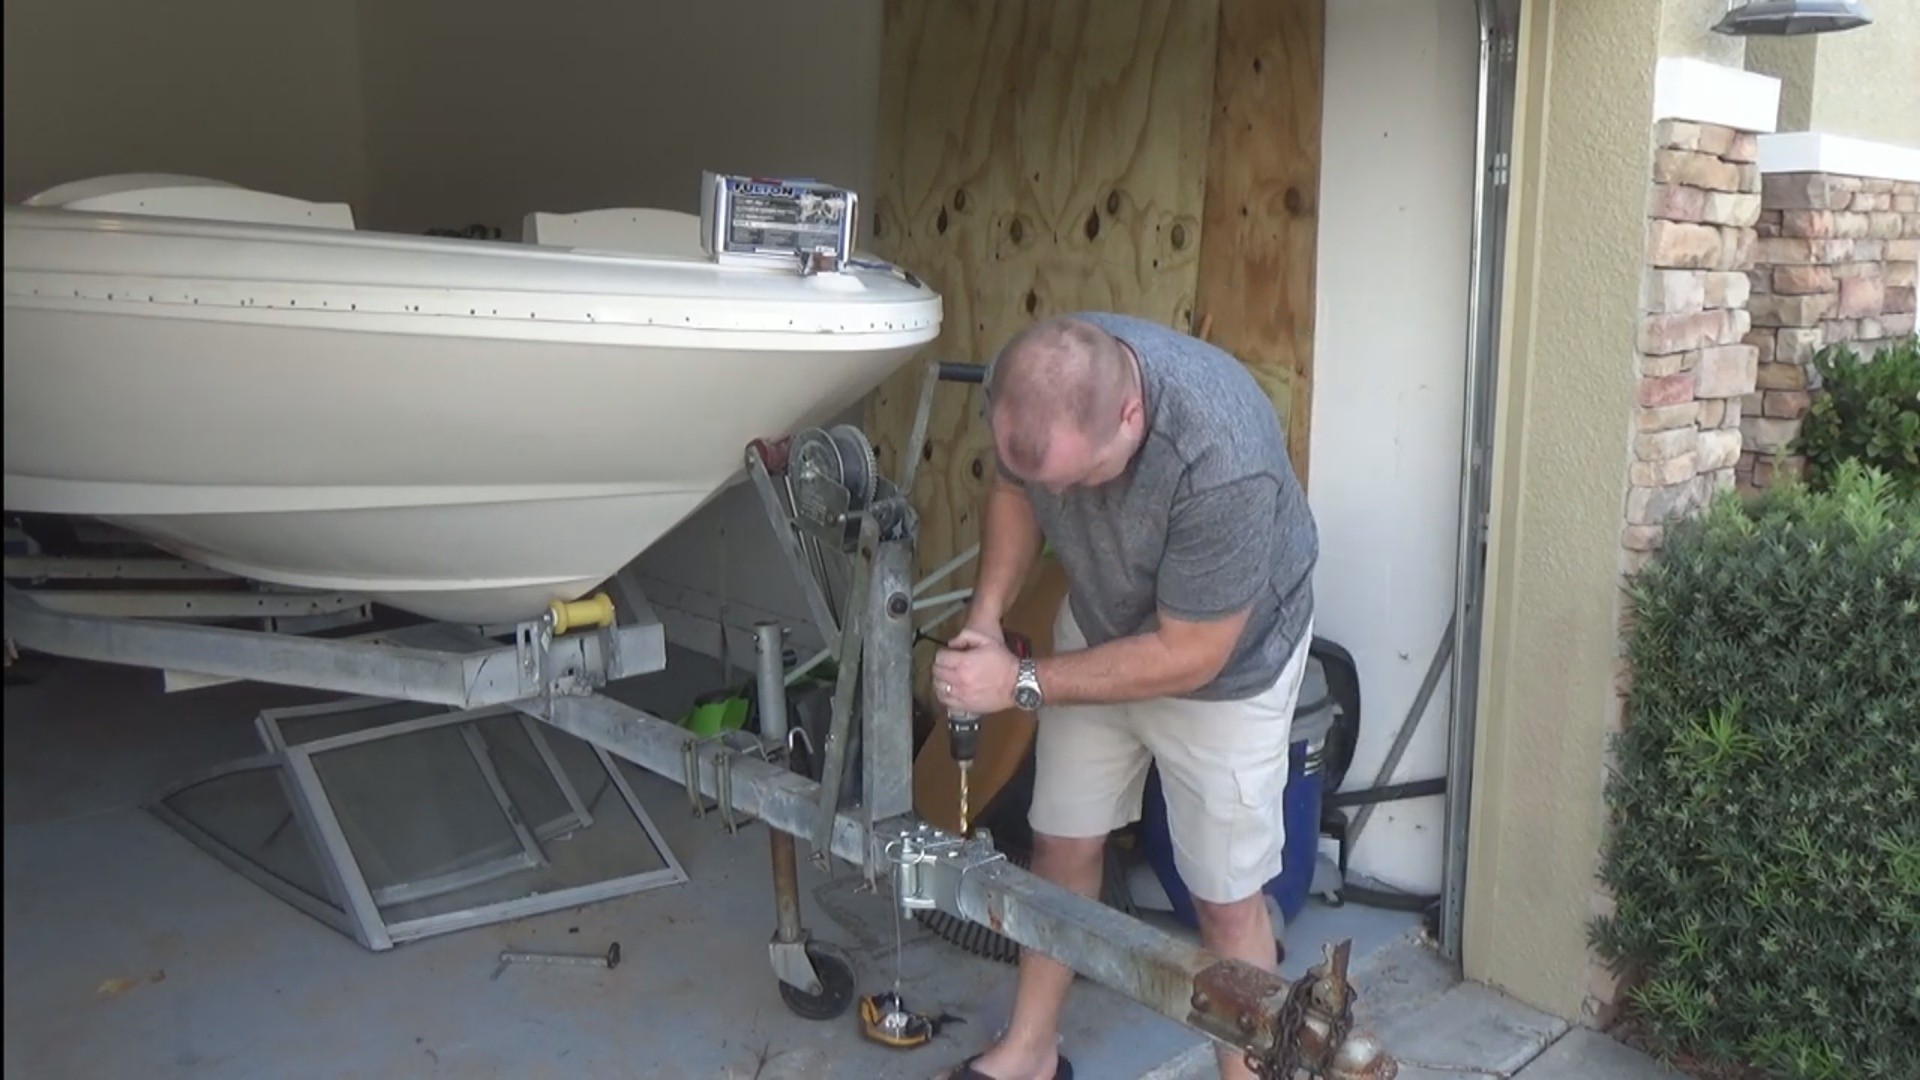
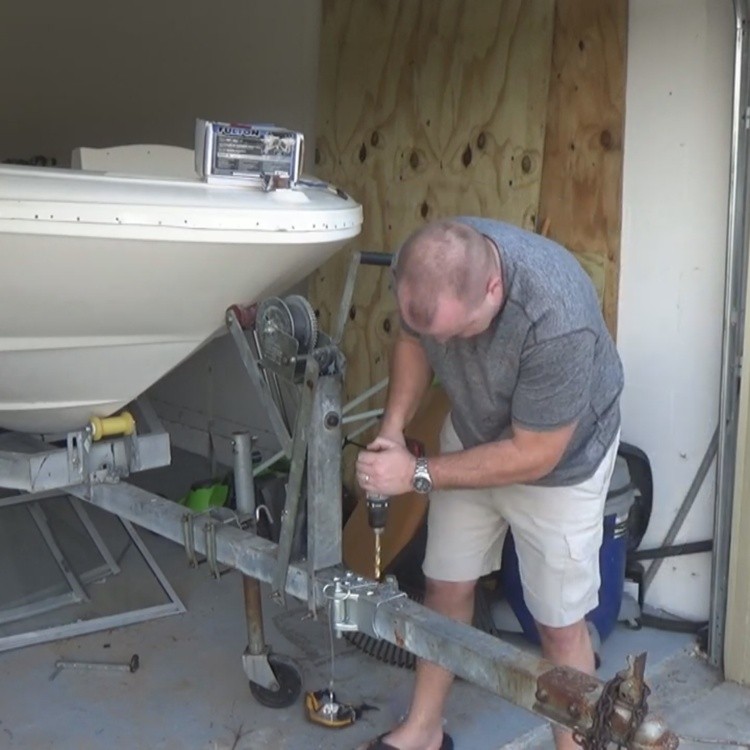
This is easy and hard, the part that wore me out was drilling the holes. The directions say to work your way up in bit sizes, we did not do this because drilling can be very tiring. We used a half inch bit and then drilled the first hole. Then put a bolt into it to hole the swing hitch as we drilled the rest of the holes. Make sure you put your wiring through the swing hitch before you bolt it down.
Full YouTube Video
Finish The Swing
After the two swing hitch pieces are bolted on put you hitch bolt of the shortest hinge of the swing hitch. Now all you have to do is get your wired grounded and you are ready to keep that trailer in your garage.
For us, this is a big deal cause the HOA does not allow boats in the driveway. The Fulton Swing Hitch worked very well and now we own a true garage boat.
We hope this post helped you get that trailer where need it, and don’t forget to subscribe for more great content
Boat Restoration Blogs
https://www.chrisdoeswhat.com/category/diy/boat-restoration/
Full YouTube Video
Check out Dining in with Danielle for great recipes!
See below for author information and blogs by me!
Leave feedback, all information comes from our experiences, it can be flawed.
Equipment:
All videos are edited with Sony VEGAS Pro
https://amzn.to/2GrzE77
Our video studio does have a green screen with umbrella lighting
https://amzn.to/2BVIlpq
All recording equipment is Sony and our main camera is the HDR-CX675 offering servo steadied filming and 5.1 sound.
https://amzn.to/2BlJxQb


