The Bayliner 175 restoration is hitting a major milestone: the ski locker floor is officially sealed. If you’ve been following the episodes, you know this specific hatch has been the most frustrating part of the build. It was warped, heavy, and structurally compromised, but we finally have it rock solid.
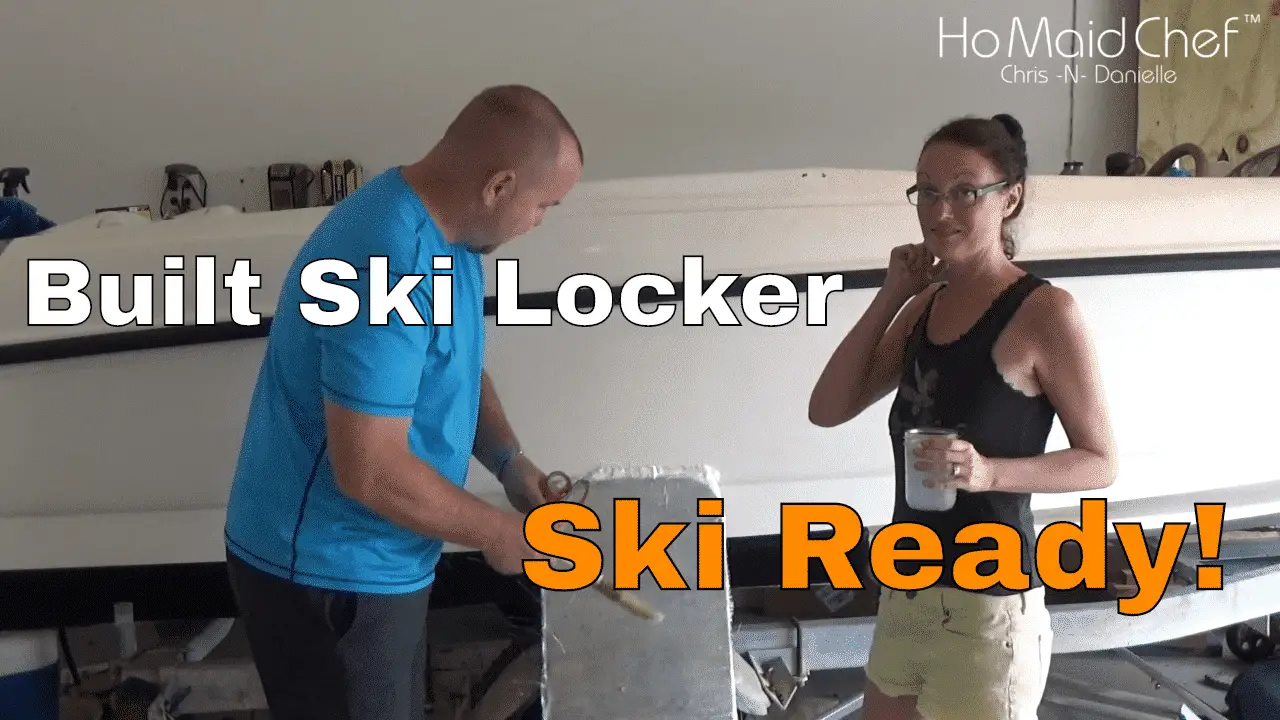
Here is how we finished the fiberglassing and prepped the locker for its final latching system.
The Investigation: Stripping the Weight
The previous “repair” on this boat used a massive piece of 3/4-inch plywood that was both rotting and incredibly heavy.
- The Crowbar Phase: We started by removing the temporary wooden supports I used to hold the hatch flat while the first layer of resin cured.
- The “Lamination” Theory: By stripping away the heavy wood and replacing it with multiple layers of fiberglass, we’ve achieved a hatch that is lighter than the original 3/4-inch plywood but significantly more rigid. I used about five to six layers of fiberglass through the center section to ensure it can handle constant foot traffic.
The Project: Fiberglass Finishing
- The Hand-Press Method: I have a fiberglass roller, but to be honest, I didn’t want to clean it. I used disposable gloves to manually push out all the air bubbles from the woven roving. It’s messy, but it works—just make sure you don’t have any trapped air, or you’ll end up with weak spots (delamination).
- Trimming the Excess: Before the resin fully cures into a rock-hard state, it’s much easier to trim. I used a pair of heavy-duty scissors to cut the fiberglass as close to the wood as possible. This saves your sandpaper and prevents the fiberglass “fuzz” from clogging your sander later.
- The Sanding Setup: Once hard, I hit the edges with an orbital sander. Even though I have the sander hooked up to a vacuum, I still wore a respirator. Fiberglass dust is nasty on the lungs, and in the Florida humidity, it sticks to everything.
The Logistics: Flush Fit and Latches
The locker hatch is now sitting perfectly flush with the rest of the floor. In fact, it’s such a tight fit that you currently need a screwdriver to pry it up.
- The “No-Hinge” Decision: We’ve decided not to use a traditional hinge system for the ski locker. On a boat this size, hinges are just more hardware to break or trip over. Instead, it will be a fully removable hatch.
- The Mystery Latch: We’re working on a custom latching system that will allow us to lift the hatch out easily while keeping it secure while underway.
Lessons from the Boat Yard
- Clothes You Hate: Between the flotation foam and the resin, I’ve managed to ruin nearly every shirt I own. If you’re doing this at home, wear your worst clothes.
- Sweat Management: Working with non-powdered gloves in the heat means they fill up with sweat almost instantly. Have a “lovely assistant” (like Danielle) nearby to help you peel them off when you’re done.
Watch the final layup and the “Rock Solid” test here: Ski Locker Fiberglass Done
While I’m finishing the floor, Danielle is working on some “busy day” recipes. If you’re looking for side dishes, appetizers, or simple baking, check out her latest at www.dininginwithdanielle.com. There’s a new dip coming soon that I’ve been “guinea-pigging,” and it’s a game-changer.
Y’all please take care.