Boat Windows Installed, Wetness Averted
Video at the bottom if you’re like me and don’t like to read.
We got our windows installed, who wants to get wet on a boat… LOL. This has been a year coming, we are so glad to have these off the floor and on our old Bayliner Bowrider 175. Not only does windows make the boat look more complete, they are less likely to get broke now that they aren’t under the boat trailer.
Why Bother
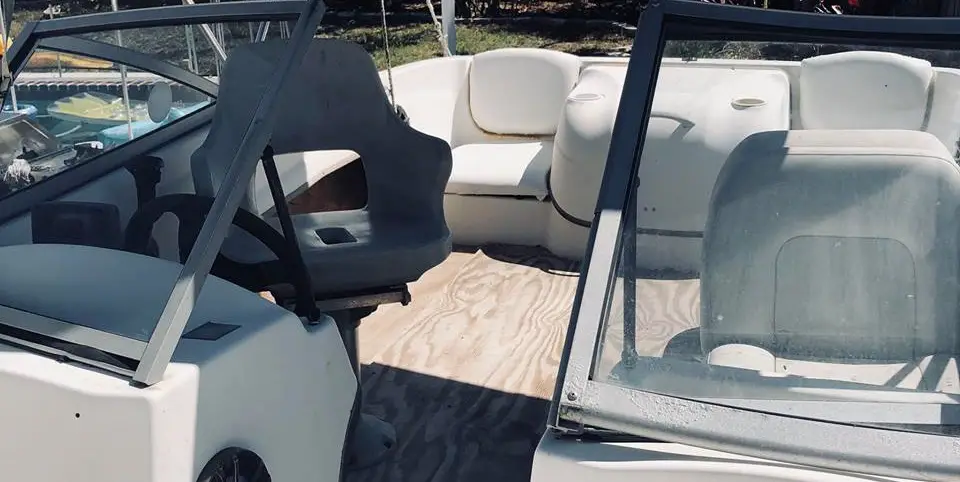
So what did we do to the windows and why did we take them off the boat. Well, the windows are painted aluminum, painted is kinda an overstatement, most of it was chipping off leaving a ton of oxidized metal behind. The windows were screwed into what looked like weather stripping, but most was badly dry-rotted or had come out.
Live Gets In The Way
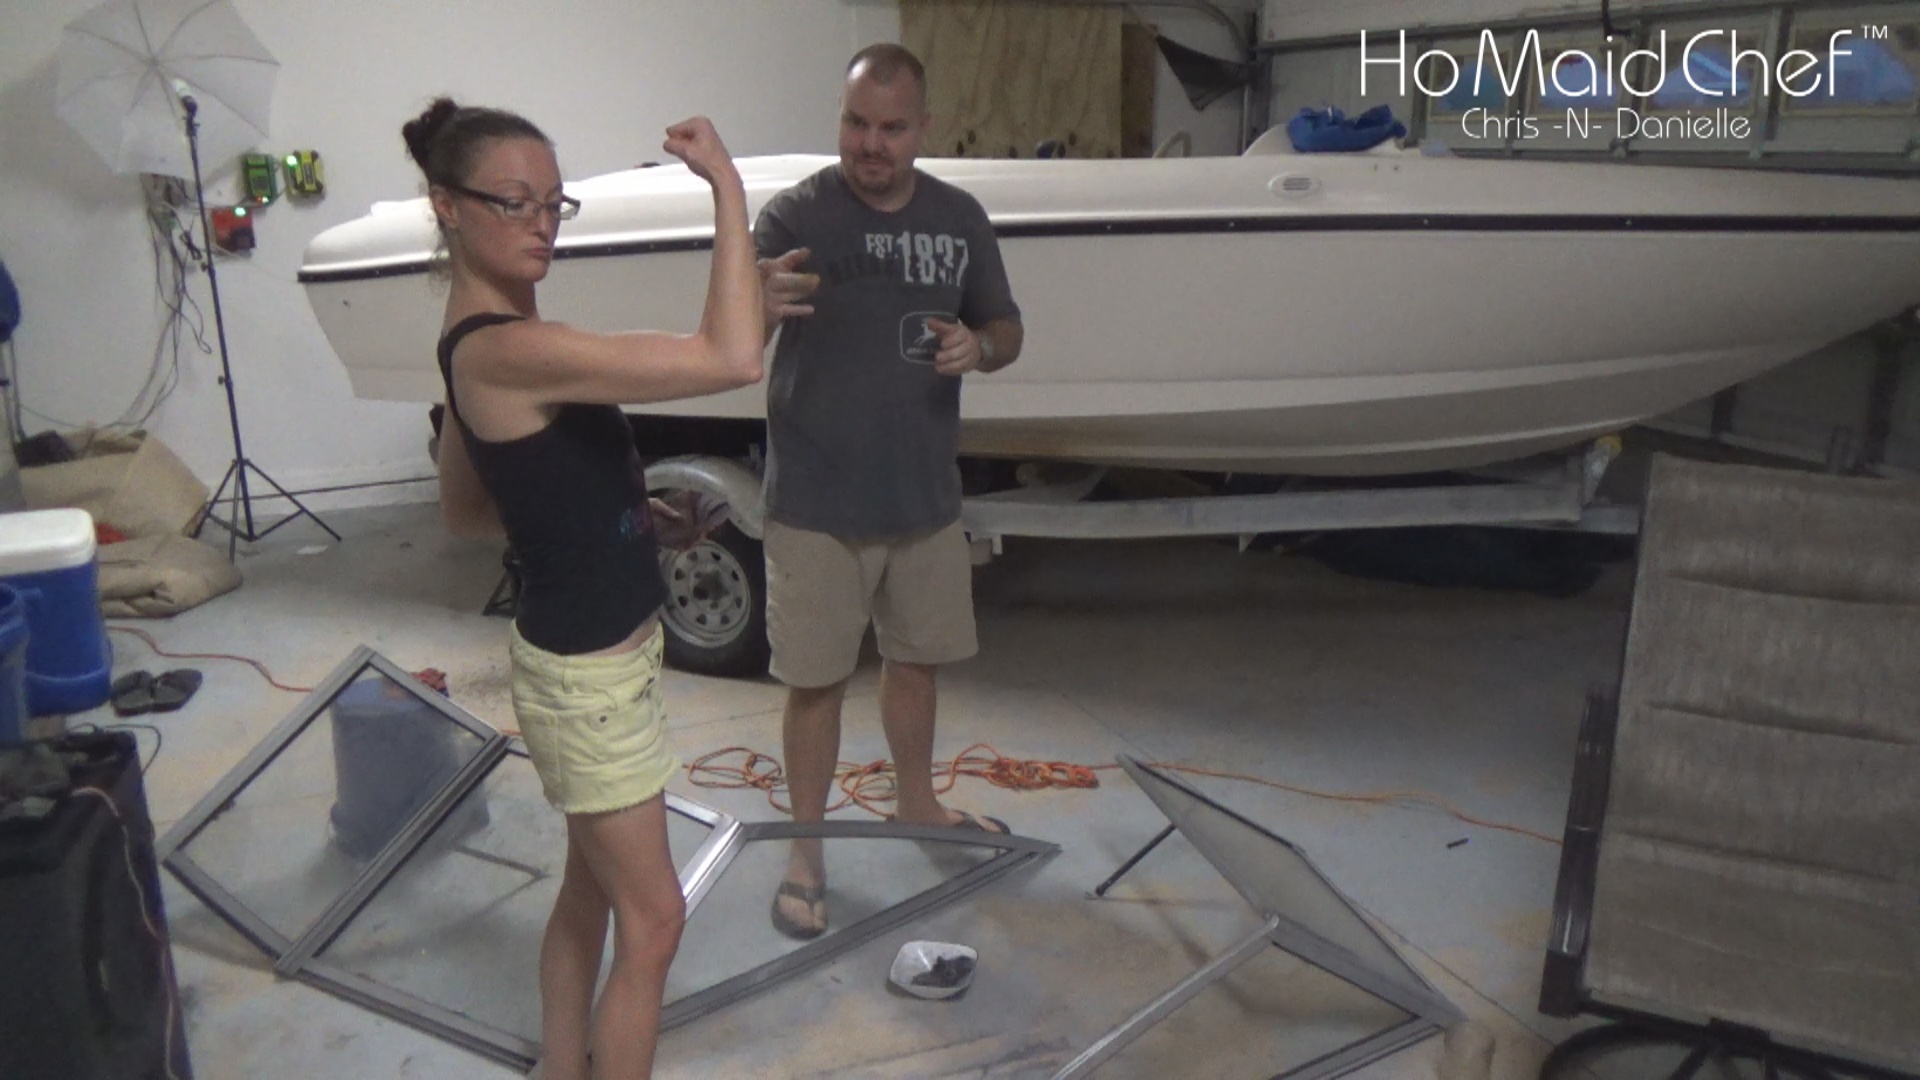
Danielle was like, this has to go, she had a vision for the boat theme, chipping paint did not fit. So we took off the windows, but then other things got in the way on this boat project and they sat under the boat for almost a year. Occasionally my wife would do some scraping on the windows when we could not work together, like when doing fiberglass, see other blog post.
Back On Track
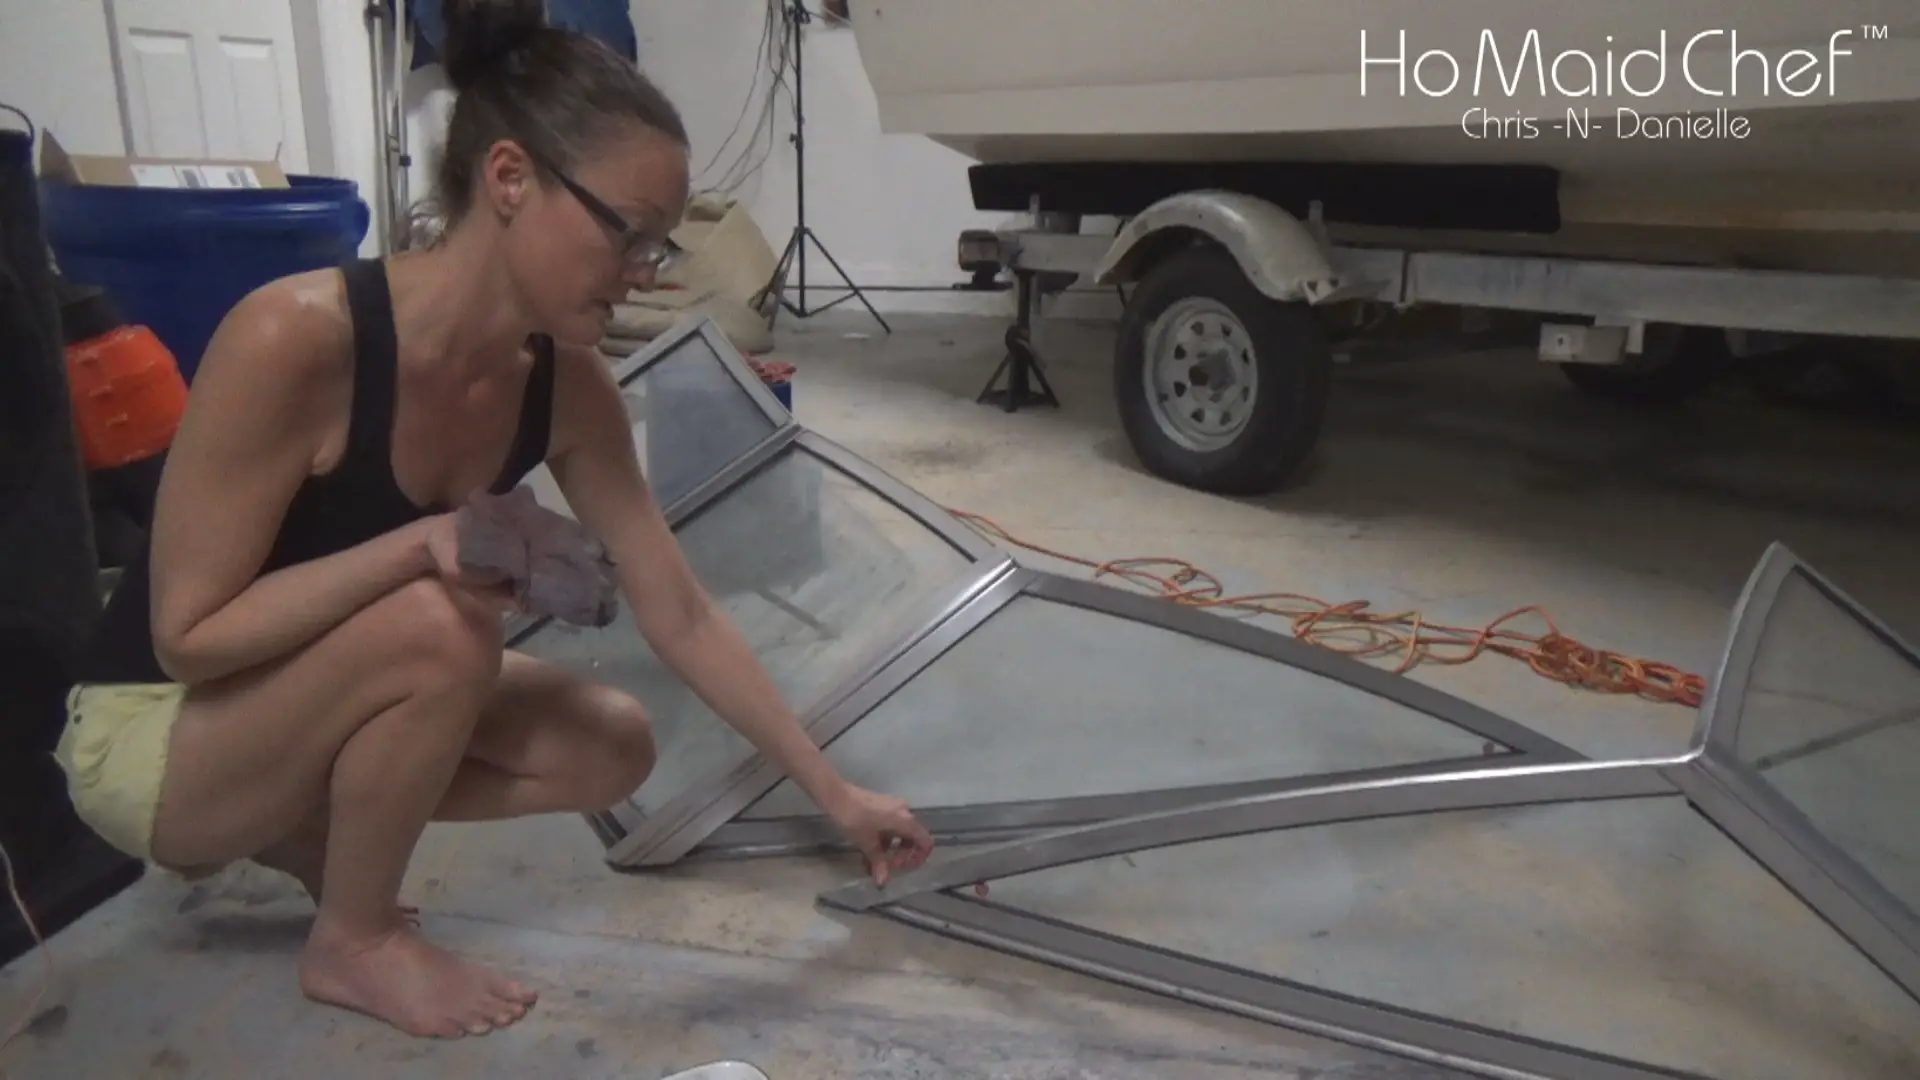
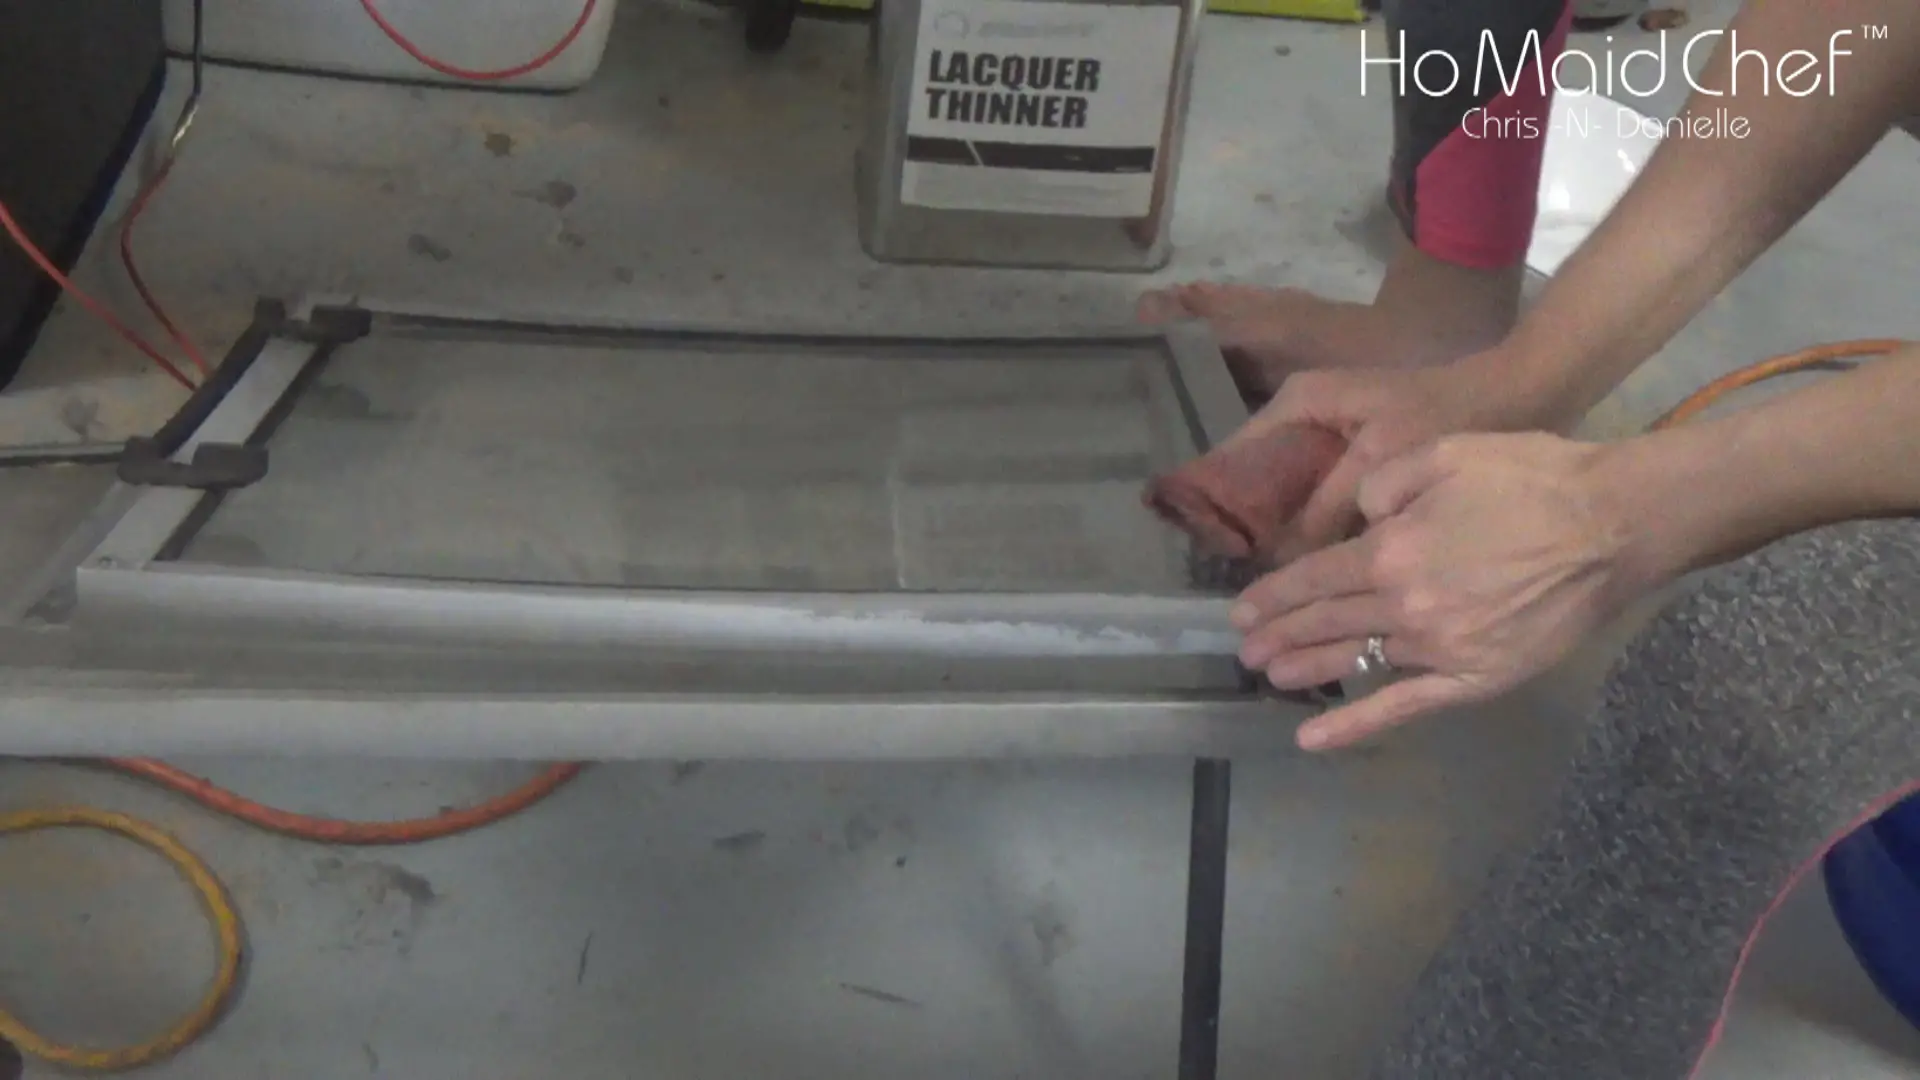
Danielle stayed strong, her persistence got our focus back on the boat window restoration. She had already got most of the paint and oxidization off, her tool of choice was steel-wool, paint-thinner, and a razor. This method would not hurt the rubber holding the window while getting most the paint and oxidization off.
More Power
Once we got most of the paint off with the above method, we pulled out the power tools to finish the job. Tim the Tool Man comes to mind, with the orbital sander in hand. This quickly removed the stubborn paint, and to scratched the surface to help the new paint stick.
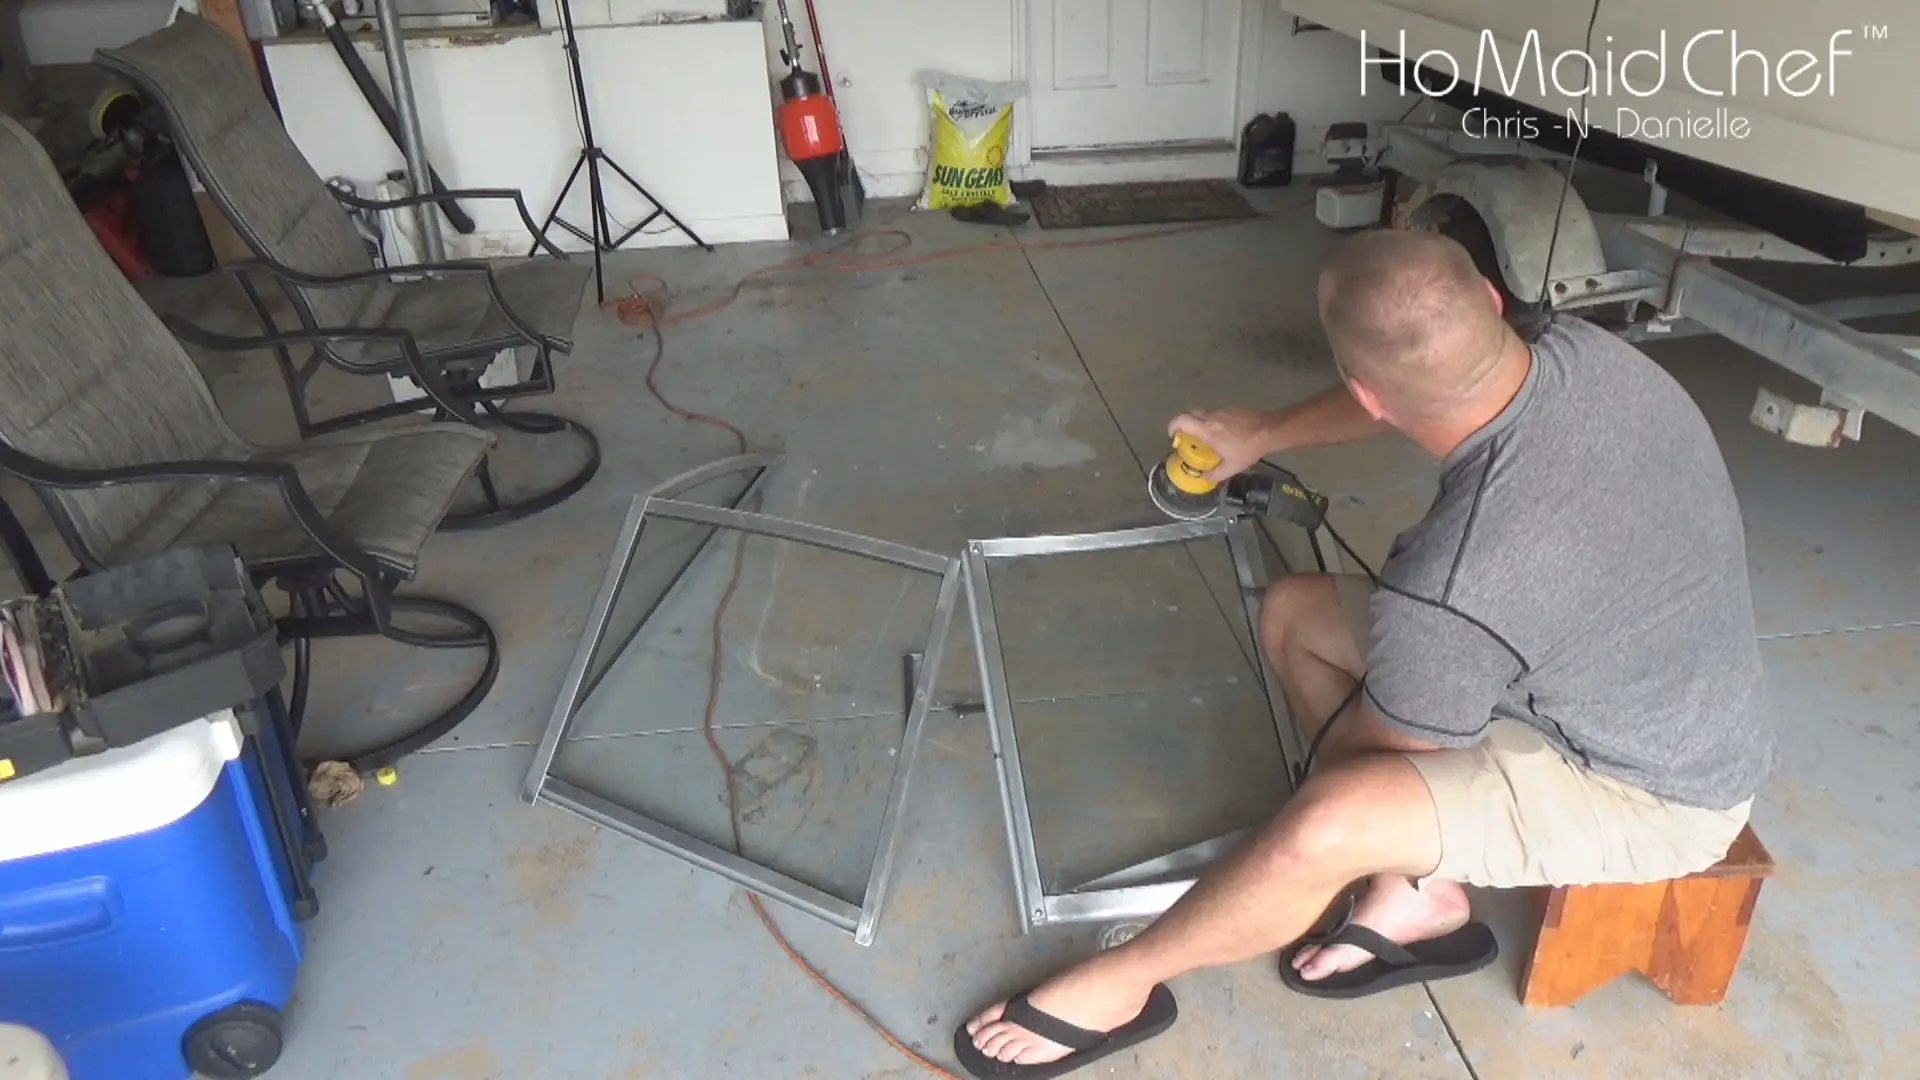
Little Dusty
After the dust cleared, we had to wash down the window before painting. We set up the windows the way they would look like on the boat for prosperity. Also since we had the hose out, it was time for a cooldown, really bet my wife wanted to hose me down here, in this video, I was just blabbering on.
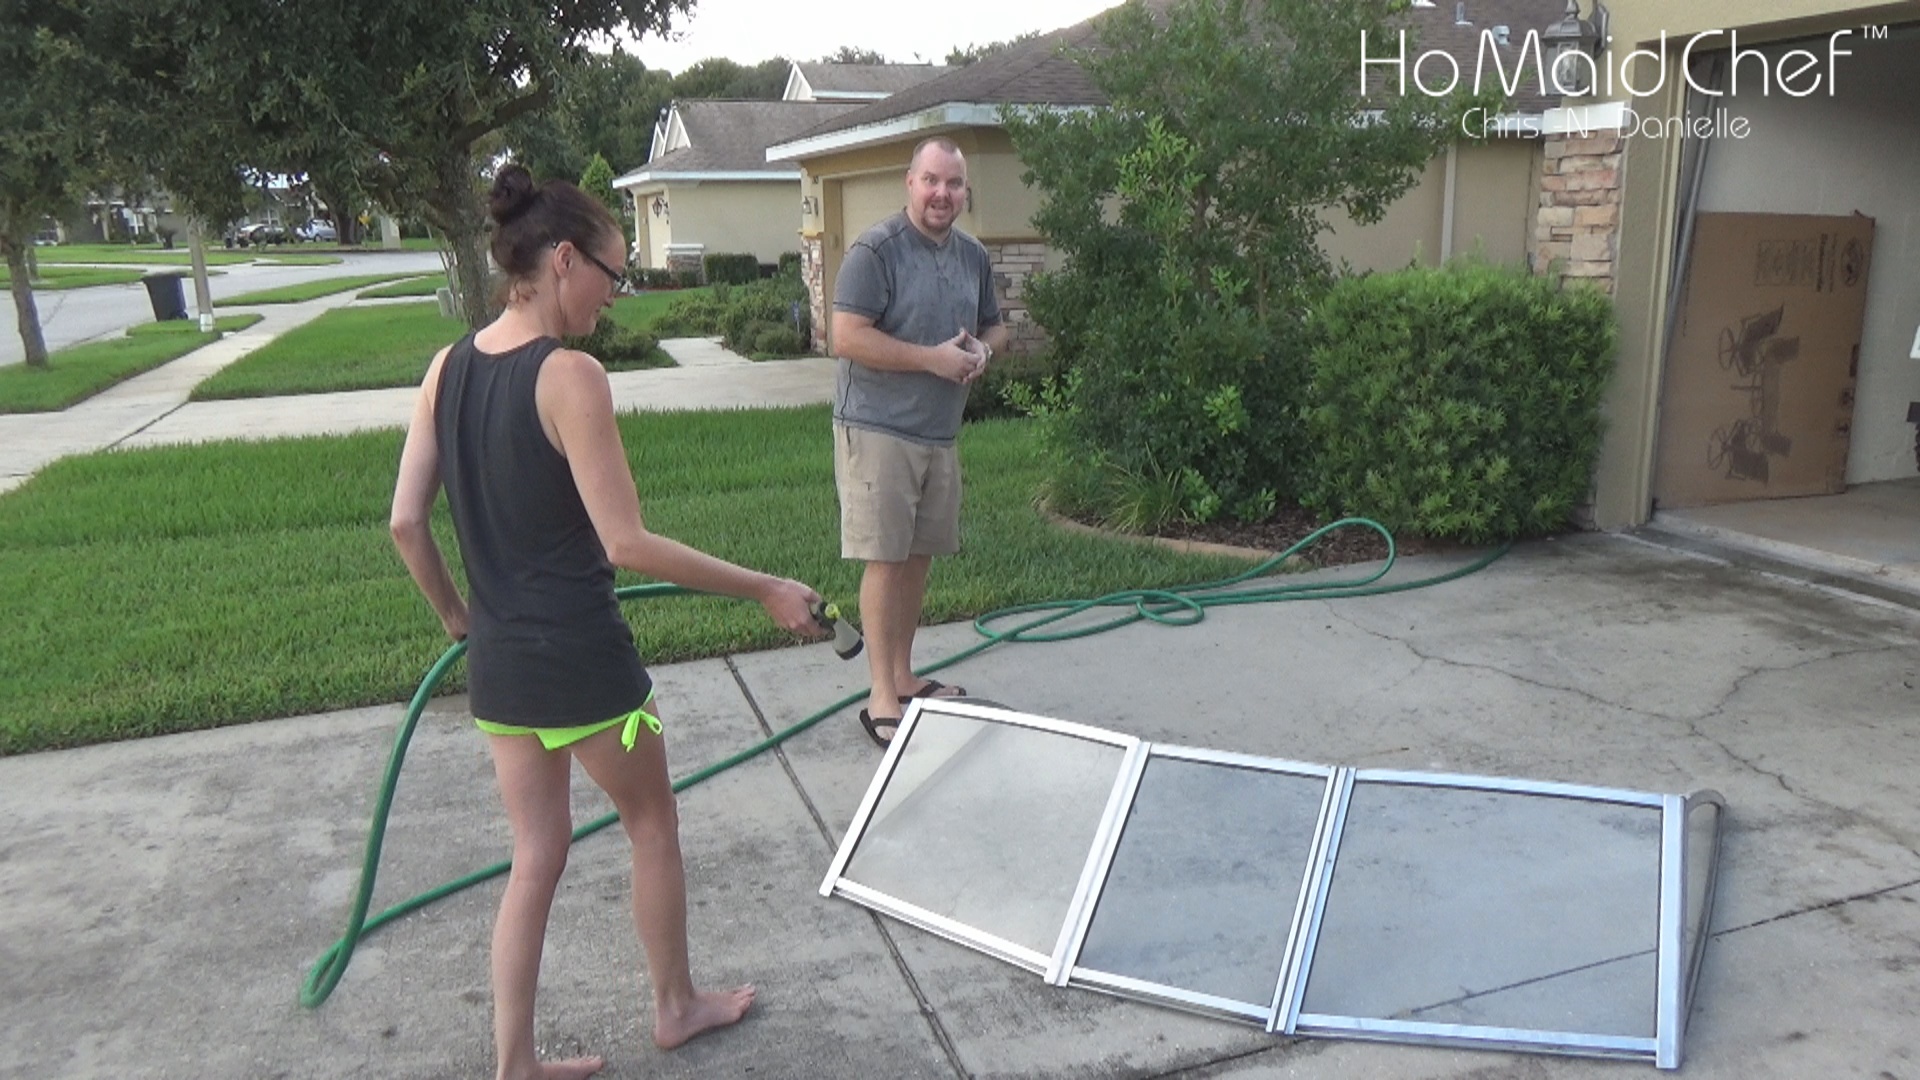
Chris Looks Hot
Once the windows dried there were still a lot of work left before we could paint. Prep right, clean up light. During this, we used the wider blue tape and paper to mask areas that we didn’t want paint on. We should have put paper under the tape that was around the edge of the metal on the boat window, we did have a little overspray but this was easily scraped off with a razor.
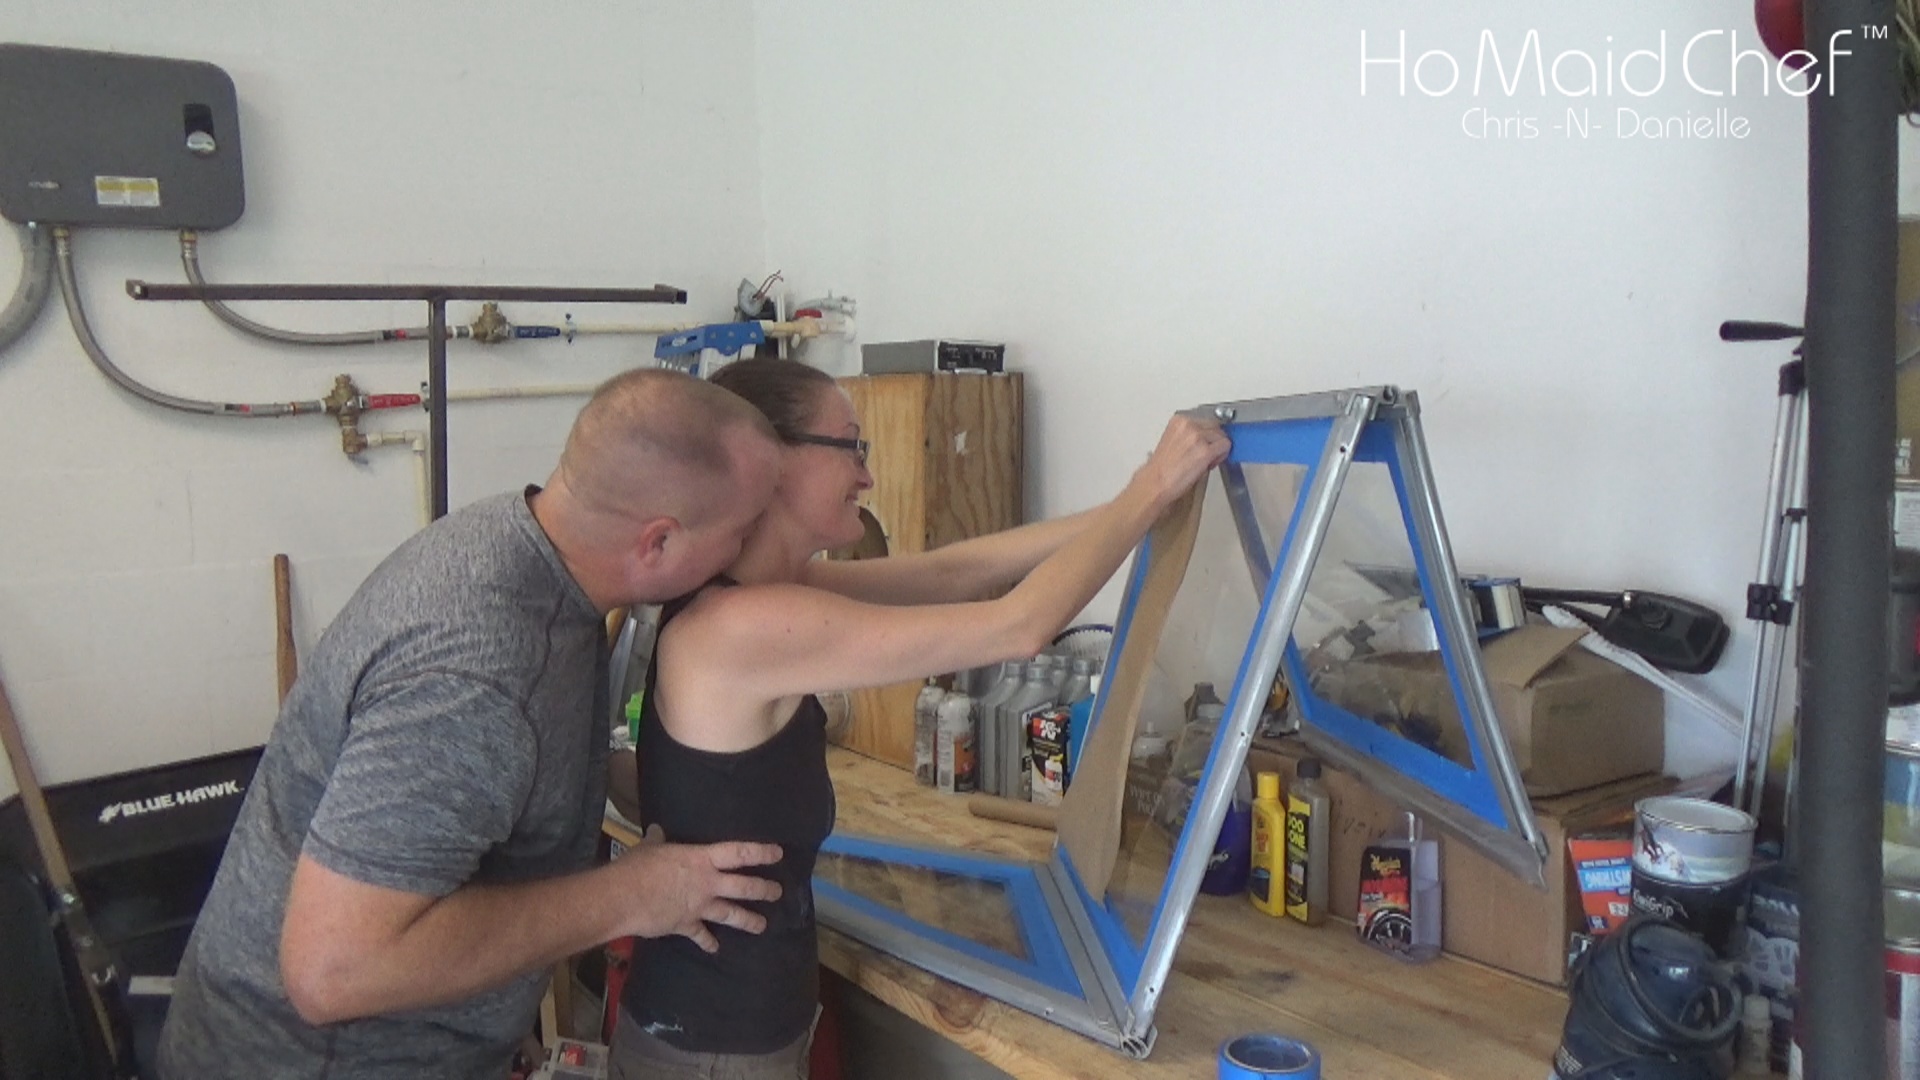
The Coverup
With the masking done, time to paint the boat windows. For this, we used Rust-Oleum paint and Krylon clearcoat to restore our boat windows back to pretty again. We had some comments when doing this saying, Rust-Oleum scratches easily and won’t last. We have not experienced this, using this brand a lot in our home and now on this boat. We did add clear-coat to the window so make the paint harder, but the longer the paint dries, the harder it gets anyway.
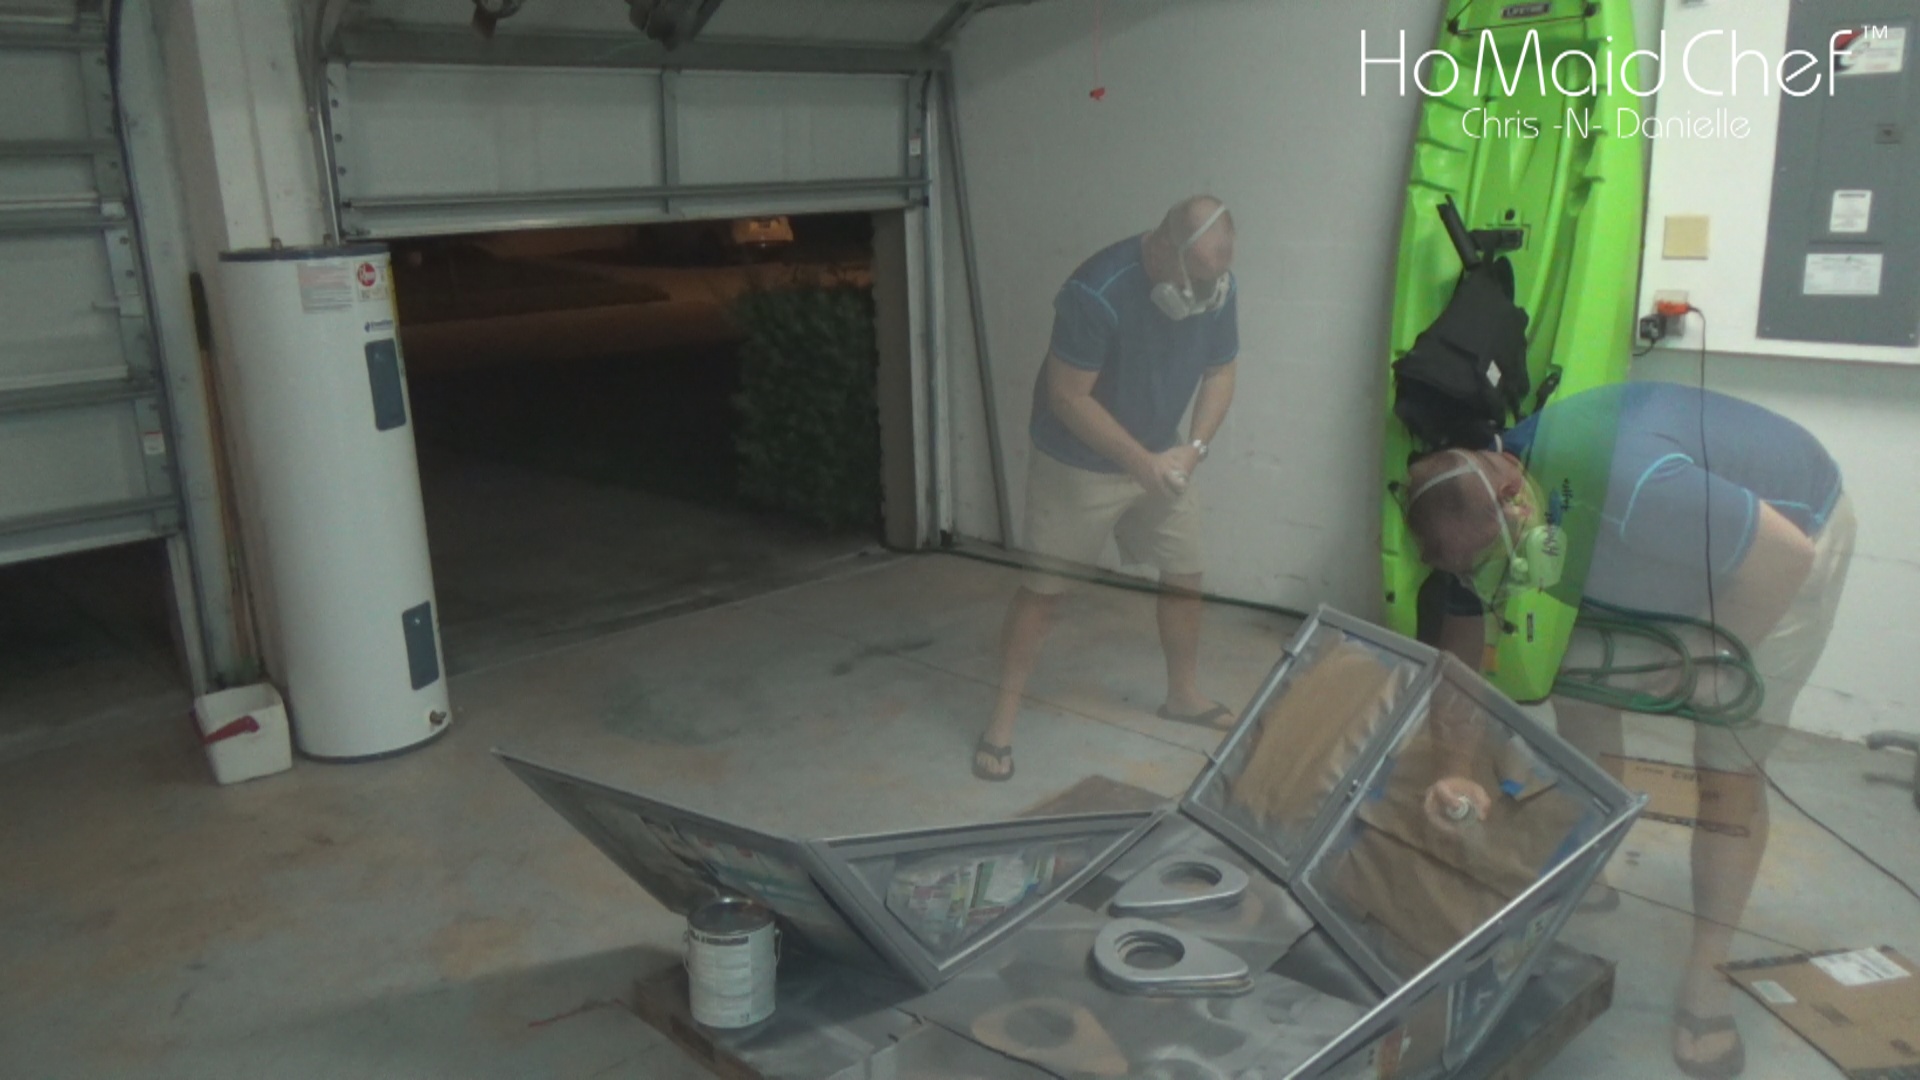
Two Paint Types
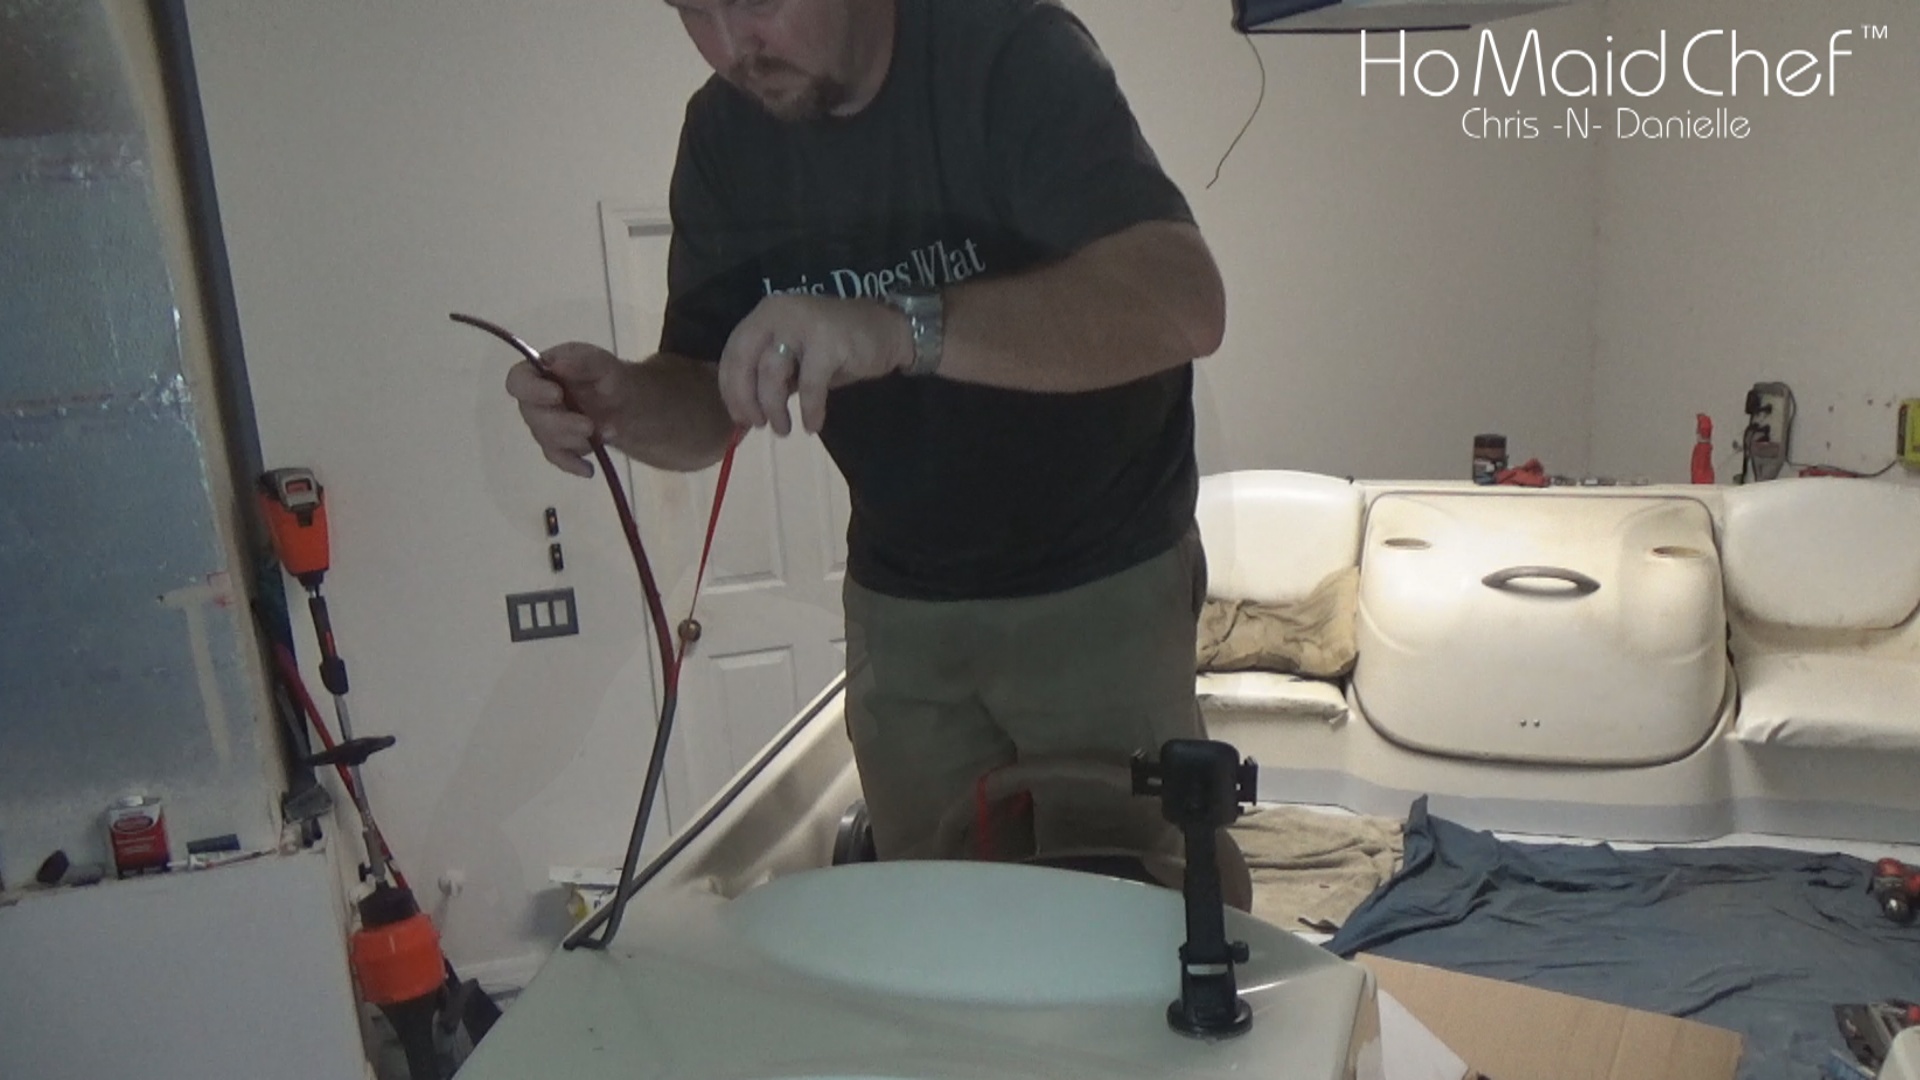
After we let the boat windows sit for a while, over a week, it was now time to get them installed. Before installed we have to get some rubber in between them. Not just to keep splash water from running under the window, also to protect the gel coat on the boat. Before it had the foam weather-stripping, it didn’t hold up well in the sun so we wanted to find weather-stripping that would. The weather-stripping we found on Amazon we think is going to hold up well, yet still budget-friendly.
Put The Rubber On
Putting the windows on was easier than expected, not heavy as I lifted them while my wife guided them onto the rubber weather-strip. It is great that we can work together on this project, doing this on my own would have been so much harder.

Team Work Install
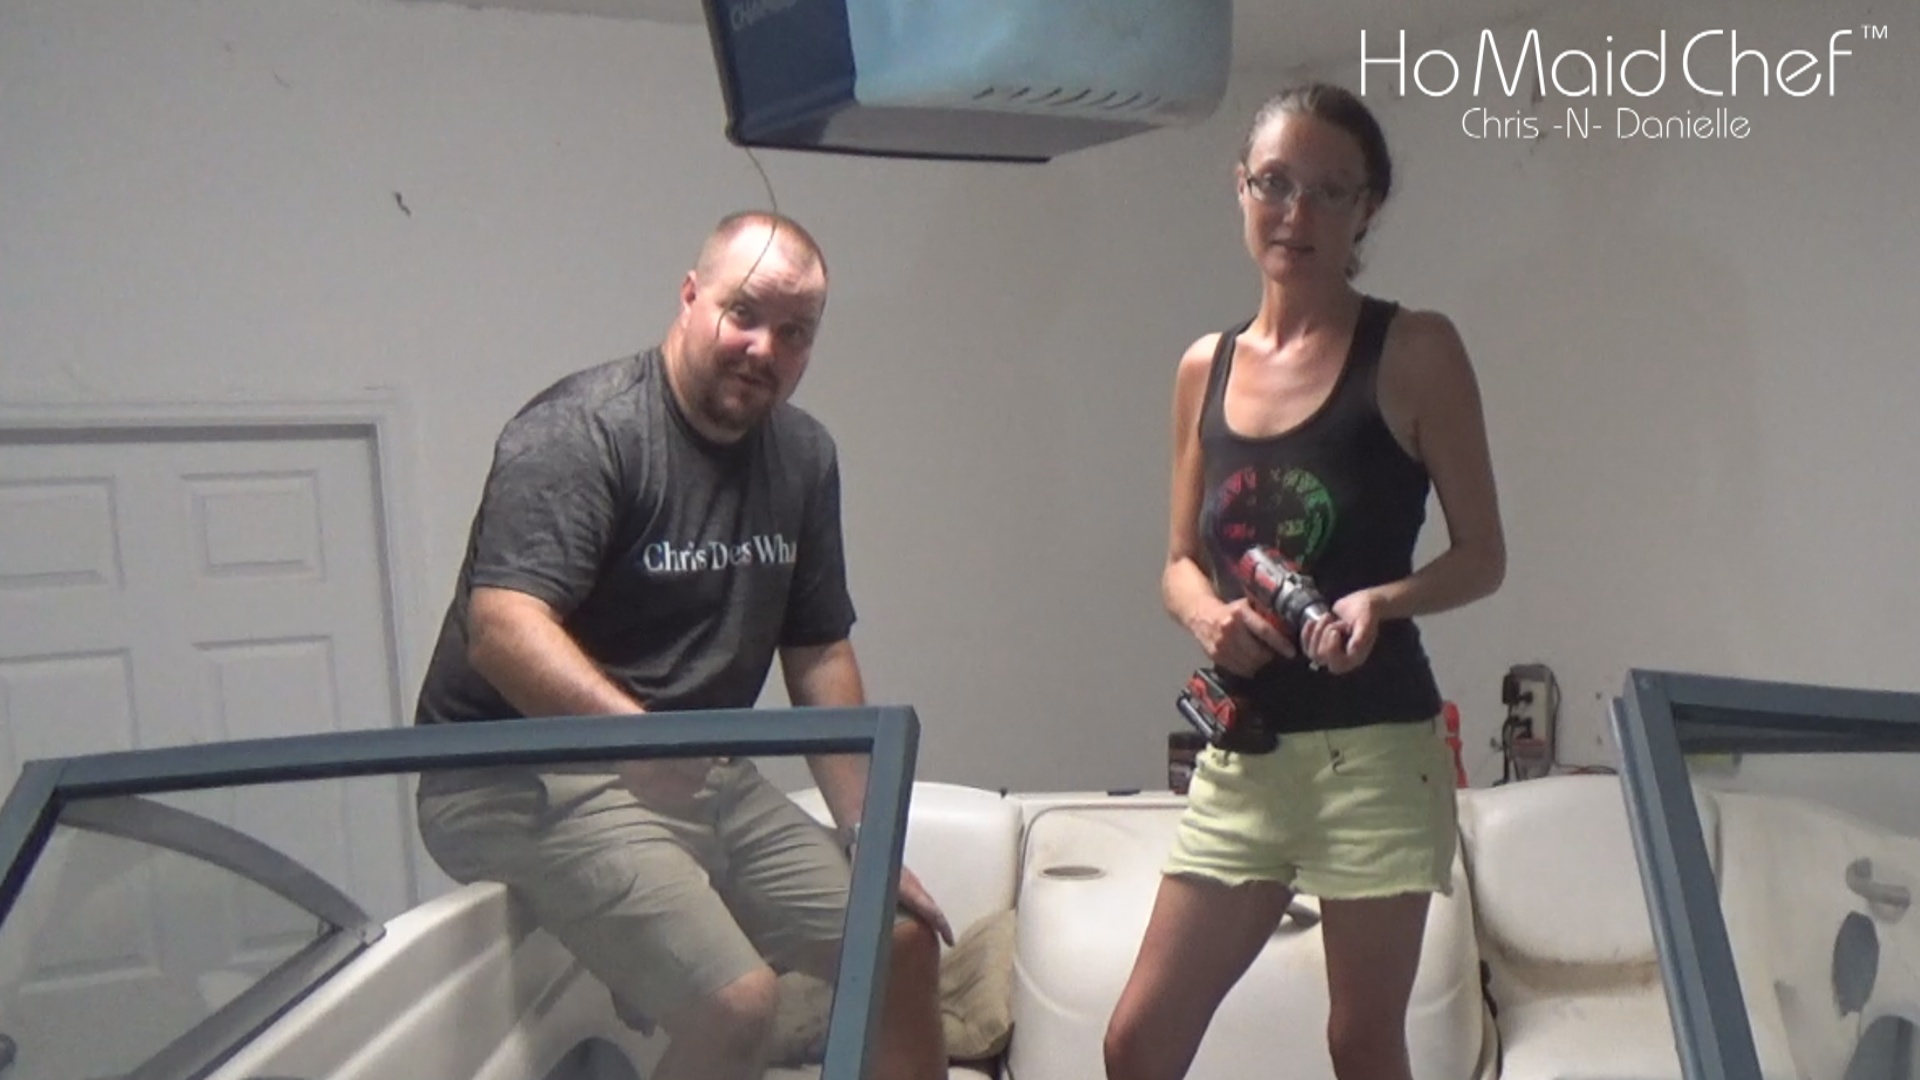
Well, I’m laying down on the job again while Danielle does all the work, picture below. Kidding I had to use a wrench to hold the nut as my wife tightens with the drill. Taking the old screws out was a real bear, most were so rusted we had to drill them out. Stainless steel bolts replaced them nicely, and if we have to do this again that should come right off.

Screw And Nutts
With the Boat Windows Restored we think they look so much better than they did. Only time will tell how they hold up on the water, you can follow our adventure on YouTube when we launch this boat in the Gulf of Mexico.
Did My Job
Now that the Job is done, time to chill. If you see in the photo the boat speakers are missing, we are doing a little more customization to them. No worry we still had tunes for a little relax time after a job well done.
Be sure to scroll down for the videos from this project, and feel free to give your comments below
Tools & Supplies Used:
- Universal Self Adhesive Rubber Weatherstrip https://amzn.to/2Hq86hW
- 2-Inch Masking Tape https://amzn.to/2z1AOkt
- Universal Self Adhesive Rubber Weatherstrip https://amzn.to/2Hq86hW
- Krylon Gallery Series Artist and Clear Coatings https://amzn.to/2Lh0yQO
- Rust-Oleum Stops Rust Spray Paint https://amzn.to/2NKBm6W
What’s Left From this Project
- Boat Bumper Trim
- Start Engine
- Navigation
- Seats
- Marine Radio
- Rear Speakers
- Things I forgot
Boat Restoration Blogs
https://www.chrisdoeswhat.com/category/diy/boat-restoration/
Commonsense provided by my love Danielle Redding
If you like this and it has helped or you have an idea to improve this post, feel free to leave a comment below. You can also send us direct feedback from Contact Us below if you so desire. Our mission is to help others through self-discovery and improvement, your journey begins with that first step.
Check out Dining in with Danielle for great recipes!
See below for author information and blogs by me!
Leave feedback, all information comes from our experiences, it can be flawed.
Equipment:
All videos are edited with Sony VEGAS Pro
https://amzn.to/2GrzE77
Our video studio does have a green screen with umbrella lighting
https://amzn.to/2BVIlpq
All recording equipment is Sony and our main camera is the HDR-CX675 offering servo steadied filming and 5.1 sound.
https://amzn.to/2BlJxQb


