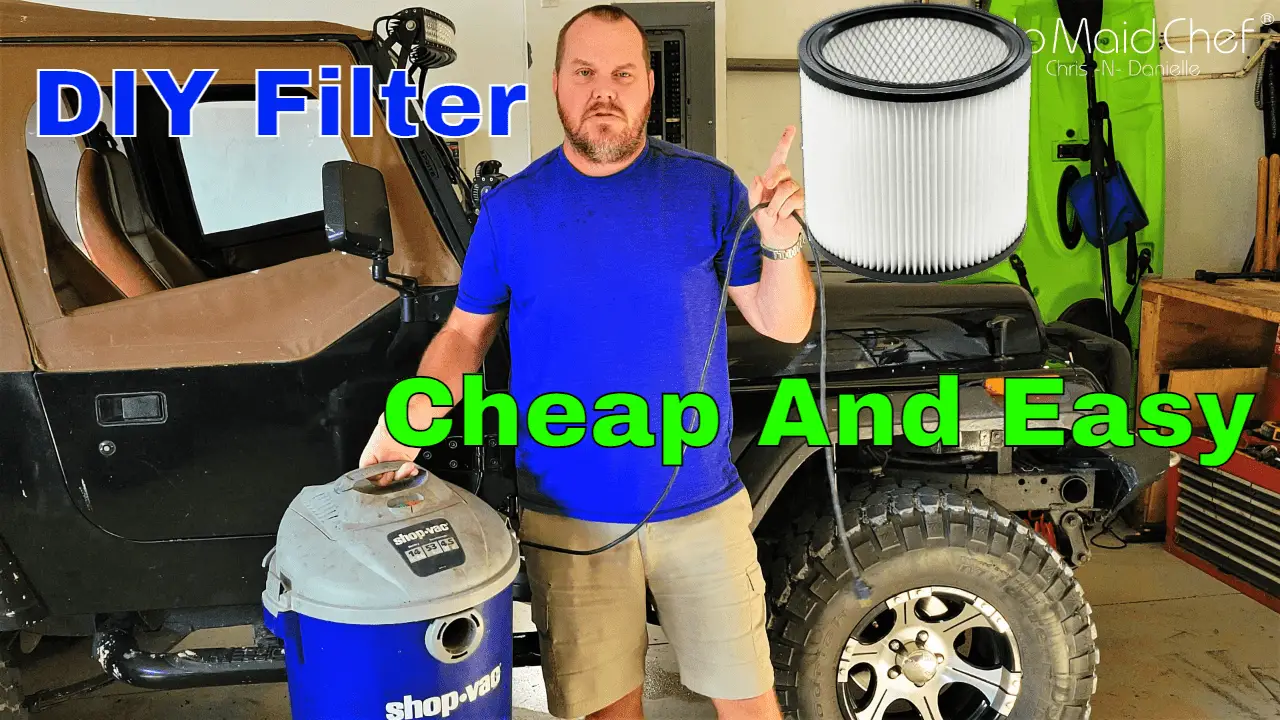
DIY Filter That Sucks!
If you have a shop vac you know how expensive the filters are! Well this is a quick fix to filter large partials from getting in your shop vac fan that you can do with basic stuff laying around. I think this probably would cost under a dollar with materials used for the cheap filter we made for our shop vac.
Things I used for shop vac filter:
- Porous material for filter
- Tap to temporarily hold filter in place
- Zip ties to firmly secure filter
Yo can see all this in the video! https://youtu.be/0vq2O5ect3k
So to get a new filter for our shop vac would cost about $17 on amazon, and I’m tired of buying them. So I sought a new solution to filter the air coming out of my shop vac that I could do with things in my garage. Since I use this vacuum in my garage I am let worried about dust, most the time I blow the dust out of the garage with the blower. All I really need is to pick up thing I don’t want blown in the driveway like trash, contaminated fluids, etc.
Since airflow was a high priority, really want a sucky shop vac, I had weed block that I thought would make a great filter. You can easily go with a less porous material that would capture smaller partials, and the great thing, it can be washed and reused. For real, we don’t need to make more trash doing this.
Now that I have what my filter will be made from I have to cut it to fit. Here is were I can even cut off more material if I want to get better filtering results for the shop vac. Did not do this because as I said, I want max suckage!
Time to secure the filter material to the shop vac. So I wrapped the filter around the plastic filter cage wear the original shop vac filter would have been mount. At the point were I started wrapping I taped the material closest to the motor to hold it place to pull more tension on the DIY filter. Once I had the material completely wrapped I used another piece of tape closest to the motor to hold the DIY filter. I then took secured the DIY filter on the plastic lip the the original filter would have went over with zip ties.
With the top of the DIY filter in place we I had a lot of material at the bottom of the filter were the original filter is secured on. I cut of the excess DIY filter so that it could be folded over and taped with minimal bulge. this would allow the to use the original filter screw on mount at the bottom of the DIY filter. Note: If you use your shop vac for water you may want to not cut the excess off and just zip tie it to let water dry more easily.
In the video you can see the DIY filter in action on our shop vac. I can say that the sucking power was far greater than the OEM filter. Hope this helps or just saves you a little money!
Tools We Love:
- Milwaukee 18-Volt Drill and Impact Driver Kit: https://amzn.to/366BwxM
- Husky Mechanics Tool Set: https://amzn.to/3kuGUzD
- Angle Grinder https://amzn.to/36FaC09
- Forney Easy Weld Welder https://amzn.to/3romDR1
- Welding Helmet https://amzn.to/3wOq58z


