If you’ve ever gutted a boat floor, you know that hollow sound of an empty hull is the enemy of a solid ride. To get our Bayliner 175 back to factory (or better) specs, we had to tackle one of the messiest, most satisfying jobs in marine restoration: pouring expansion foam.
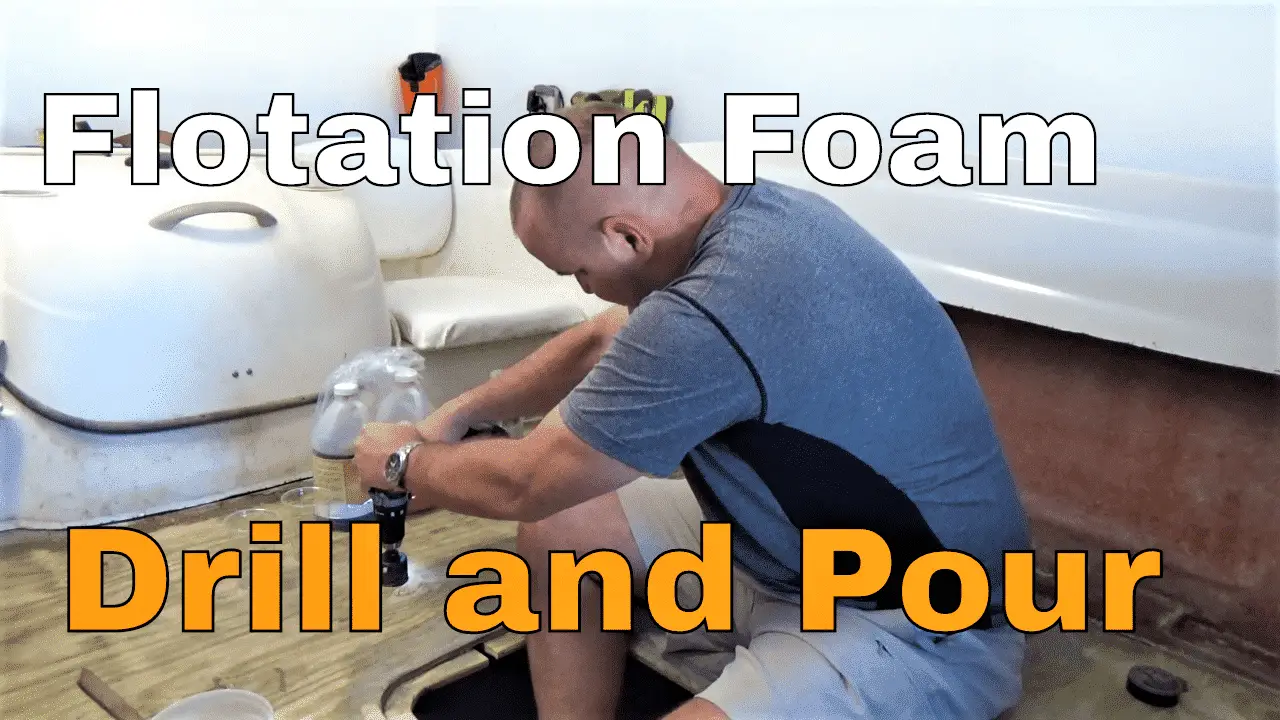
This isn’t just about safety; it’s about structural rigidity and sound dampening. Here is the breakdown of how we handled the 2lb pour foam, the math we got wrong, and why you should probably wear gloves.
The Investigation: Calculation and Kits
When you buy marine flotation foam, it usually comes in two-part kits (Part A and Part B). We used a 2lb density foam, which is the standard for flotation.
- The Math Problem: A 1-gallon kit (half-gallon of A, half-gallon of B) is rated to expand to approximately 4 cubic feet. We initially underestimated the volume of the cavities between our stringers. For an 18-foot boat, you’re likely looking at 4 to 6 gallons total if you’re filling every void.
- The “Porcupine” Warning: If you have leaks in your stringers or bulkheads, the foam will find them. Ensure your “peanut butter” resin work is solid before you start pouring.
The Project: The Pour
- The Access Hole: I had to do the unthinkable and drill a large hole in our brand-new plywood floor. I used a hole saw bit, running it in reverse initially to prevent the wood from splintering.
- The Mix: This is “Go Time.” You have about 20 to 30 seconds of mix time before the chemical reaction takes over.
- We mixed in small batches (1-2 cups at a time) using recycled measuring cups.
- Stir vigorously until it turns into a creamy, white consistency.
- The Expansion: Once poured, the foam starts to rise almost immediately. It generates a significant amount of heat (exothermic reaction) as it cures.
- The “Mushroom Cloud”: I overfilled one hole slightly, and it resulted in a foam mushroom rising out of the floor. The good news? Once it hardens (about an hour), you can simply saw or sand the excess flush with the wood.
The Logistics: Lessons Learned
- Temperature Matters: The foam expands better in warm weather, but it also cures faster. If it’s too cold, you won’t get the full 4 cubic feet of expansion.
- Non-Structural vs. Structural: This 2lb foam is primarily for flotation and dampening. It’s closed-cell, meaning if you ever get a hole in your hull, the foam won’t soak up water like a sponge—it keeps the boat buoyant.
- Cleanliness: Foam is incredibly sticky. It will ruin clothes and, as I found out, it’s a great (and painful) way to remove hair from your legs if you drip it. Wear gloves and long pants.
What’s Next?
With the main 4-cubic-foot cavity filled, the floor finally sounds solid. We have six more smaller cavities to fill before we can resin over the holes and move on to the final floor coating.
Watch the “Adam Bomb” foam expansion in action here: Install Flotation Foam in Boat
Between my clutziness (RIP to my old laptop) and the fiberglass itch, it’s been a week. Danielle has been the hero of the math department and the kitchen. If you’re looking for a meal that’s as solid as our new floor, check out her recipes at www.dininginwithdanielle.com.
Y’all please take care.
If you want the foam we used, see this link: https://amzn.to/2GEwH1t