If you are restoring a boat like our Bayliner 175, you’ll find that the “finish work”—the trim, the seals, and the rub rails—often takes more physical effort than the big structural repairs. This week, we finally finished reinstalling the reused rub rail, and it was a battle of “Man vs. Rubber.”
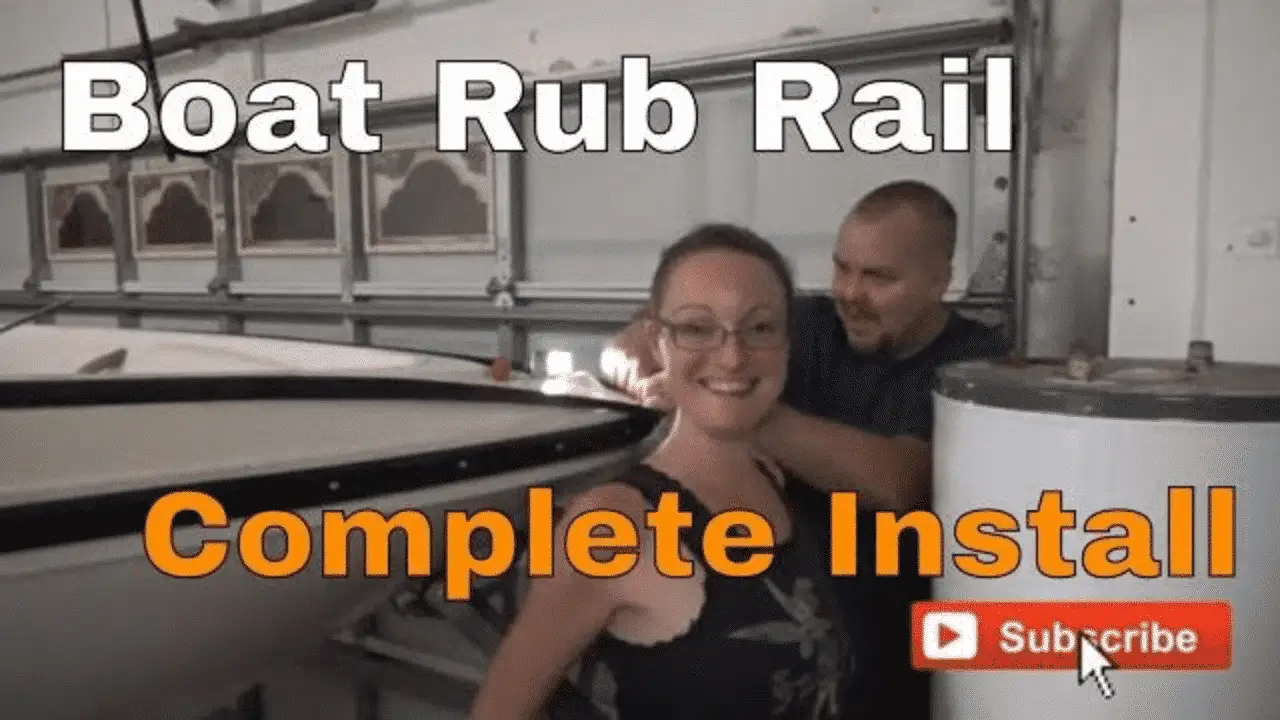
Reusing old trim is the ultimate budget-friendly move, but it comes with a technical cost. Here is the forensic breakdown of how we got it done, the tools we used, and the “porcupine” method for professional alignment.
The Investigation: Hardware and Alignment
Because this is an 18-foot boat with 6-inch spacing, it took nearly 100 rivets to secure the base track.
- The “Porcupine” Technique: Instead of riveting as I went, I placed every single rivet into its hole first. This allowed me to verify that the shrunken rubber track was aligned all the way around before committing. From a distance, the boat looked like a porcupine with all the mandrels sticking out.
- The Rivet Tool Pivot: My rivet gun is old and doesn’t always “pop” the mandrel. As a workaround, I pulled them until they were tight, then used pliers to snap the mandrel off flush. It’s a manual process, but it ensures a solid set.
The Project: Reinstalling the Rubber Insert
This is where the real work started. Since the rubber had been sitting in the sun and was shrunken, it was tight and difficult to seat into the track.
- The Tool: Some people use wooden scrapers or soak the rubber in hot water. I used a non-sharp metal gasket scraper. It was slim enough to push the rubber into the groove without cutting it.
- The “Both Ends” Strategy: To ensure we didn’t end up with a huge gap at the end, we secured both ends at the transom first. We then worked from the back toward the bow on both sides simultaneously.
- The Stretch: By the time we got to the bow, the rubber was as tight as a rubber band. It took some serious muscle to stretch it over the final few inches of the track, but it snapped in eventually.
The Logistics: Cleaning and Restoration
- The “Gross” Factor: When we first pulled this trim off, it was filled with old caulking, mold, and slime. We spent hours scrubbing it with heavy-duty cleaners to get it back to a reusable state.
- The Final Luster: Once installed, I used a tire cleaner/shined product to give it that factory-black look. It hides the age and makes the whole exterior pop.
- Simultaneous Projects: While I was fighting the rub rail, Danielle has been grinding away at the window frames. They have layers of old paint that are proving to be a massive challenge, but she’s determined to get them back to bare aluminum.
What’s Next?
The exterior is looking much better, so we are moving back inside.
- The Floor: Next up is the two-part expanding foam for the buoyancy pockets and finishing the “peanut butter” fiberglass work on the seams.
- The Engine: We’re still waiting to hear that Mercruiser 3.0L crank for the first time.
Watch the full “porcupine” method and the rub rail stretch here: Install Reuse Boat Rub Rail
Restoring a boat is a physical test—it’s basically a gym membership that results in a boat. If you need some high-energy fuel for your own DIY projects, check out Danielle’s recipes over at www.dininginwithdanielle.com. She’s got a lot of “yumminess” over there that’s low-salt but high-flavor.
Y’all please take care.