

A little Paint Does Wonders…
Video at the bottom if you’re like me and don’t like to read. LOL

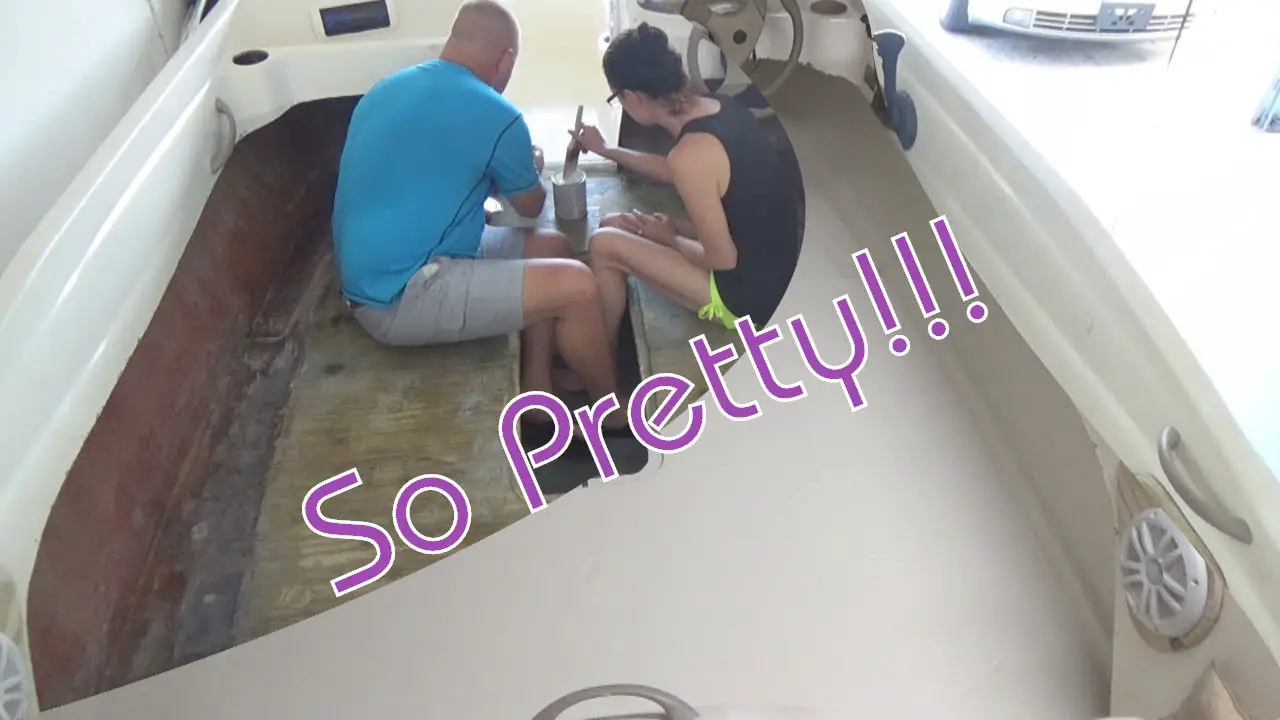
Before and After Paint
A little paint adds a lot of value, you can clearly see that in the photo above. The hard part is finding the right paint for your application, in the right color for your personal preference. We truly understand how hard this is, we painted our boat floor, then painted it again because we did not like the look and feel.
In this, we will go over what we learned and what we would have done differently. We will also cover the products we used in this and give you our honest opinion on them.
Prepping to paint
This has to be the longest part of the job, feels like a huge waste of time, but the results of not doing can cost you so much more. We spent hours covering and masking, and it paid off big time in the end. Not only did we have sharp lines between the wooden floor and fiberglass, but there was also no scraping of paint off the boat that we liked the current look.

Since we were only painting the floor we went with 2-inch masking tape. This would allow us a little more room to get messy, and not have to use paper to mask above the tape. The results were outstanding, and not a single bit of cleanup was needed, minus taking the tape off.
Prime it, makes life easy
At the start of this project, Danielle had to give me advice on how to paint. I clearly did not know that you needed to prime it first, just thought you keep adding layers of paint. The only thing I had ever painted before was Woodend fences, I had a lot to learn from my love. She informed me that it will save you so much time, giving you a great canvas to work from. She was so right, it clearly gave us a great setting to paint, covering the grain of the wood.

The Rust-Oleum primer we used for this job worked very well, adding a good layer with just one coat. It did dry really fast, almost to fast, as we got to the ski locker hatch the primer was really getting thick. When we applied it we used a paintbrush, if we did this part again we would have used rollers, we’re sure this would have speed things up
Deck paint to shiny
After the primer was done and we had a great surface to paint on, it was time to get the deck paint on. We thought we wanted a color that closely matched the color of the boat, and we definitely wanted a non-skid surface. The Rust-Oleum brand that we got, was about the same color as the Gelcoat of the boat.
The below picture is three coats of paint, one with the non-slip material in it.

After it was all done it did look very good, the oyster color was spot on with the color of the boat Gelcoat. We went with Rust-Oleum deck paint, got slack for it on our YouTube, the video below, but it turned out very well. The paint was very hard, could not scatch it as others had stated, and the non-skid additive from Rust-Oleum did its job.
What we didn’t like was not the fault of the paint, it was based on personal preference. We wanted a little more contrast in paint color and less shine from the paint. If we would have gone with a flatter more gray paint we might have never changed.
As you read on, you can know what we changed to, but the color is clearly personal preference, and this may help you choose the right color for you.
The right paint for the job
The paint would have done great, but when we first got our boat, we said we wanted more a truck Bedliner to feel our boat floor. The next Paint tried was by KiwiGrip, not really a paint more of a paste. The reviews said great things about KiwiGrip from sailing forums, so we ordered it.

Applying this was so easy, just used a spatula that we had to order and the roller that came with the KiwiGrip System. I applied a thin layer over the already painted floor with a spatula, then Danielle followed with the roller. Hindsight we would have applied it thicker the first time, we did add another coat of the KiwiGrip that turned out great.
We were looking not only change the color, but we also wanted texture, and this delivered that Bedliner feel. Even though we applied a thin layer over the paint, you could not scratch it. The color of gray was much flatter than before, not showing as much grim, and we hope, not blinding us in the sun.
Molding the doesn’t mold
We loved the look and feel of the KiwiGrip so much we opted to use it as the molding on the inside of the boat. This would replace the rubber molding that well, it molded to the point we could not use it. Hoped that using KiwiGrip would not only, not mold, but cover the holes left by the screws for the rubber molding and protect your legs a bit.
After taping was done for this part of the process, cause we wanted a nice line, we started applying KiwiGrip. We were surprised with how fast we were able to do this, and any that got on the floor we just rollered it in. We did apply the KiwiGrip thick so that the holes and jagged edge would disappear. After the KiwiGrip dried we were amazed by how well it worked, the holes and jagged edge gone, it also was not that sharp if you leg grazed it. Doing this was Danielle’s idea, I was not sure how it would work. After it was done I was, glad she wanted to do this, it not only looked great, but it saved a lot of time and money.

Did My Job
Now that the Job is done, you can clearly see we are ready to relax. The boat radio is on, and sunset lemonades are clearly near hand, as we finish the video displaying this project on YouTube. After the video was complete we moved to the back seats on the boat, the once with cushions, the relaxed as we pondered our next steps.
Be sure to scroll down for the videos from this project, and feel free to give your comments below
Tools & Supplies Used:
- 2-Inch Masking Tape https://amzn.to/2z1AOkt
- Rust-Oleum Primer https://amzn.to/2KveRAR
- Rust-Oleum Marine Topside Paint: https://amzn.to/31LofGH
- Rust-Oleum Marine Anti-Slip Additive: https://amzn.to/2KHyaGk
- KiwiGrip Non-Slip Deck System: https://amzn.to/31HAYtX
- Plastic Knife Set “For Spreading KiwiGrp: https://amzn.to/31ztZTz
What’s Left From this Project
- Boat Bumper Trim
- Windows
- Start Engine
- Navigation
- Seats
- Marine Radio
- Rear Speakers
- Things I forgot
Boat Restoration Blogs
https://www.chrisdoeswhat.com/category/diy/boat-restoration/
Commonsense provided by my love Danielle Redding


Wow!
I am Ernest Malcolm and welcome. I saw your post it’s very nice. You have a lot of educational topics on this website and it has taught me a lot and I think it will educate a lot to others. This is a very popular website. Many people will benefit from their education. I have an old deck that we want to have look new. I need to know more about this kind of idea. I have learned many things form your website. Deck Paint brings beautiful designs to the door, the house, the floor, and many more. Deck Paint is needed to decorate old things in a new way. Just I Love It.
Thank You!