After wrapping up the floor and the ski locker, we shifted our focus to one of the most tedious parts of the Bayliner 175 restoration: the aluminum window frames. If you’ve ever restored an older boat, you know that aluminum doesn’t just “age”—it corrodes, oxidizes, and pits if it isn’t cared for.
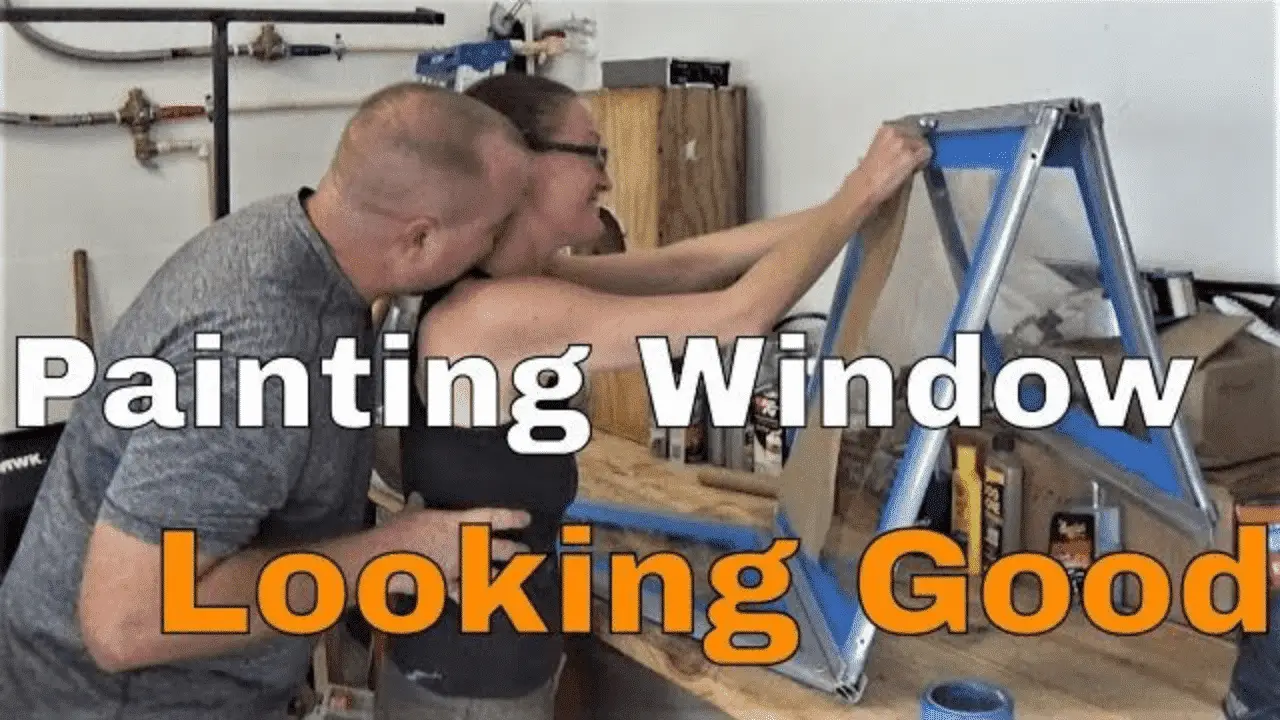
The previous owners had tried to hide the damage by spray-painting directly over the oxidation. Predictably, the paint bubbled and peeled, making the frames look worse than before. Here is the technical breakdown of how we stripped them back to the metal and applied a professional-grade finish that won’t scratch off.
The Investigation: Aluminum Oxidation
Aluminum forms a thin layer of oxide naturally, which protects it. However, in marine environments, salt and moisture can lead to heavy pitting and “calcium-like” buildup.
- The Failure: Painting over oxidation is a temporary fix. The underlying chemical reaction continues, eventually pushing the new paint off the surface.
- The Solution: Total removal of the old paint and oxidation down to bare aluminum is the only way to ensure a bond.
The Project: Stripping and Sanding
- Chemical Stripping: Danielle handled the hardest part, using paint thinner and steel wool to melt through the old layers of spray paint. It took a lot of elbow grease to get down to the shiny aluminum.
- Mechanical Scuffing: Once the frames were clean, I used an orbital sander with 240-grit sandpaper to “scar” the surface. This provides “tooth” for the new paint to grab onto.
- Cleaning: We did a final spray-down to remove every speck of aluminum dust. Even a tiny bit of residue will cause a “fish-eye” in your paint finish.
The Application: Metallic Gray and Clear Coat
To match the new gray and white theme of the boat (including our KiwiGrip floor), we chose a Metallic Gray spray paint.
- Masking: I used long strips of tape and a razor for the straight edges, while Danielle preferred shorter strips for the tighter angles.
- Painting: We applied several thin coats of the metallic gray.
- The UV-Resistant Clear Coat: This is the most critical step. We’ve seen comments saying Rust-Oleum can be scratched off with a fingernail. To prevent this, we applied a hard UV-resistant clear coat. This adds a layer of protection against the Florida sun and makes the finish “rock hard” so it won’t peel or scratch during installation.
- Cure Time: While the paint is “dry” to the touch in about two hours, we gave it a full 24 hours to cure before handling it.
The Logistics: Parts and Pricing
While the windows are looking great, we’re still dealing with the fallout from our previous mechanic. We finally have some factory parts coming in from Bayliner, but the prices are eye-watering.
- The $110 Dipstick: Our mechanic lost the original dipstick. To replace just that one part was $110. It’s a steep reminder to keep track of every small component during a teardown.
Watch the window restoration process here: Restoring Aluminum Boat Windows
Once we get these frames installed, we’ll be applying a layer of wax over the clear coat for even more longevity. In the meantime, Danielle has been releasing short demonstration videos for her weekly recipes at www.dininginwithdanielle.com. They’re a great way to see the “beginning, middle, and end” of her latest dishes.
Y’all please take care.
Krylon Gallery Series Artist and Clear Coatings https://amzn.to/2Lh0yQO
Rust-Oleum Stops Rust Spray Paint https://amzn.to/2NKBm6W