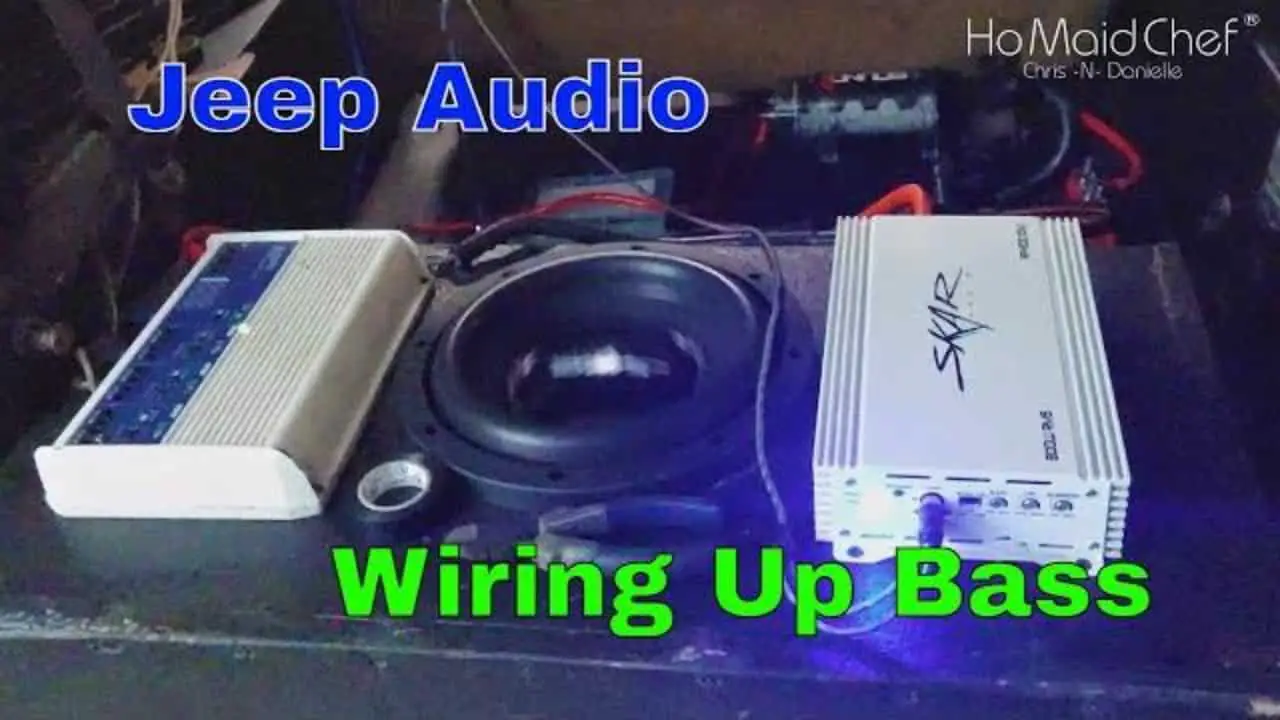
Wiring Stereo Amps And Caps With Bus Bar
Setting up two amplifiers and a capacitor to power a DC bus bar distribution center. As opposed to wiring everything to the capacitor, this is a much safer and cleaner option. In addition, you will be able to expand your car audio system in the future.
Parts And Tools Used:
- 4 Post Power Distribution Block Bus Bar Pair – https://amzn.to/3CHTQLN
- Battery Cable wire Lug Crimping Tool with Cable Cutter – https://amzn.to/3i4YdZk
- AWG Copper Wire Lugs with Heat Shrink Set – https://amzn.to/3kC9v9c
- SoundBox SCAP2D, 2.5 Farad Digital Capacitor – https://amzn.to/3obEJGj
Why Use A Bus Bar
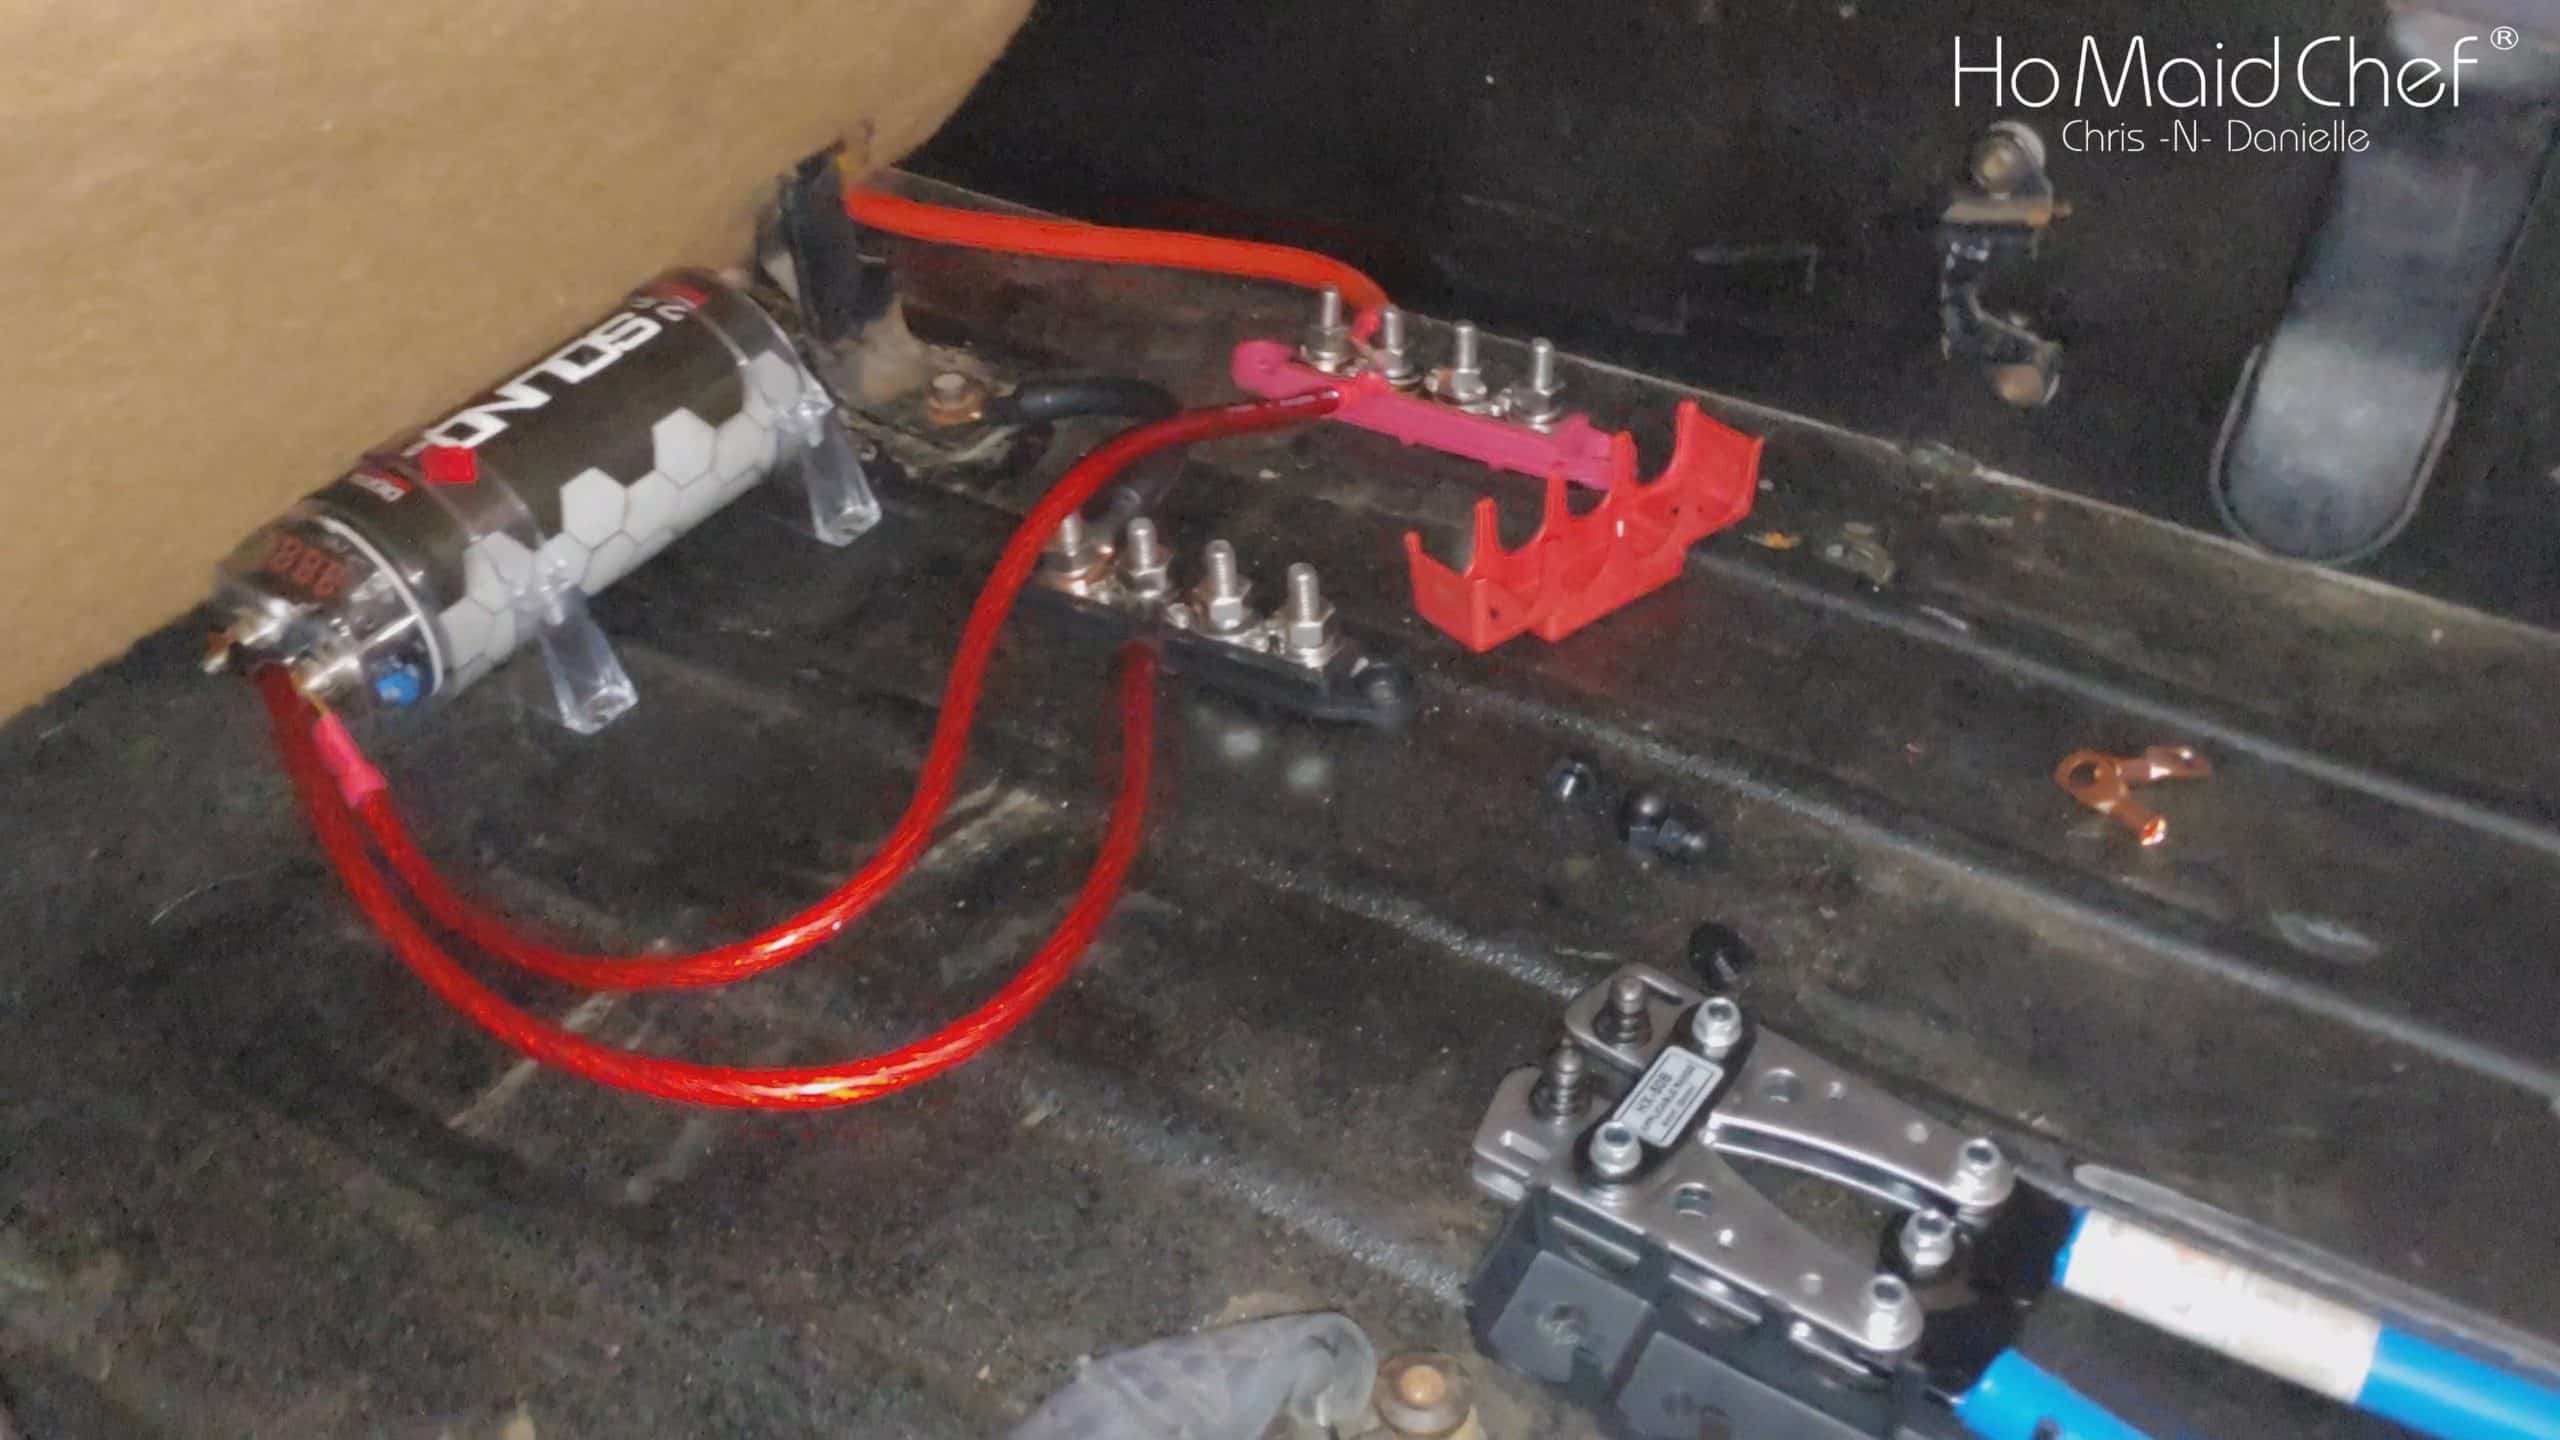
In most cases, when wiring up a bus bar, heavy gauge wire comes from the battery and lighter gauge wires are used to connect accessories. As a result, your accessories, in our case stereo amplifiers, will have the power they need to run effectively. Underpowering your accessories can shorten their life and who wants that.
Why Use A Capacitor
We wired our mono amplifier for our subwoofers with the same gauge as our battery supply cable. The additional power that the amp required was compensated for by wiring a capacitor to the bus bar. Additionally, capacitors extend the life of the battery since they minimize power spikes.
Never Connect Battery On Discharged Cap
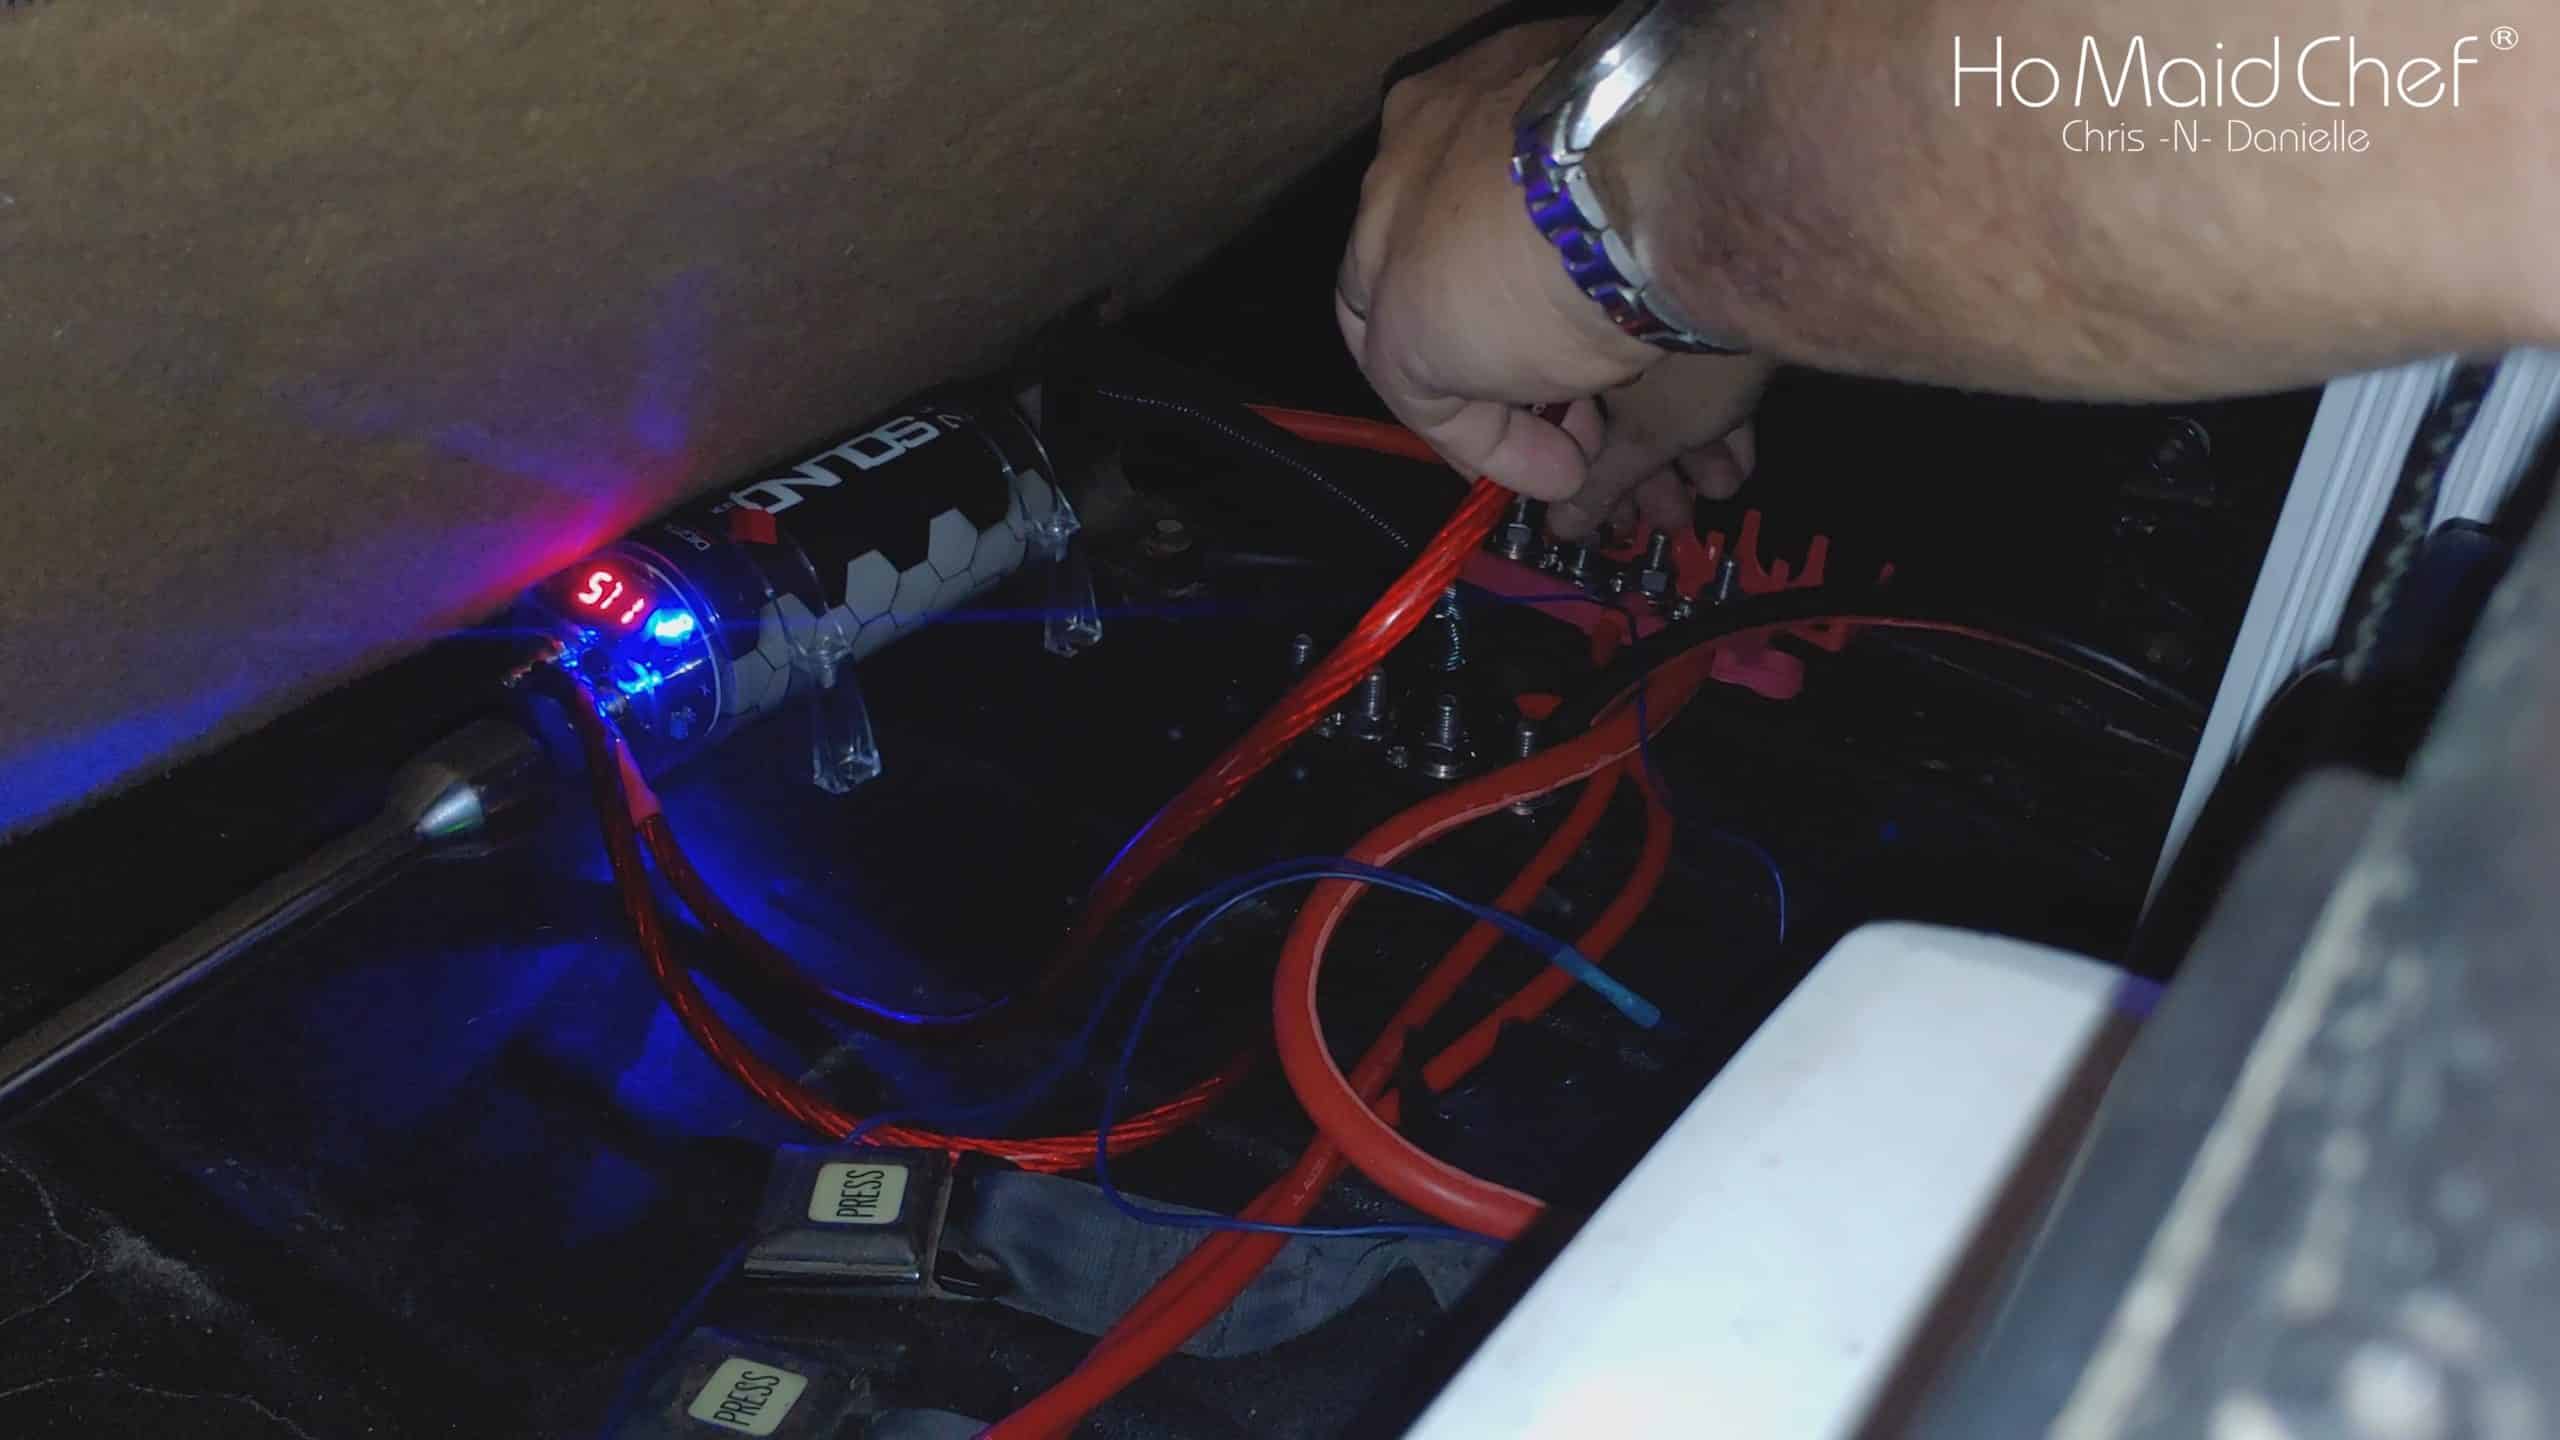
Once the bus bar has been installed, do a final check to make sure everything is tight. In order not to blow a fuse, we disconnected the capacitor positive cable from the bus bar. We then connected the battery that was powering everything but the capacitor and made sure that everything worked.
How To Charge A Audio Capacitor Easy
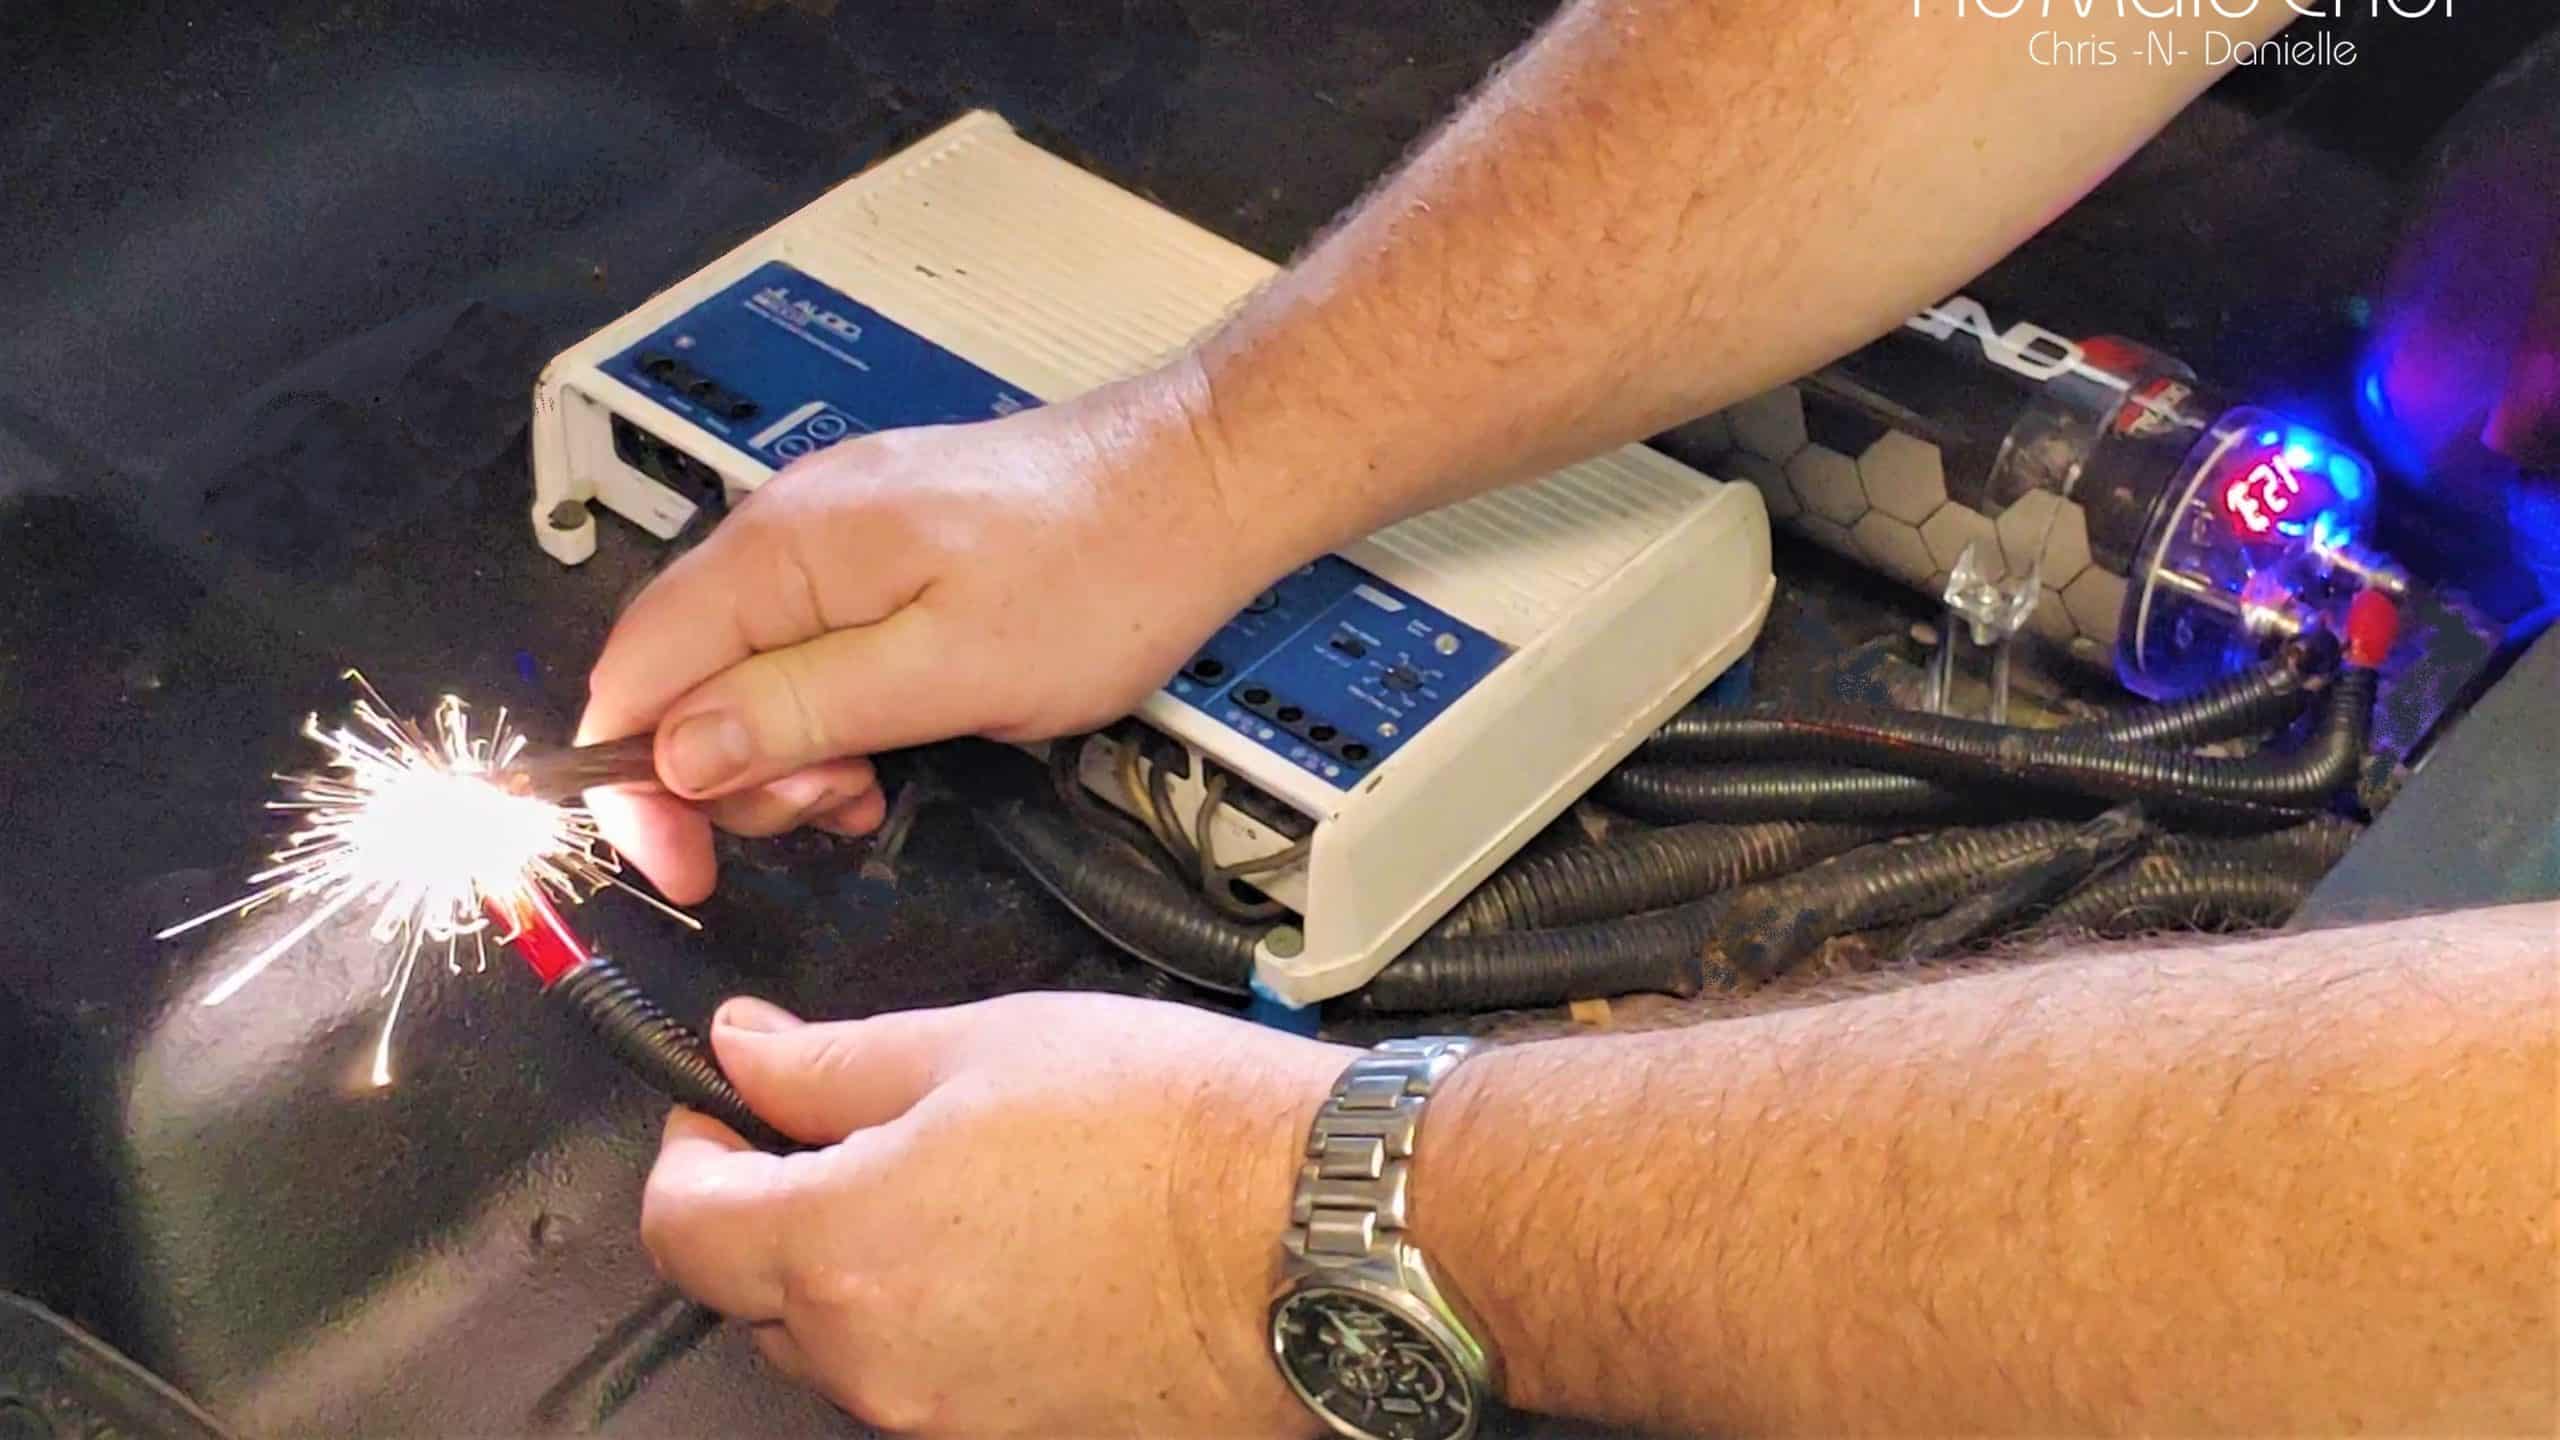
Once we are sure there are no issues, we can now charge and connect our capacitor to the bus bar. To do this we used jumper cables connecting the positive cable to the battery. Using the other side of the positive jumper cable, we connected it to the positive wire on the capacitor. Sparks fly and the capacitor is charged. It can now be connected to the bus bar. Using this method is much faster than using a resistor, and you will not blow the inline fuse at the battery.
Jump To Topic In Video:
- 00:00 Setting Up Multiple Amplifiers And Capacitor To DC Bus Bars
- 01:26 Disconnect Car Battery And Discharge Capacitor
- 02:02 Making Ground Cable For Bus Bar
- 05:56 Connecting Capacitor to Bus Bar
- 07:36 Wiring Up Amplifiers
- 09:30 Running Positive Cable From Battery To Bus Bar In Jeep
- 10:30 Separate Audio Cables From Power Cables
- 11:51 How To Charge Audio Capacitor Easy
- 12:57 Our Thoughts Of the Install And Banter
- 17:36 Bloopers And Outtakes
Tools We Love:
- Milwaukee 18-Volt Drill and Impact Driver Kit: https://amzn.to/366BwxM
- Husky Mechanics Tool Set: https://amzn.to/3kuGUzD
- Angle Grinder https://amzn.to/36FaC09
- Forney Easy Weld Welder https://amzn.to/3romDR1
- Welding Helmet https://amzn.to/3wOq58z
If you like this and it has helped or you have an idea to improve this post, feel free to leave a comment below. You can also send us direct feedback from Contact Us below if you so desire. Our mission is to help others through self-discovery and improvement, your journey begins with that first step.
See our shop for branded gear!
Check out Dining in with Danielle for great recipes!
See About Us author information!
Leave feedback, all information comes from our experiences, it can be flawed.
Equipment:
All videos are edited with Sony VEGAS Pro
https://amzn.to/2GrzE77
All recording equipment is Sony and our main camera is the HDR-CX675 offering servo steadied filming and 5.1 sound.
https://amzn.to/2BlJxQb
