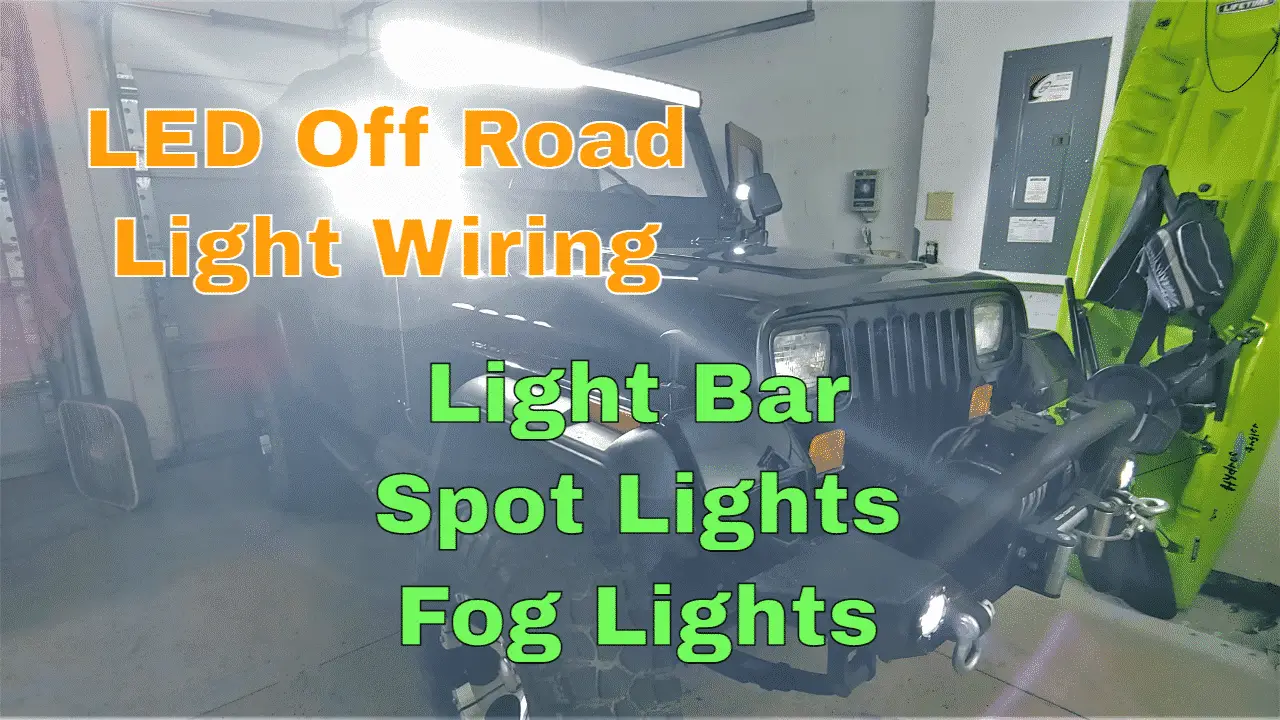
How to wire off road led lights
Installing LED off-road and fog lights, installing relays, and cleaning up wiring after years of redneck engineering. Wires had to be routed so that they wouldn’t be pinched by the windshield. To prevent shorting of wires due to rubbing, wire loom should be correctly used. Installing relays for the high-amp LED lights close to the battery reduces the use of heavy gauge wire. The Jeep’s dashboard was also customized with LED switches.
Scroll Down Or Click On Picture Below For Full Video!
Parts:
- 50-inch Light Bar Kit: https://amzn.to/3lF0sn8
- Heat Shrink Wire Connectors: https://amzn.to/2XvBsH9
- Wire Loom: https://amzn.to/2XnkcTT
Lower The Jeep YJ Windshield
Starting this project we first have to lower the Jeep’s windshield. You have to disconnect the roll bar from the windshield windshield, which you may first have to spray with PB Blaster. Do not forget to remove the visor from the part that goes over the roll bar. We did this, and strong they are, move windshield will not.
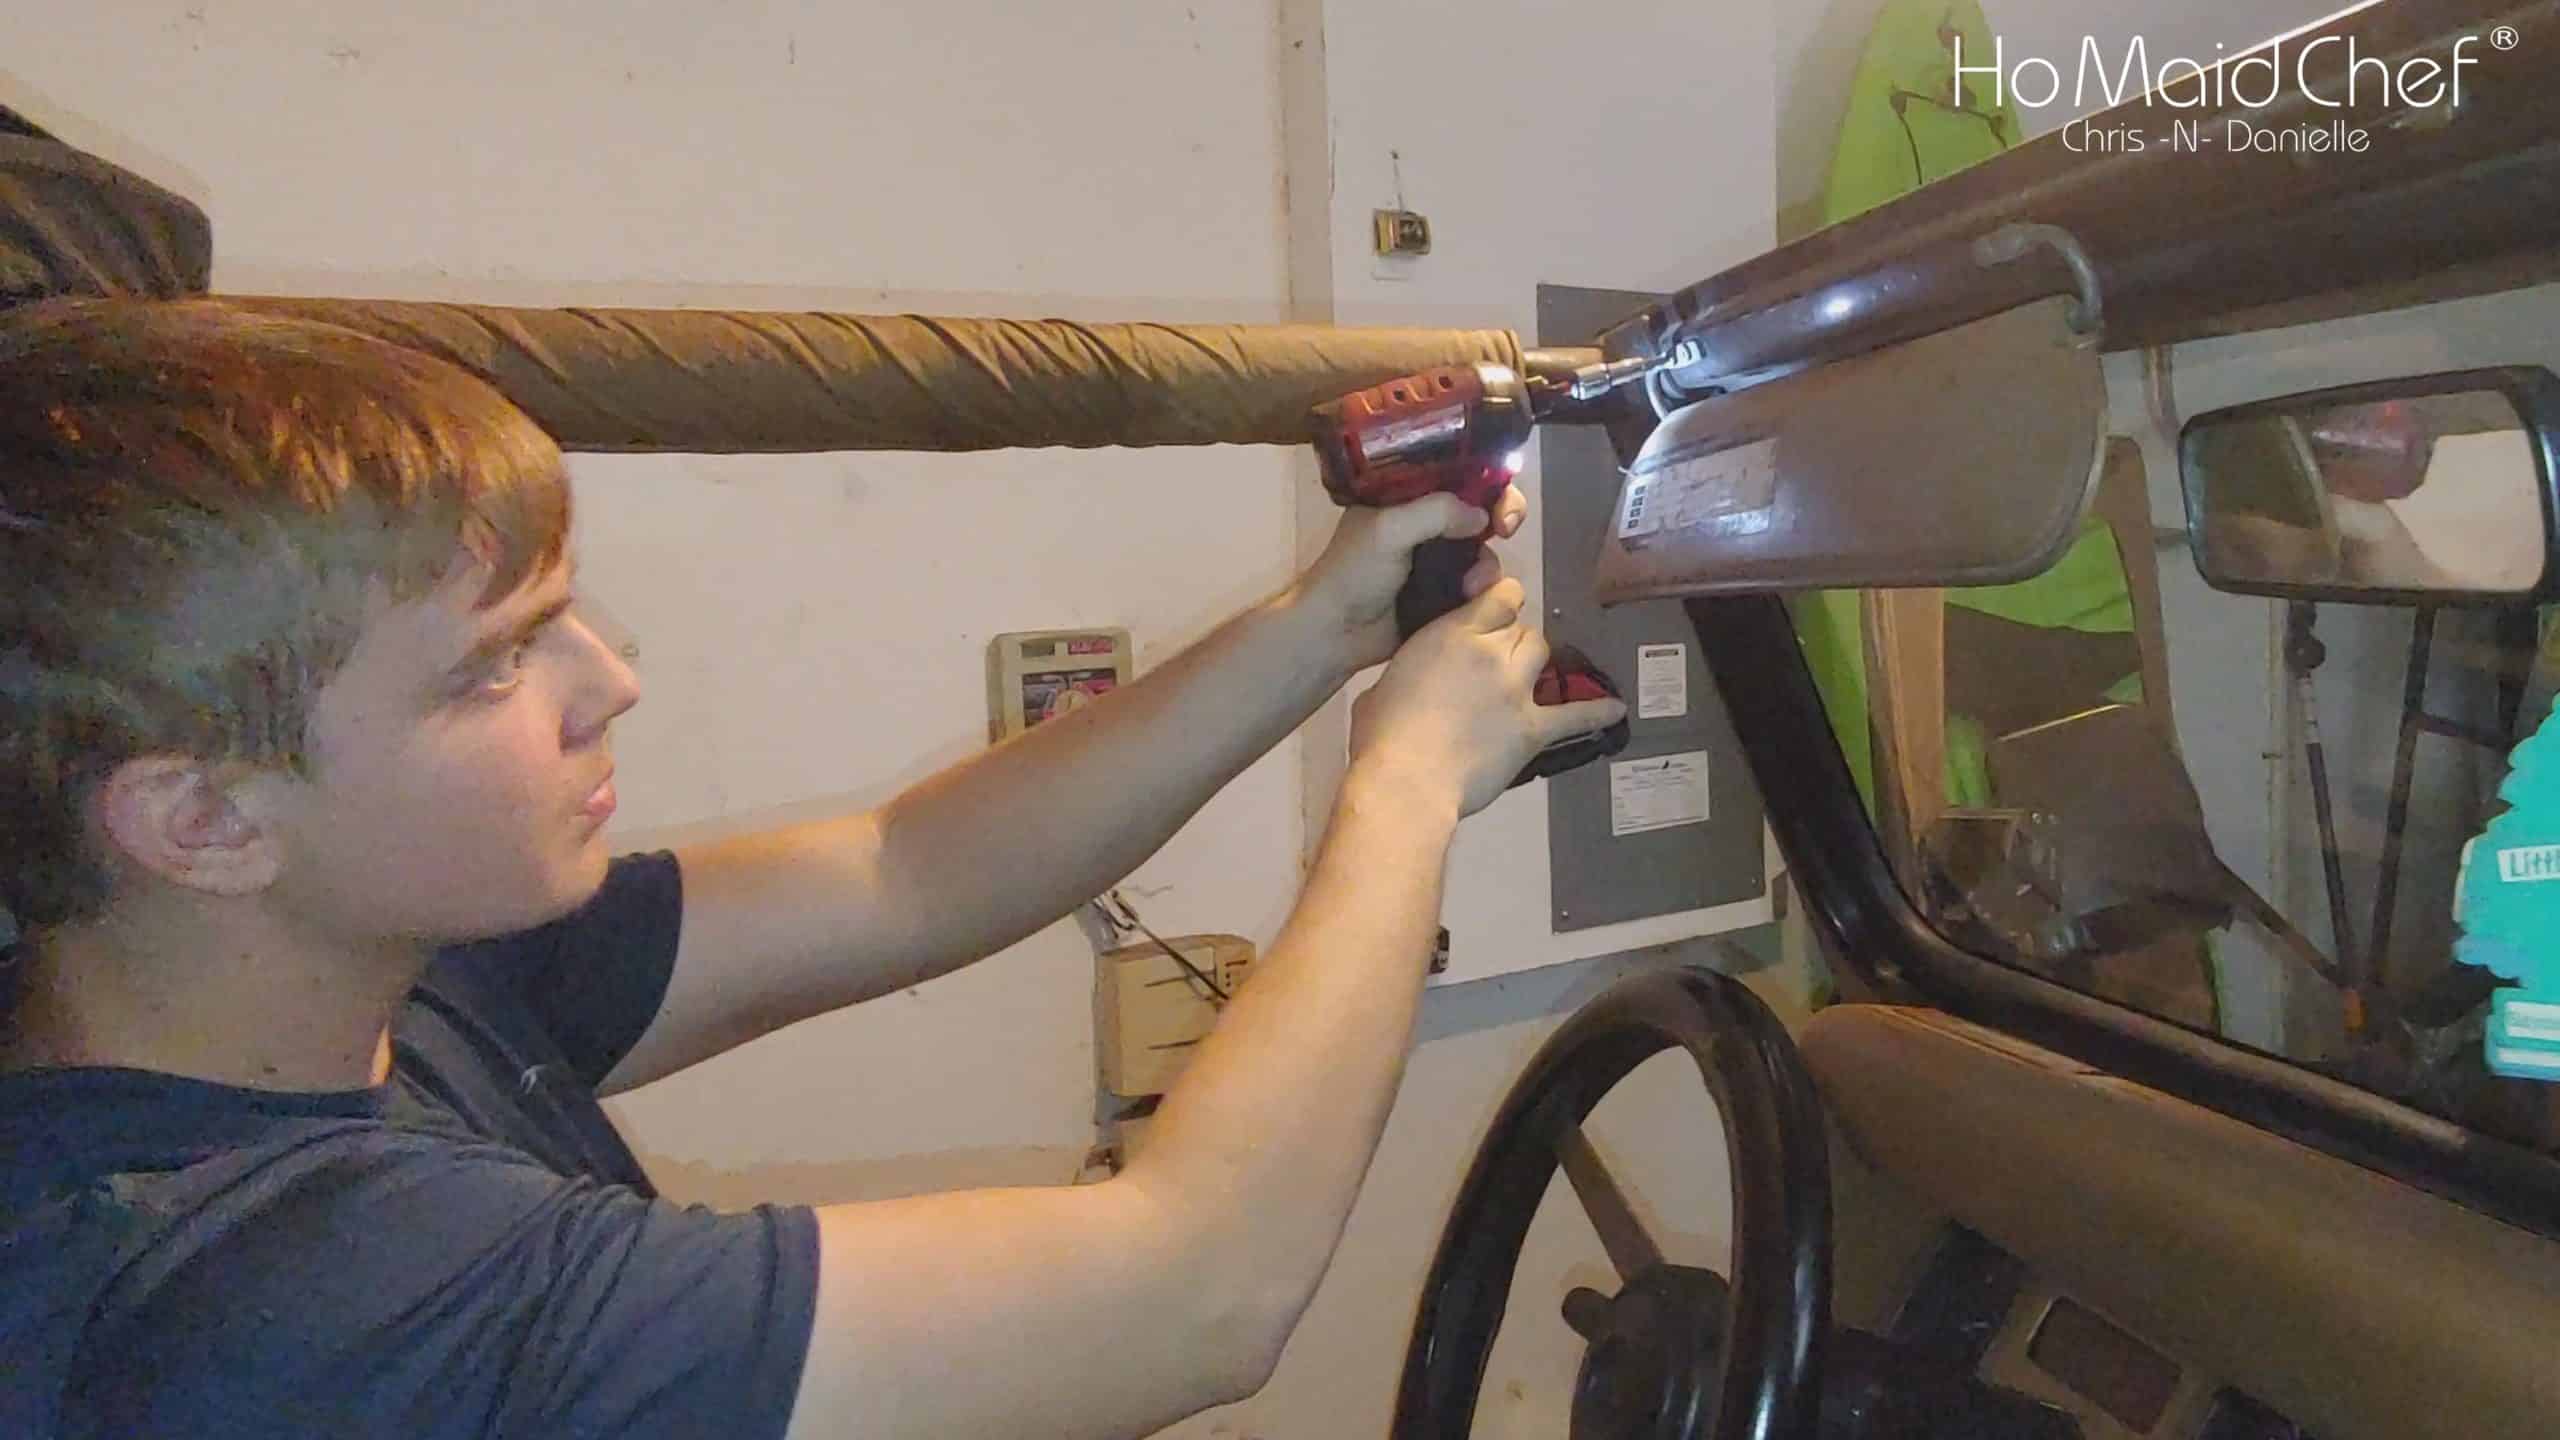
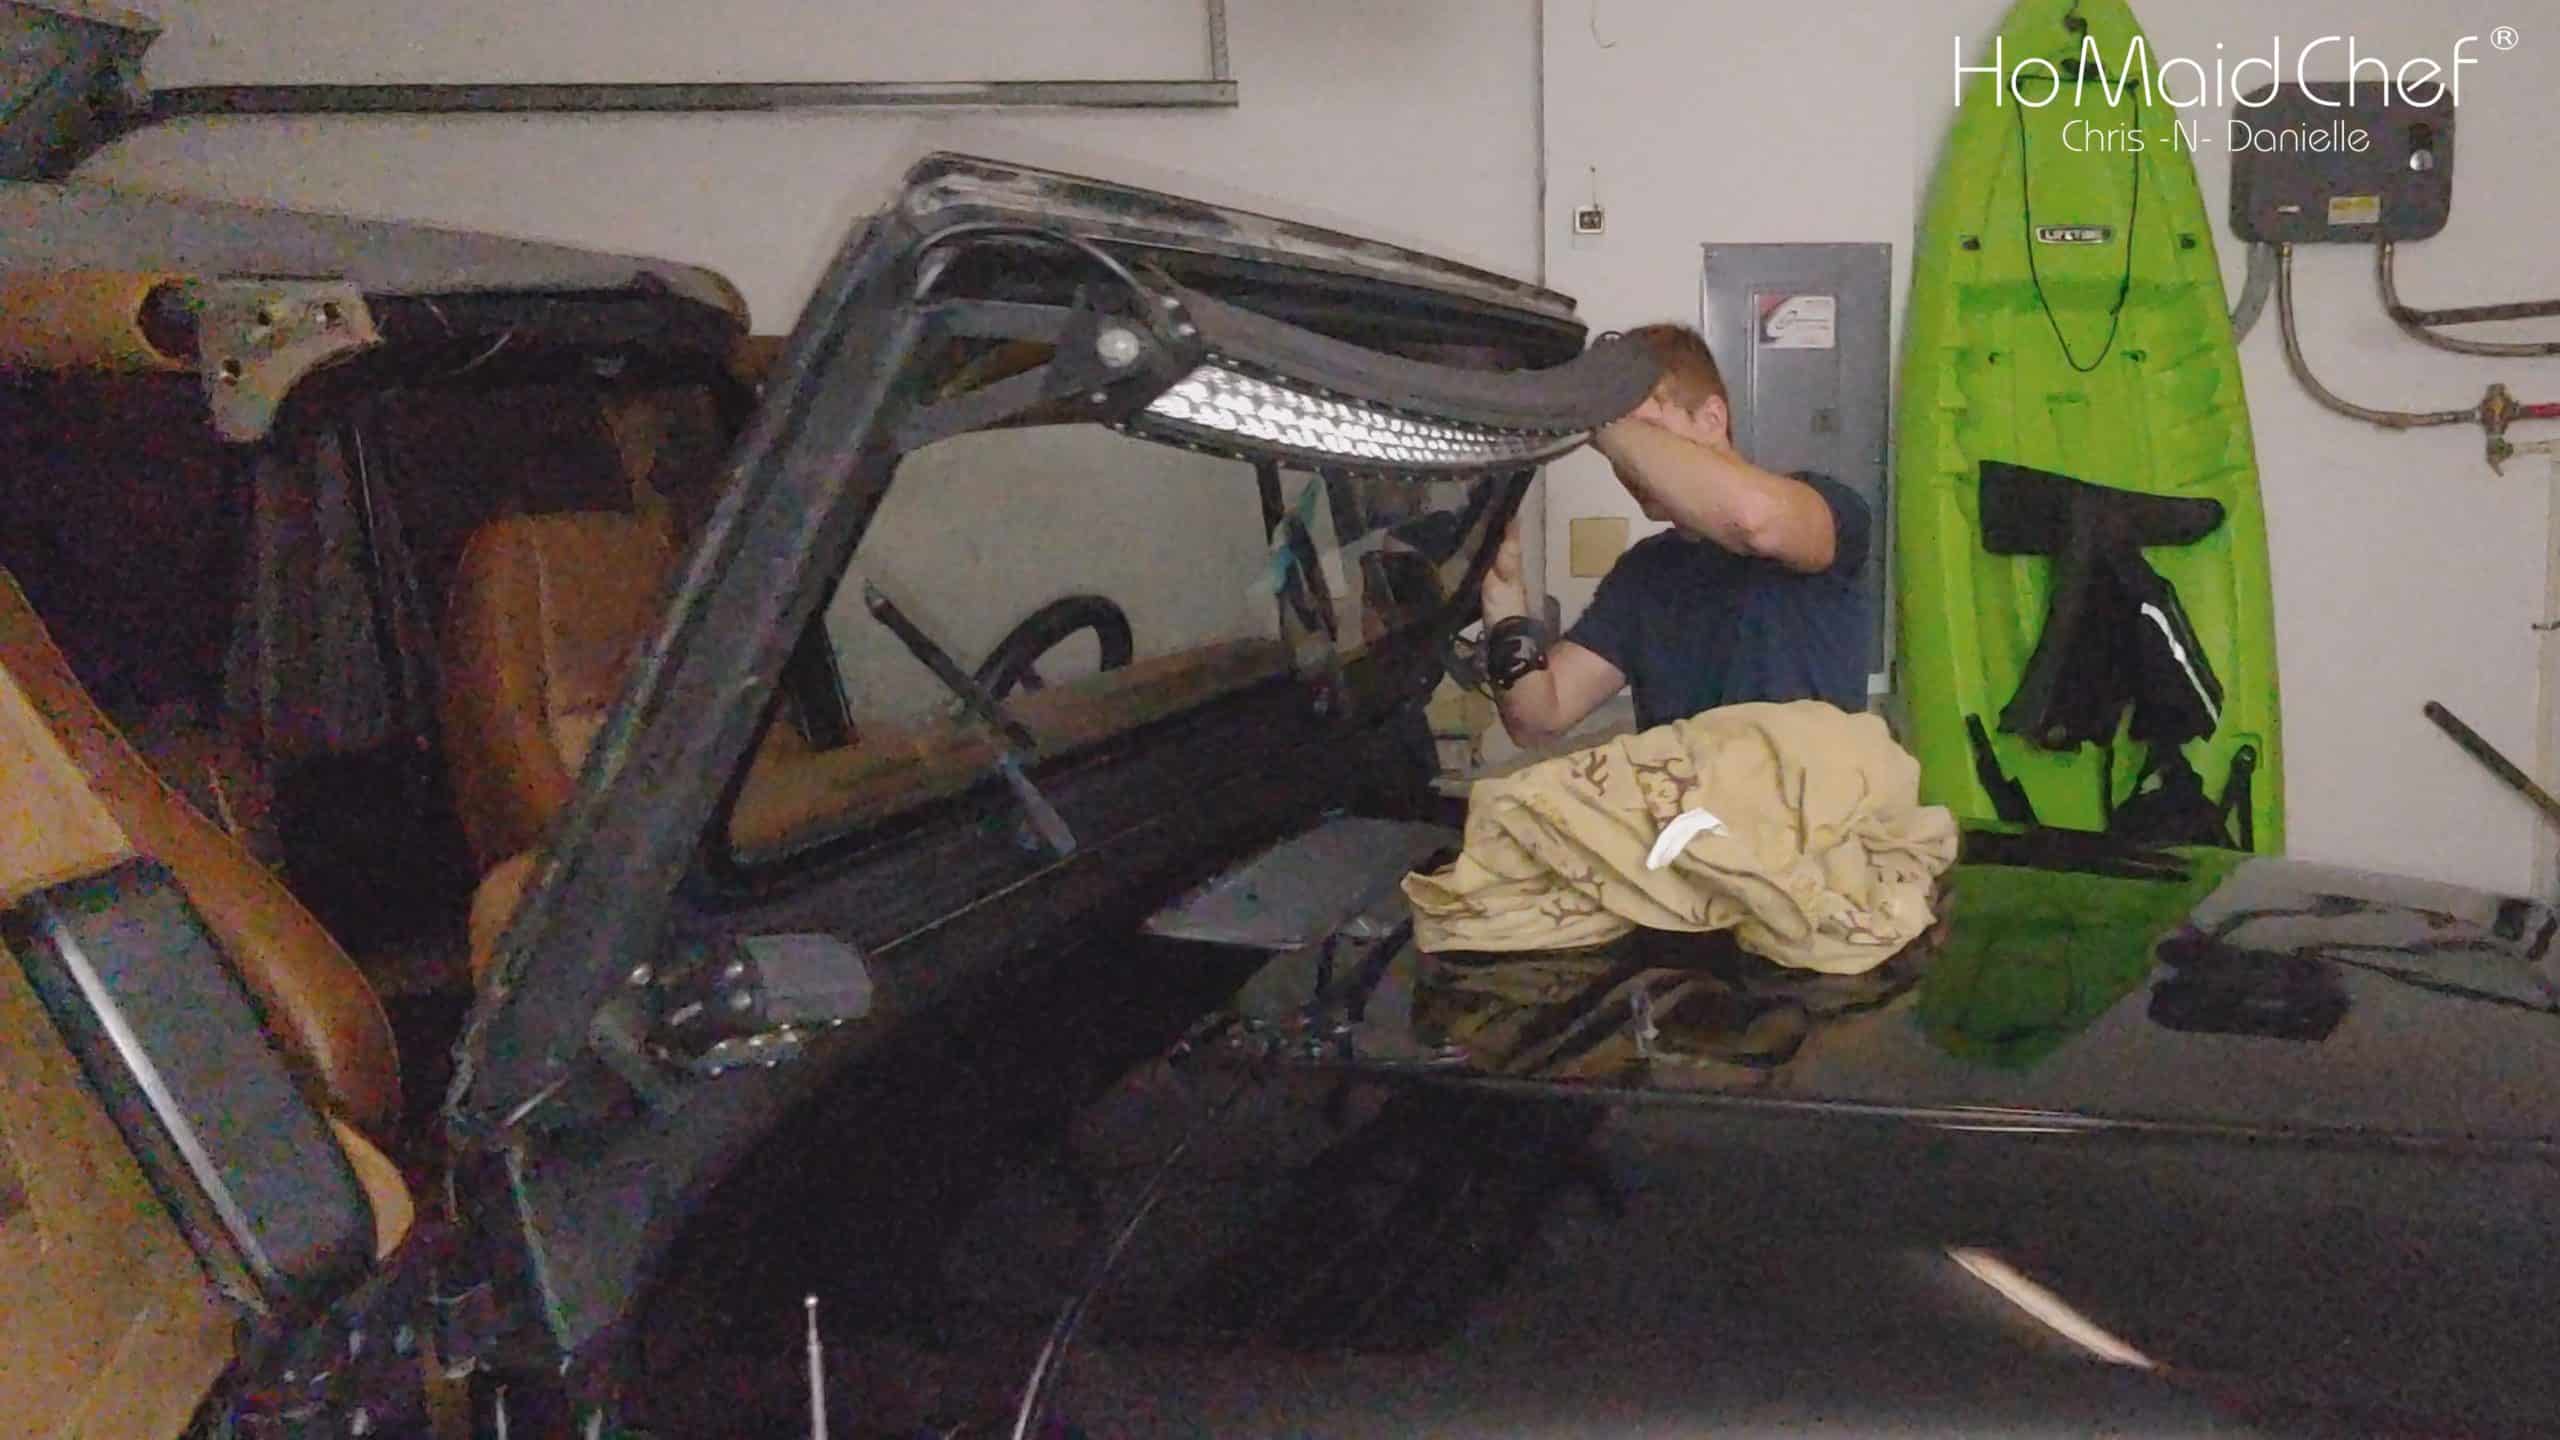
Trim that fits around the door needs to be removed or it will break. Three bolts are attached to the lower part of the windshield. On each side, you only need to remove the bolt on the bottom. Put something on your hood to protect the paint before lowering the windshield.
Removing Jeep YJ Dash
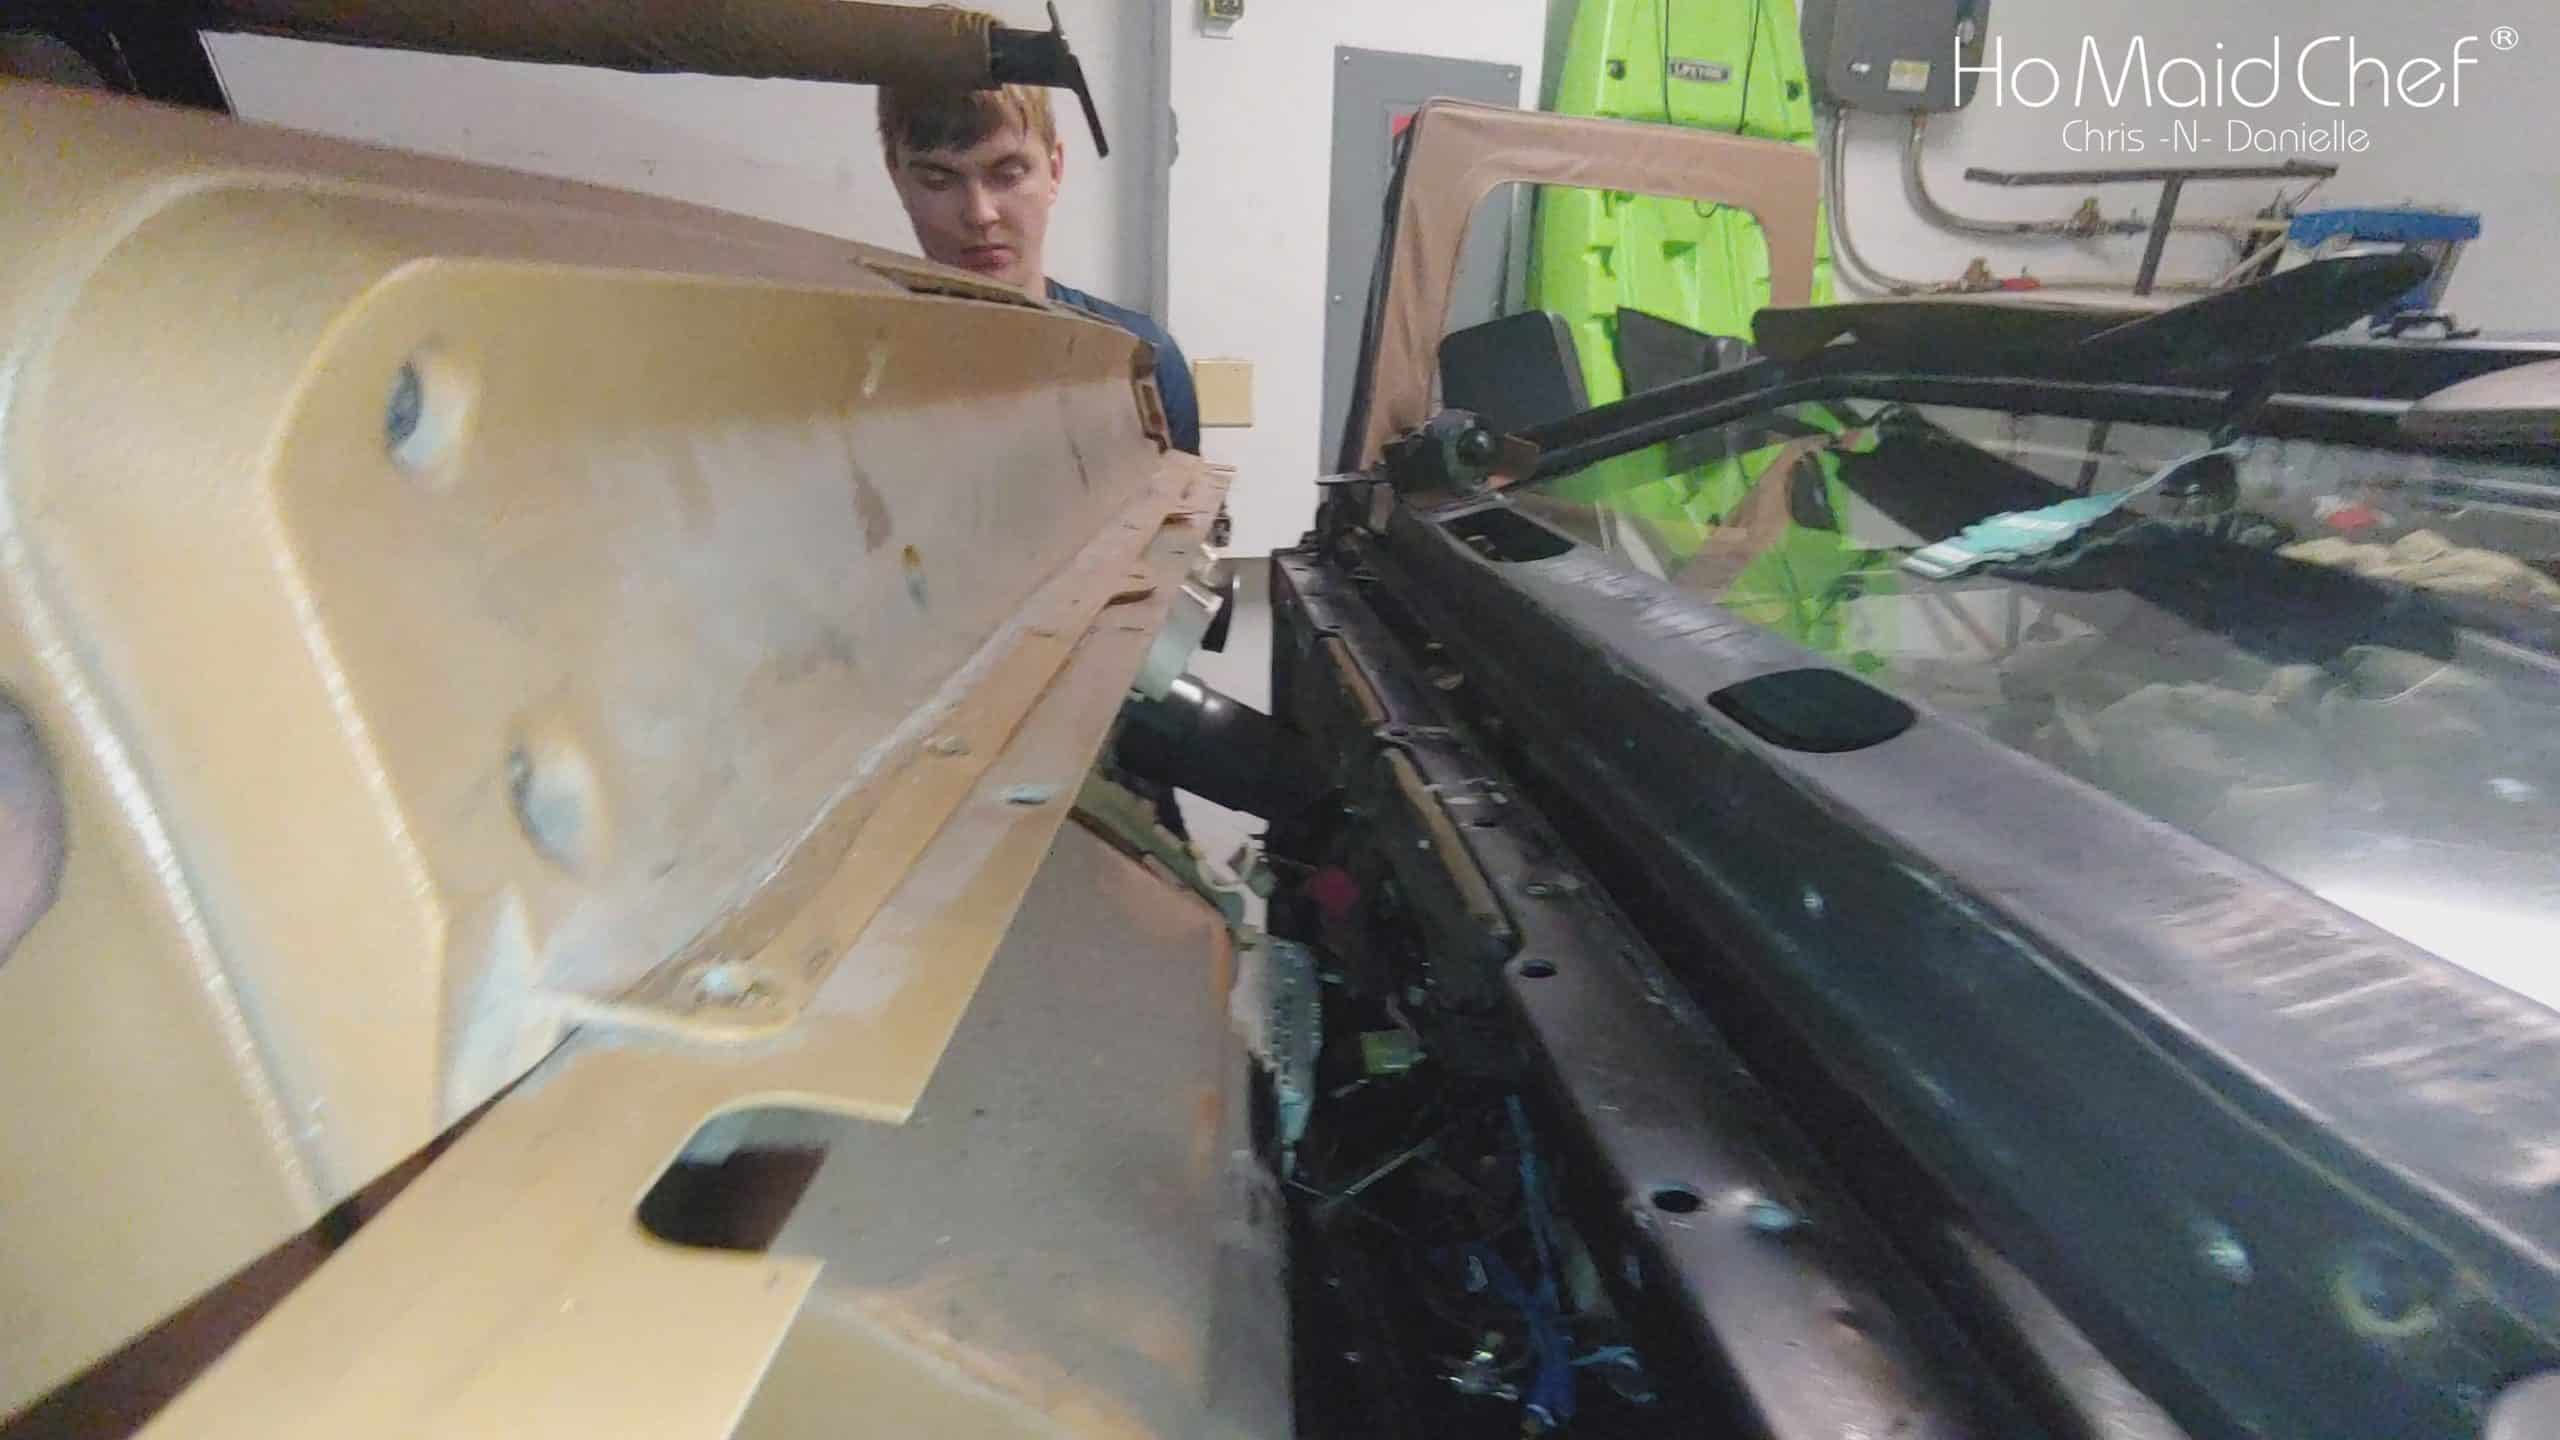
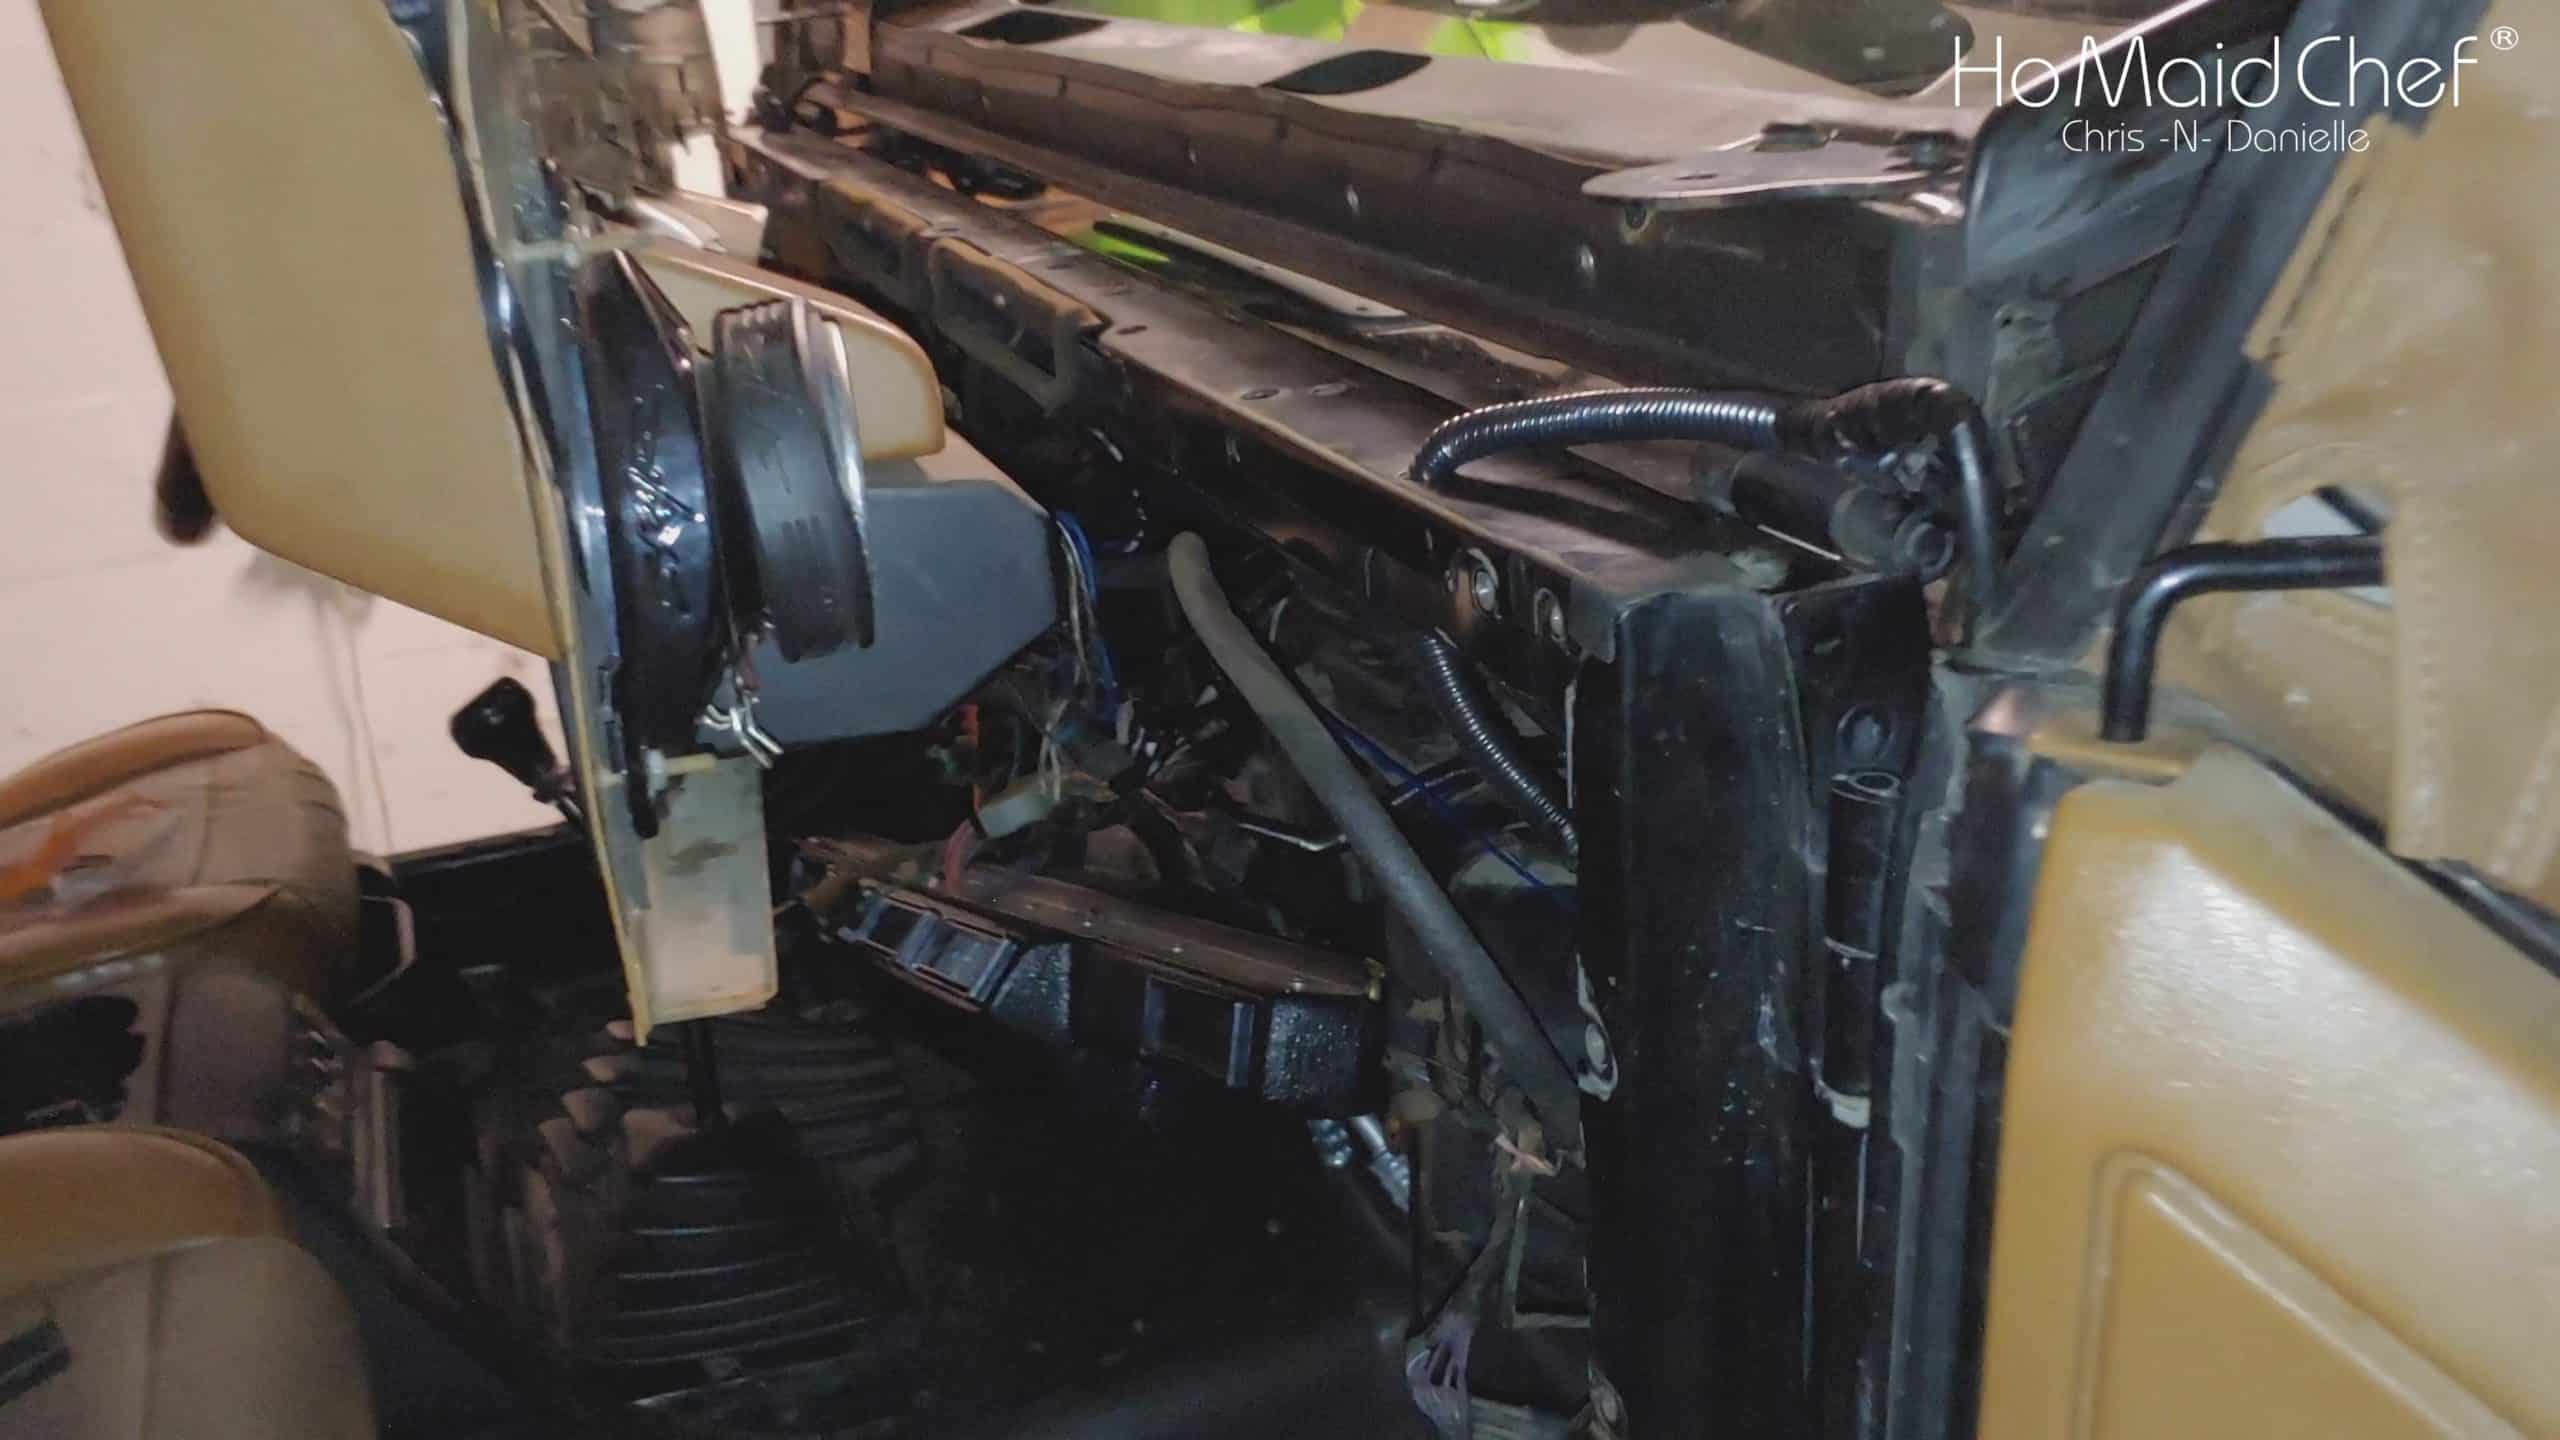
The LED light bar can be wired without removing the dash, but we did it as part of a larger project to tidy up the wiring. Furthermore, with the dash removed, it is easier to wire the light bar right. In our video there are a lot of screws that will have to be removed. Even the screws that hold the soft dash to the dash frame had to come out. I would defiantly reference the video for this.
Wiring LED Lights
After all the obstacles have been removed, wiring can begin. Make sure you have quality wire, loom, and some heat shrink butt connectors and connectors. The rest should be in the light kit. Use loom to protect your wires from rubbing on metal, which can lead to electrical shorts. The heat shrink butt connectors and connectors will prevent headache caused by corrosion. We have had a lot of fun tracing wires only to find that they were rusted connections
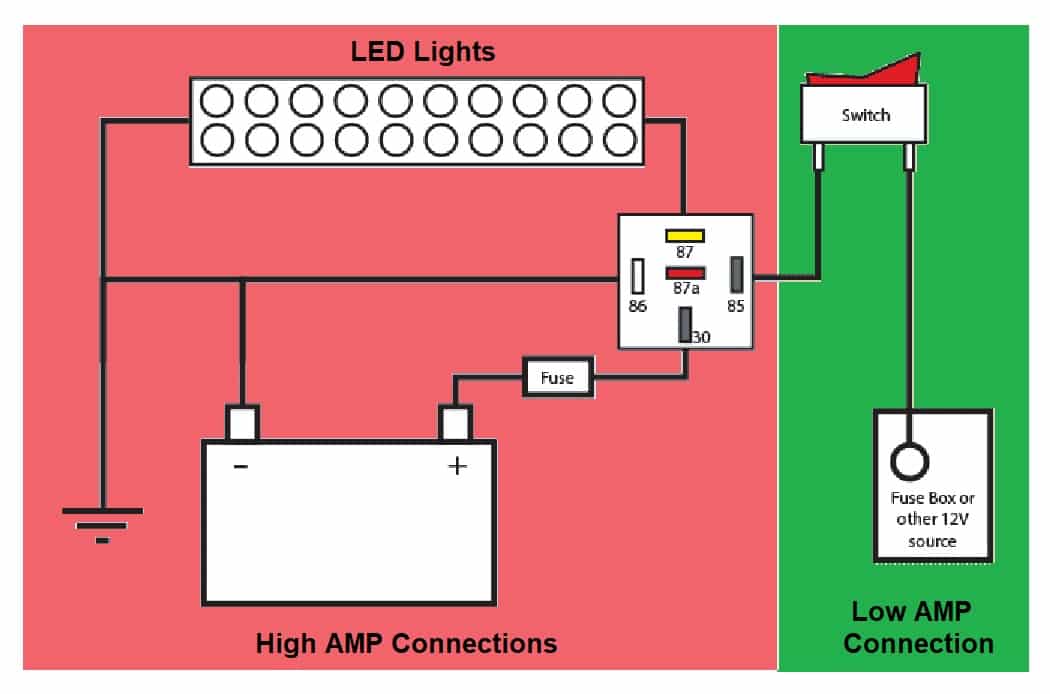
Wiring The LED Light Bar Relay
You should not run high amp accessories from the fuse box to a switch and then the device. For the lights, relays will be required to switch on the heavy amps. In this Jeep, the best place for me to mount my relays was behind the battery, as I like to have them close to the battery. Wiring relays is pretty simple. The video of this may help or see the diagram on our website.
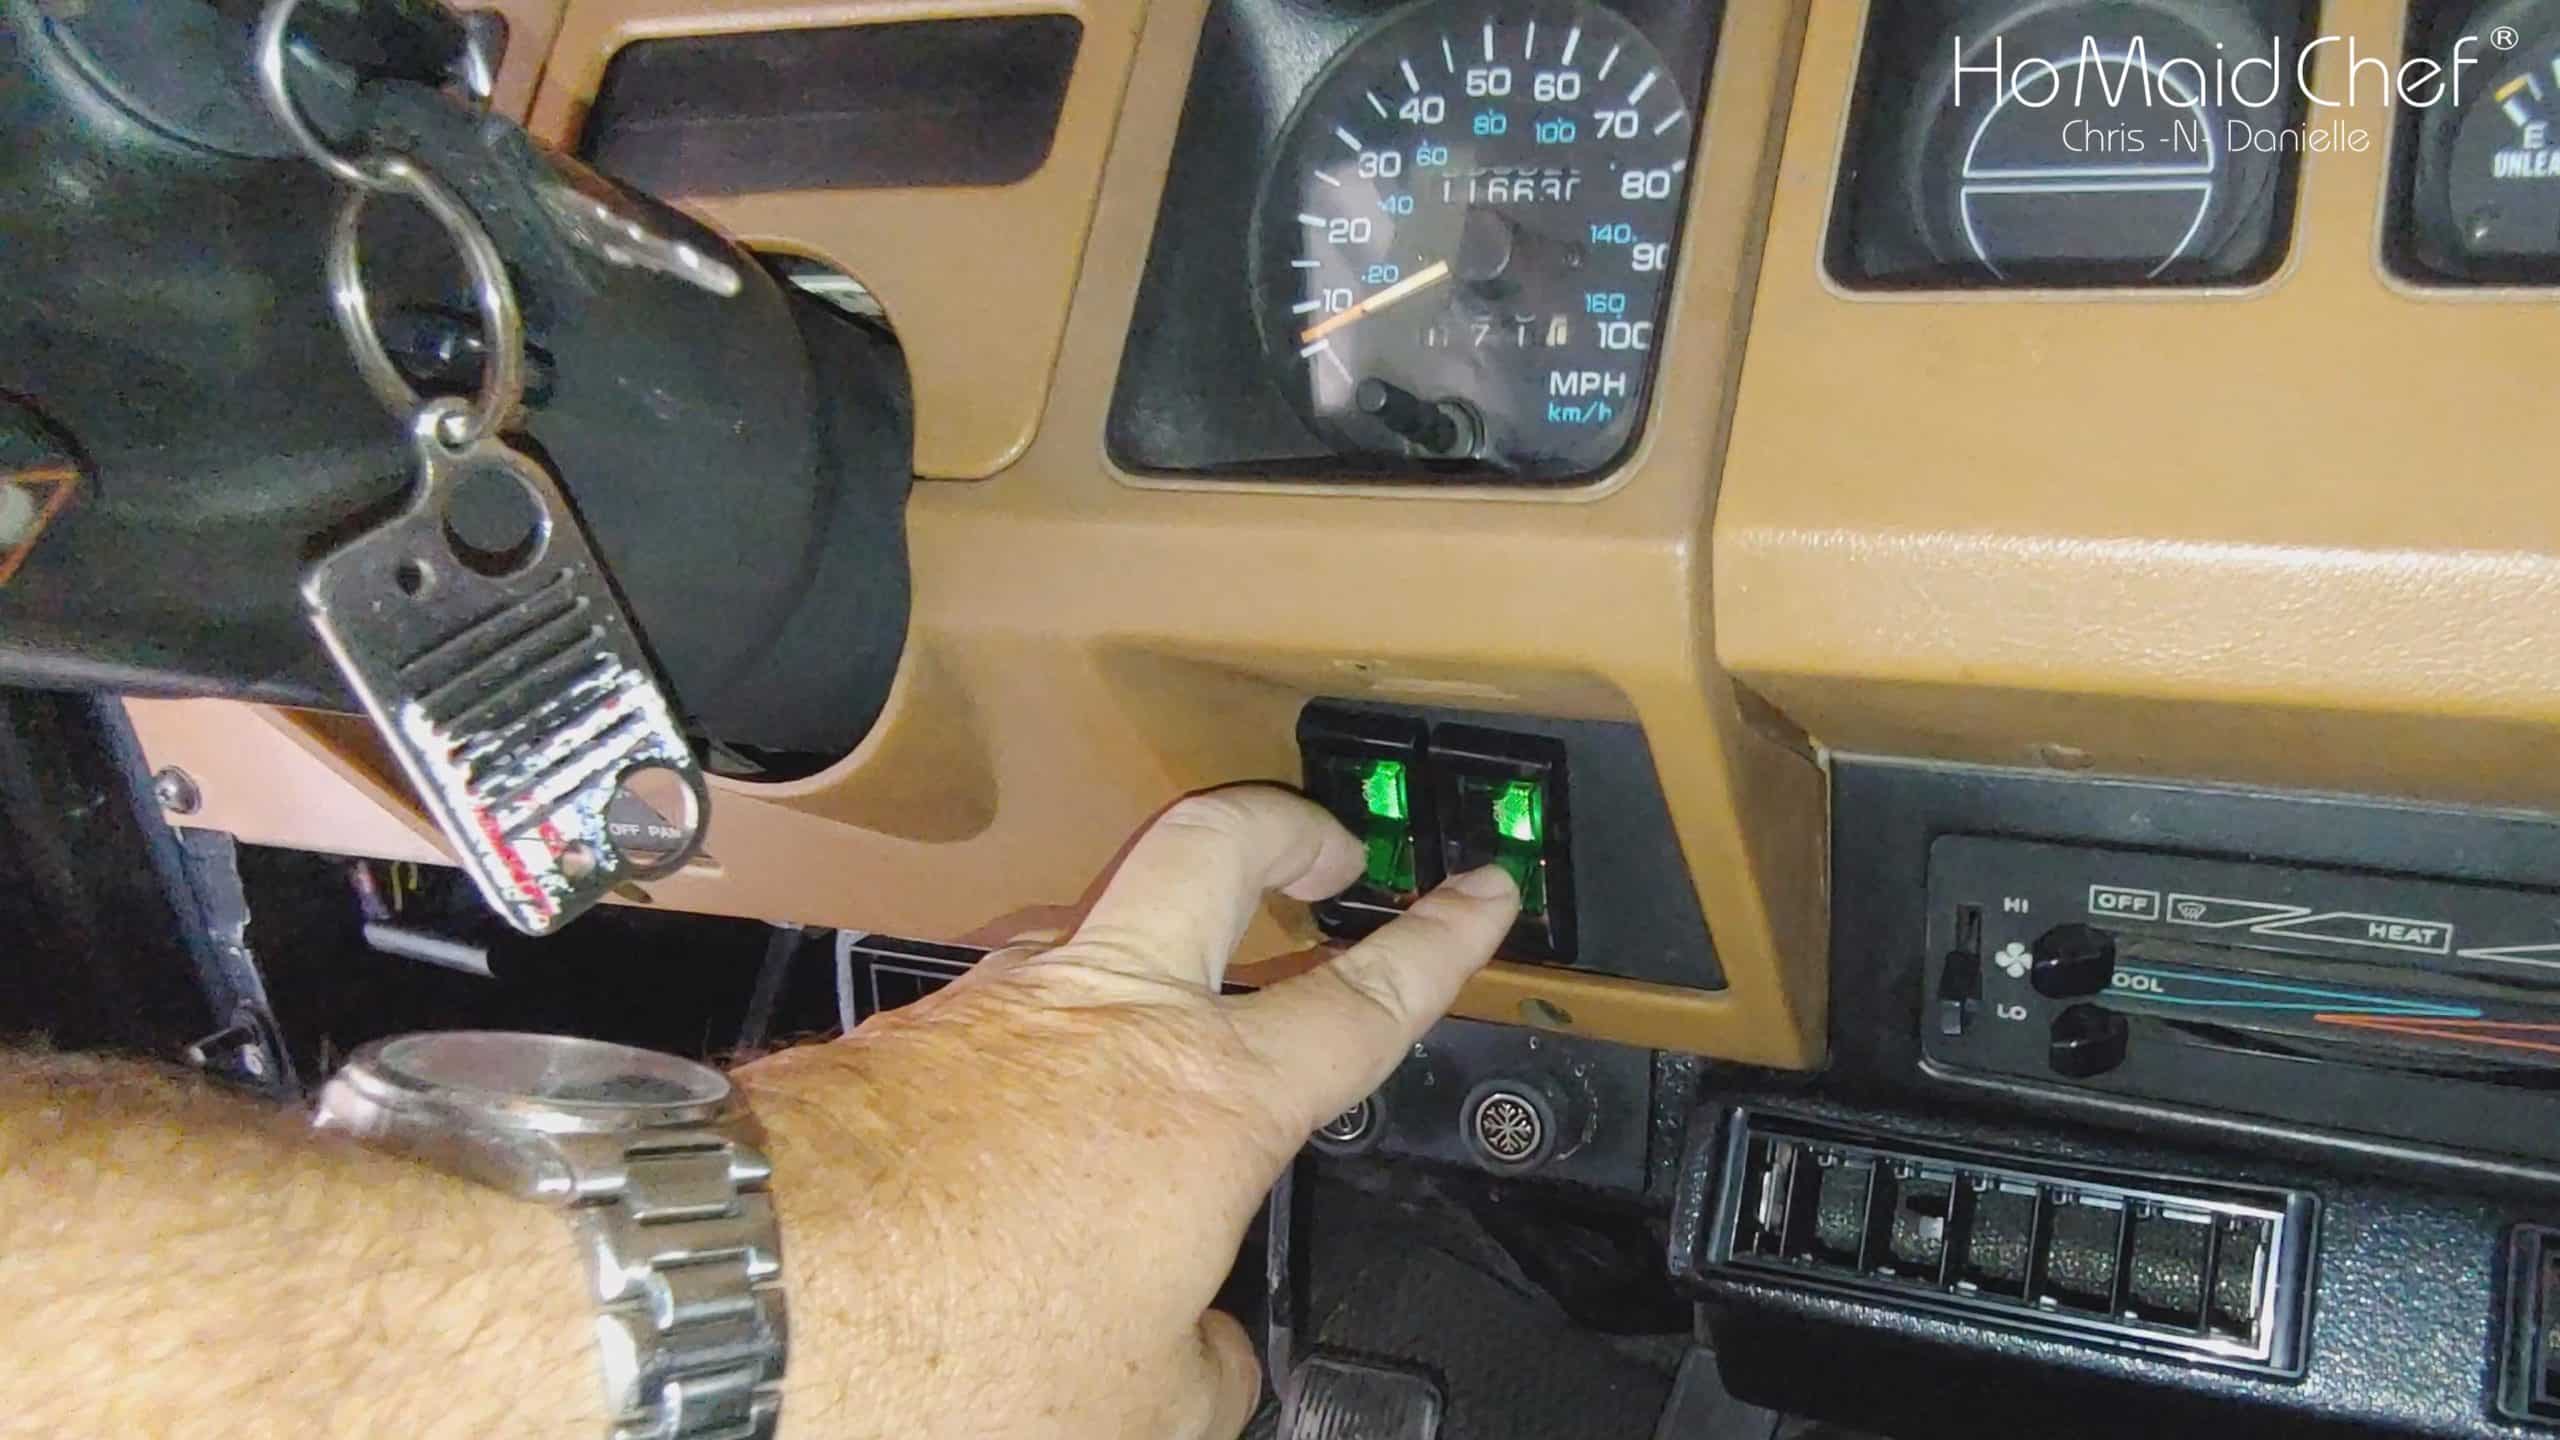
Rocker Switches In Jeep YJ Dash
In the Jeep YJ dash, I did find a very cool place to mount 3 switches. For now, we only need two spots. I think the third spot will be a usb outlet and maybe a DC outlet “cigarette lighter”. Of course, if we do that, a future video it will be. Sorry about going Yoda a little in this video.
Jump To In Video:
- 00:00 Intro Wiring LED Light Bar, Spot Lights, and Fog Lights On Jeep
- 01:41 How To Lay Down A Jeep Windshield
- 03:22 How To Remove A Jeep YJ Dash 05:34 Wiring LED Light Bar
- 07:17 How To Install A Jeep YJ Dash
- 08:35 How To Raise A Jeep Windshield
- 09:29 How To Wire A Relay
- 10:13 How To Mount Rocker Switches In Jeep Dash
- 11:33 Our Review Of LED Off Road Lights
- 14:43 Jeep Repair Bloopers And
Tools We Love:
- Milwaukee 18-Volt Drill and Impact Driver Kit: https://amzn.to/366BwxM
- Husky Mechanics Tool Set: https://amzn.to/3kuGUzD
- Angle Grinder https://amzn.to/36FaC09
- Forney Easy Weld Welder https://amzn.to/3romDR1
- Welding Helmet https://amzn.to/3wOq58z
If you like this and it has helped or you have an idea to improve this post, feel free to leave a comment below. You can also send us direct feedback from Contact Us below if you so desire. Our mission is to help others through self-discovery and improvement, your journey begins with that first step.
See our shop for branded gear!
Check out Dining in with Danielle for great recipes!
See About Us author information!
Leave feedback, all information comes from our experiences, it can be flawed.
Equipment:
All videos are edited with Sony VEGAS Pro
https://amzn.to/2GrzE77
All recording equipment is Sony and our main camera is the HDR-CX675 offering servo steadied filming and 5.1 sound.
https://amzn.to/2BlJxQb
